Resource packs allow you to customize textures, font styles, sounds, models, interface and other things for Minecraft. This is also possible with servers so that everyone who joins your server will be able to use your custom resource pack.
You can create your very own resource pack or use the readily available ones shared on Minecraft sites like Planet Minecraft and the Minecraft Forum.
Once you've found the resource pack you wish to use; follow the steps below to set this up to your Minecraft Bedrock server. For this example, we'll use a resource pack called AKTexture 2.3.0'.
This can only be done if you have access to a PC and the Windows 10 edition of Minecraft.
INSTALLING A RESOURCE PACK
- Once you have the resource pack you'd like downloaded to your computer, double click the file and it will automatically install itself to your Windows 10 edition of Minecraft.

- Your Windows 10 Edition of the game should now be open. Hit 'Play' on the main menu, then under the worlds tab hit Create New and Create New World. Choose whatever world settings you'd prefer and name your world. Then in the bottom left click Resource Packs, and then My Packs, and then select the pack you want on your server and click Activate.

- Once you've done that you can see if it's applied to the world in the top right under Active. Once you know it's applied properly, hit Create and create your world.
- You'll be loaded into your world with the resource pack enabled. Press escape and then click Save and Quit which will take you back to your Worlds menu. You can now close the game or minimise the window.
- If you haven't already generated your Shockbyte server world then make sure your server is set to the Bedrock version you want and then generate the world and close the server.
- On your Multicraft control panel head to Files > FTP File Access. For the next steps you'll need to use an FTP Client, we'll be using FileZilla which we have a guide for here.

- Navigate to the
\worlds\worlddirectory.
- Now you'll have to find the folder for your Minecraft Windows 10 world file. Open your documents folder and in the path bar put copy and paste
C:\Users\(your pc username)\AppData\Local\Packages\Microsoft.MinecraftUWP_8wekyb3d8bbwe\LocalState\games\com.mojang\minecraftWorlds- remember to replace the username part with your own PC username.
- You can find which is which by opening the folder and clicking on the
levelnametext file, which will open notepad and show you the name of the world save. In this case the world name in the game client is Random World.
- Once you know you have the right folder, open it up and select the files
world_resource_packs,world_resource_pack_history, and the folderresource_packsand drag them all into the bottom right segment of FileZilla.
- You can see your queued files on the bottom left of FileZilla. If you get a popup that stops the transfer saying Target file already exists tick the Overwrite box and Apply to current queue only. Then press OK.

- Once the queue is complete in FileZilla open the
resource_packsfolder from the main server directory (NOT the one in the world folder) in the top right of FileZilla. This will open your server's resource packs folder into the bottom right segment of FileZilla. - From your world folder on your PC, open the
resource_packsfolder. Here you should find the folder for the resource pack you created your world with. Drag this folder over to the bottom right segment of FileZilla into the server'sresource_packsfolder. Follow step 11 again if necessary.
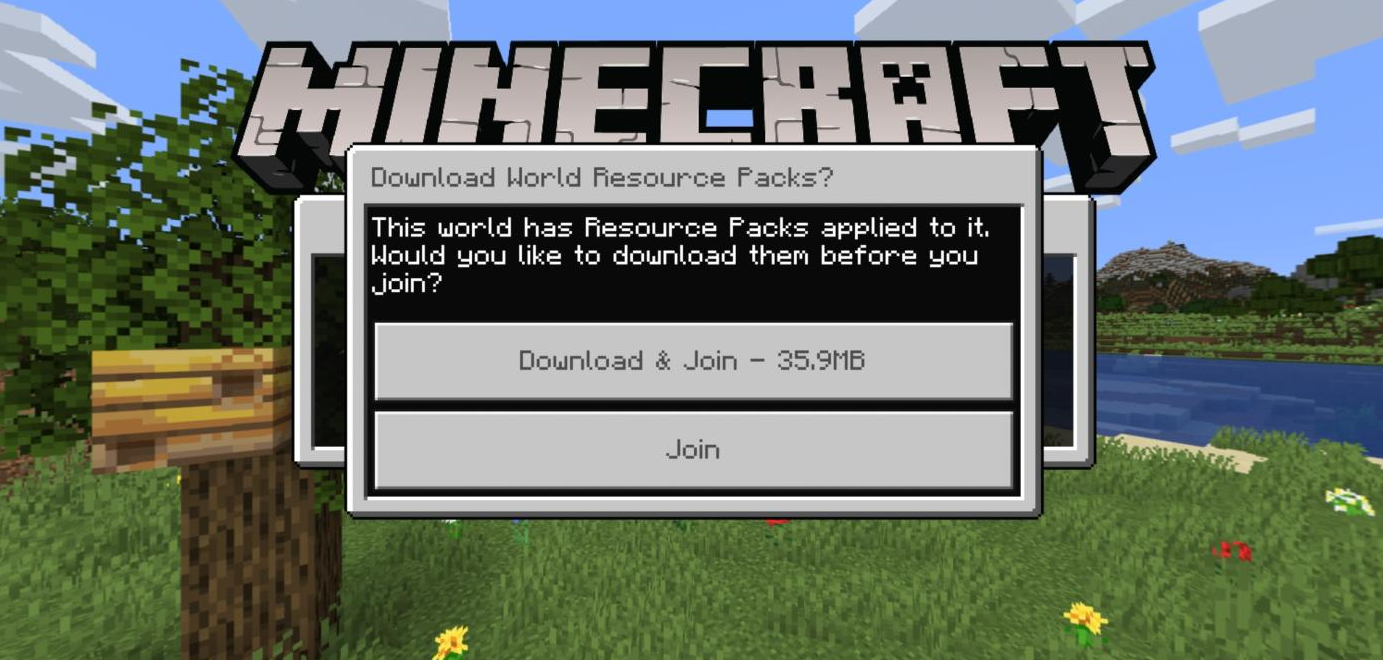
- Once the queue is complete, start your server from the Multicraft panel. Once your server is online anyone that connects will be prompted to download the resource pack. They can either download the pack and join, or join without downloading the pack.