Sometimes you might want to reset your world in 7 Days to Die. For example, if you would want to start over again, or don’t like your starting location.
Thankfully, resetting your server world is incredibly easy. You can choose to either delete your existing world or simply create a new one while keeping your old world saved, which is useful if you ever want to return to your old world.
How to Change Your Server World
- Open your 7 Days to Die server settings. If you are unsure how to edit your 7 Days to Die server settings, you can check out our guide on this here.
- Change the GameName property to what you want your new world to be called.

- Press Save at the bottom of the page. To return to your old world, simply change this option back to what it was previously.
How to Delete Your Server World
Maybe you want to remove your world entirely, either because you will never have a use for it again, or because you want a new world with the same name. This too is easy to do. Although we suggest using FileZilla for any form of File Management, this can be done via the in-browser FTP.
- Navigate to your control panel.
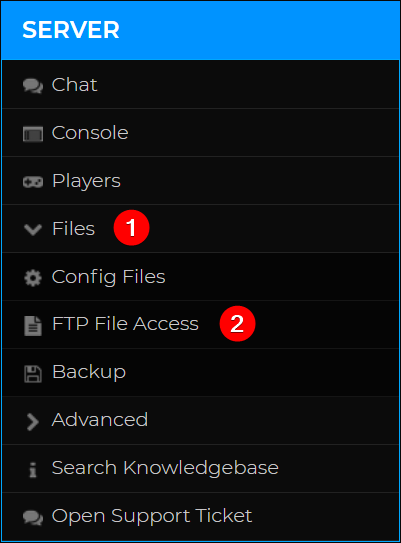
- Access your server files by clicking Files > FTP File Access on the left hand side.

- Enter your FTP information. If you need assistance logging in, we have a guide that can help you, found here.
- Once logged in, create a folder called
DANGER_DELETE_ALL(case-sensitive) by clicking the New dir button, and entering the above name.

- Navigate to the
/savesfolder, and then the mapname's folder. Then select your world, and click move.
- Enter
/DANGER_DELETE_ALLinto the text box, click Set All TargetDirectories, then click Submit. This will move all selected files/directories to the corresponding directory.
- If you wish to remove all the whitelisted, blacklisted players, admins and gamerules; remove both the
profiles.sdfandserveradmin.xmlfiles. These files can be found under the/savesdirectory.

