Still have questions?
Ruben B
Partnership Manager

How to Enable a Whitelist on your RedM Server
If you would like to restrict access to your RedM server for yourself or your community, enabling a whitelist provides full control over who can join. This feature is ideal for a close group of friends, dedicated roleplay communities, or carefully managed servers, ensuring a secure and customized multiplayer environment for trusted players only.
The following guide outlines a quick and straightforward process to enable a whitelist via your Shockbyte Panel.
#Enabling the Whitelist
-
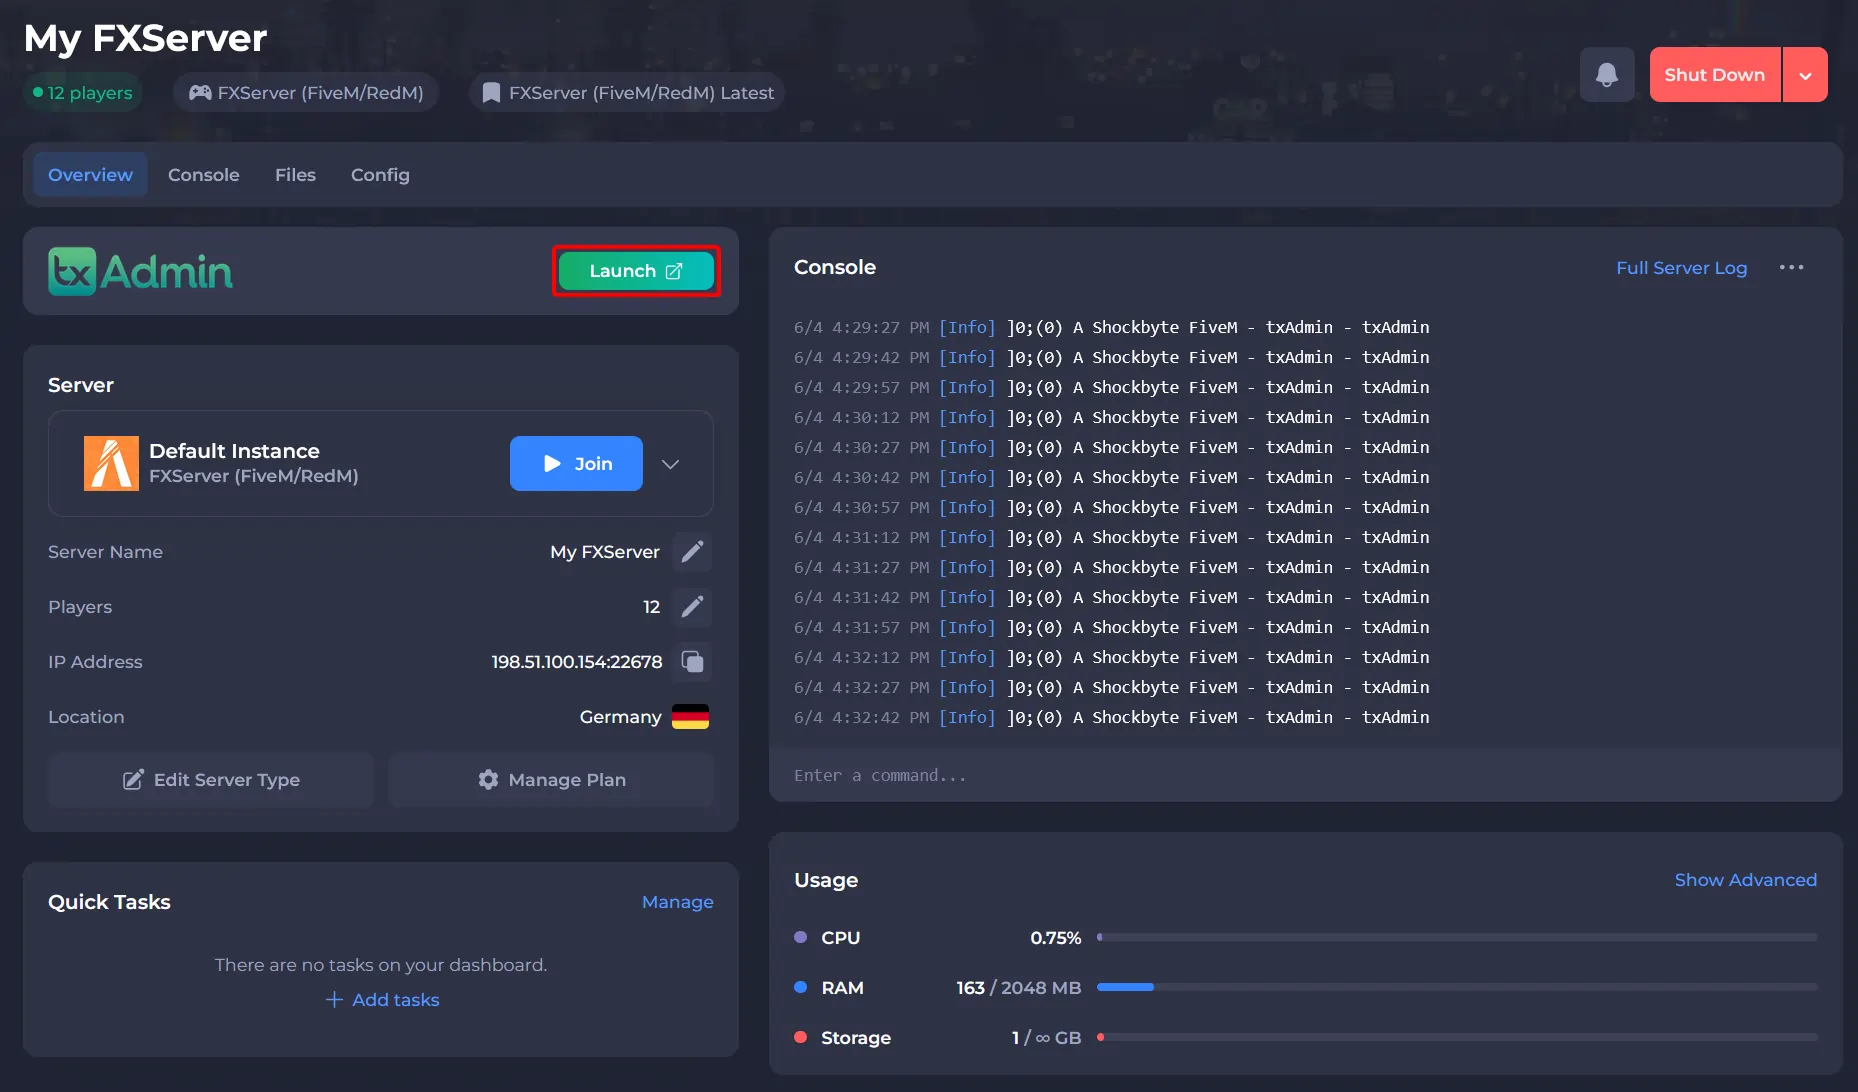
Go to your Shockbyte Control Panel.
-
Launch txAdmin.
-
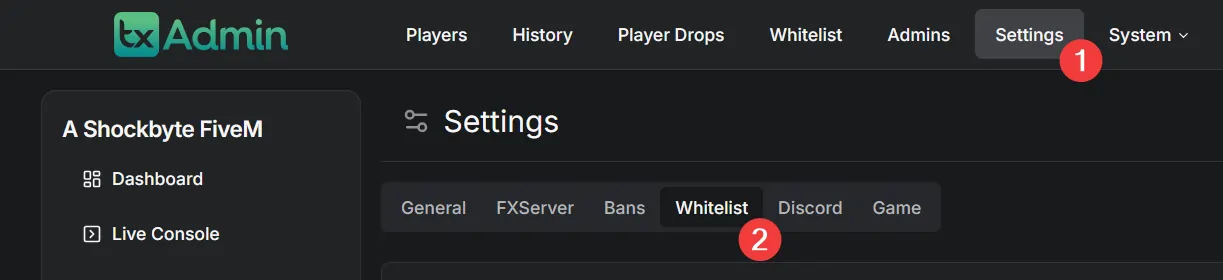
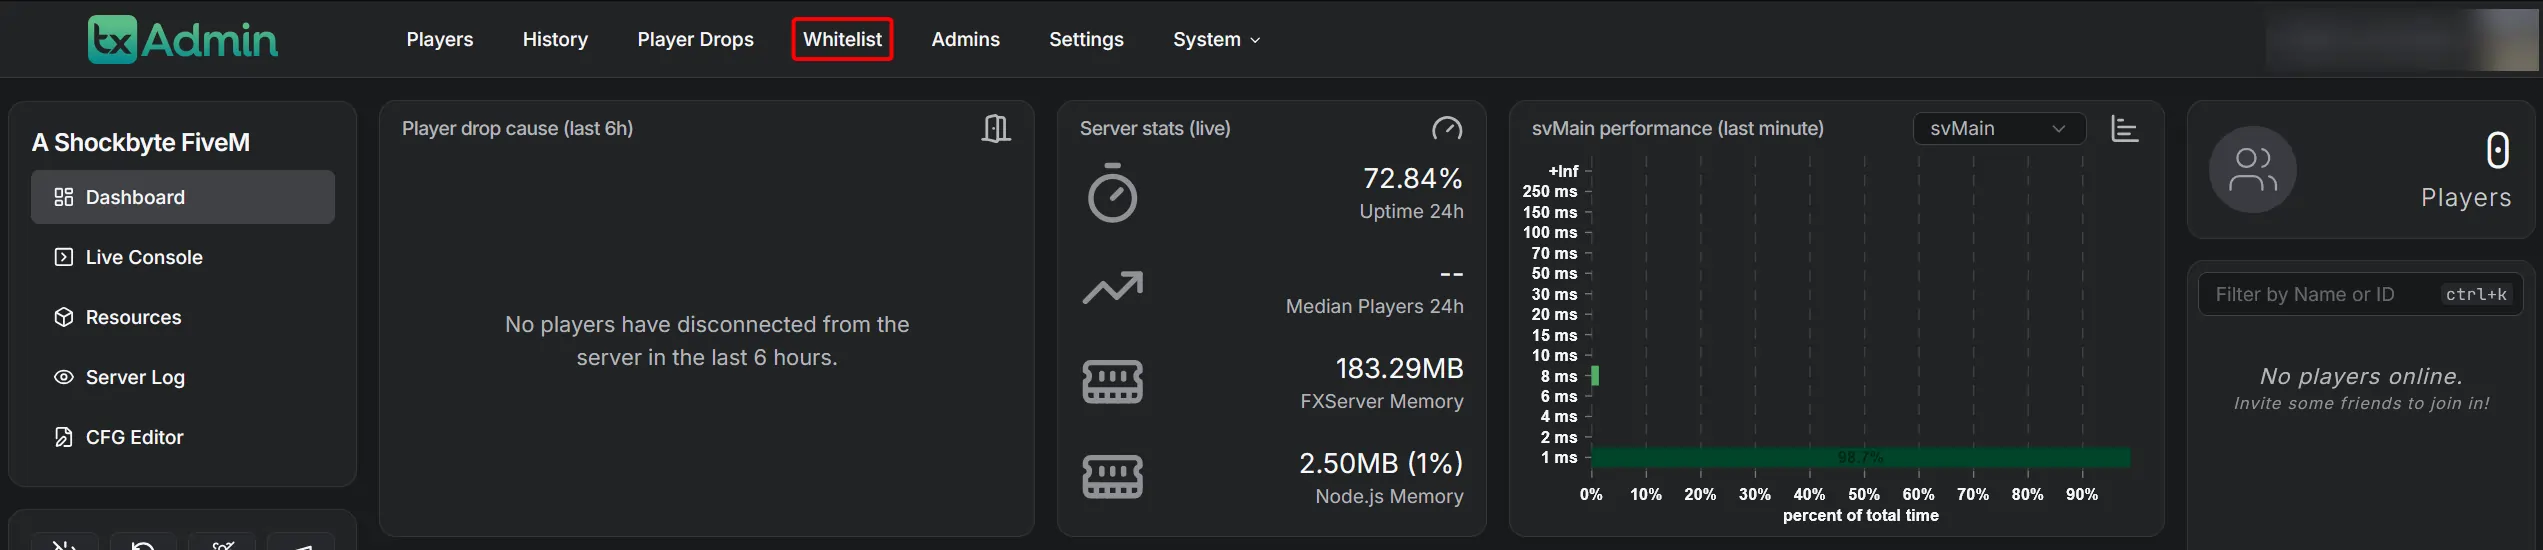
Navigate to Settings and open the Whitelist tab.
-
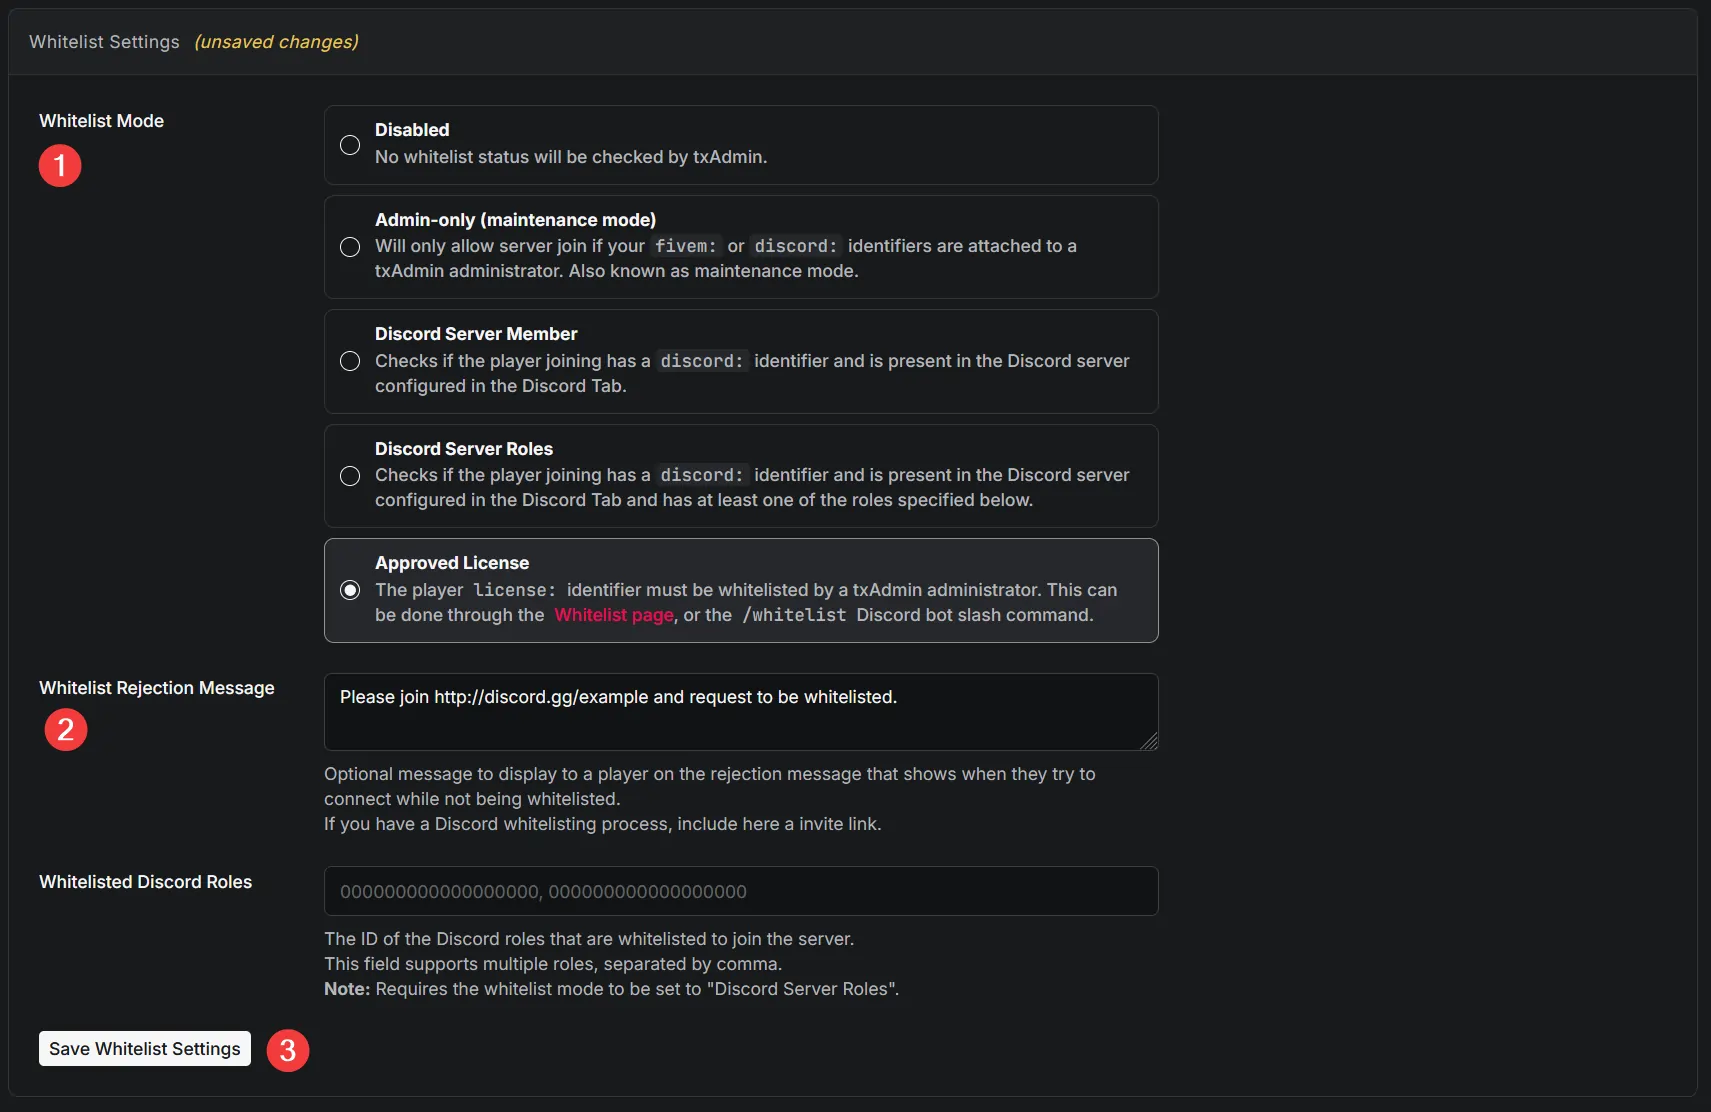
Select the Whitelist Mode you'd like to run, set a Rejection Message, and click Save.
-
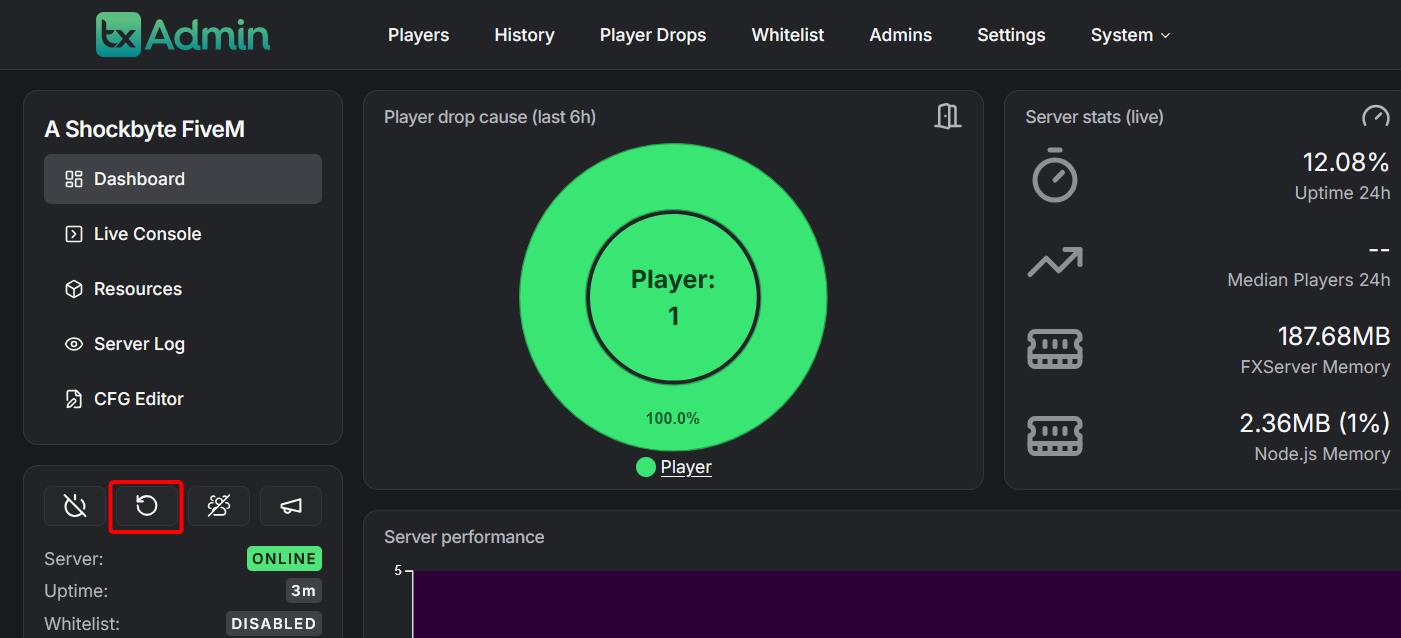
Restart your server.
#Approving Whitelist Applications
After you have enabled the whitelist for your RedM server, people will automatically submit a whitelist application when trying to join. To view these whitelist applications, please follow these steps:
-
Go to your Shockbyte Control Panel.
-
Launch txAdmin.
-
Navigate to the Whitelist tab.
-
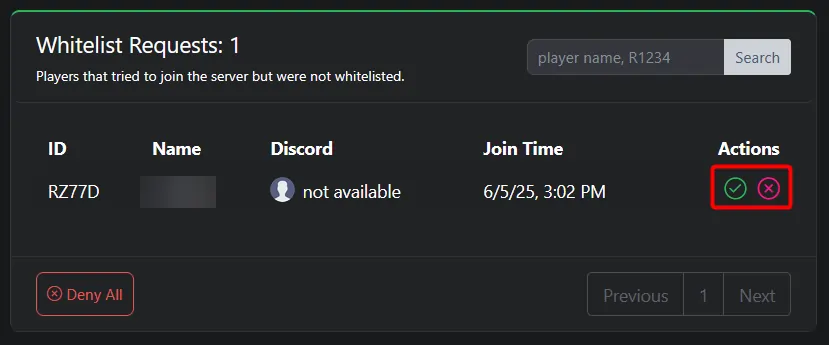
Under Whitelist Requests, you are able to either approve or deny pending players.
#Adding Someone to the Whitelist
After you have enabled the whitelist for your RedM server, you can add trusted players directly.
-
Go to your Shockbyte Control Panel.
-
Launch txAdmin.
-
Navigate to the Whitelist tab.
-
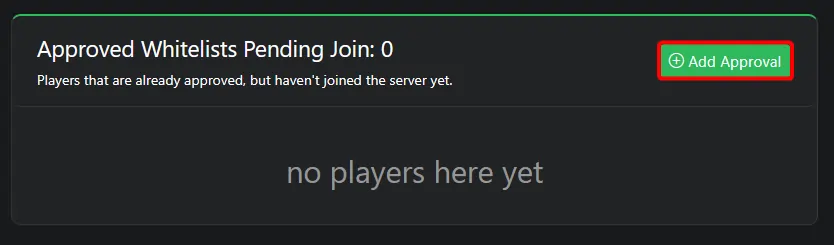
In the Approved Whitelist Pending Join section, click Add Approval.
-
Enter the player's identifier using the format:
identifierType:identifierand click Submit.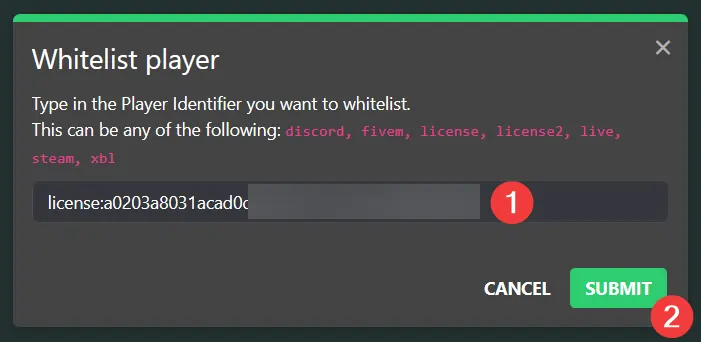
#Removing Someone from the Whitelist
After you whitelisted someone, you may want to revoke their access. You can do this being following these steps:
-
Go to your Shockbyte Control Panel.
-
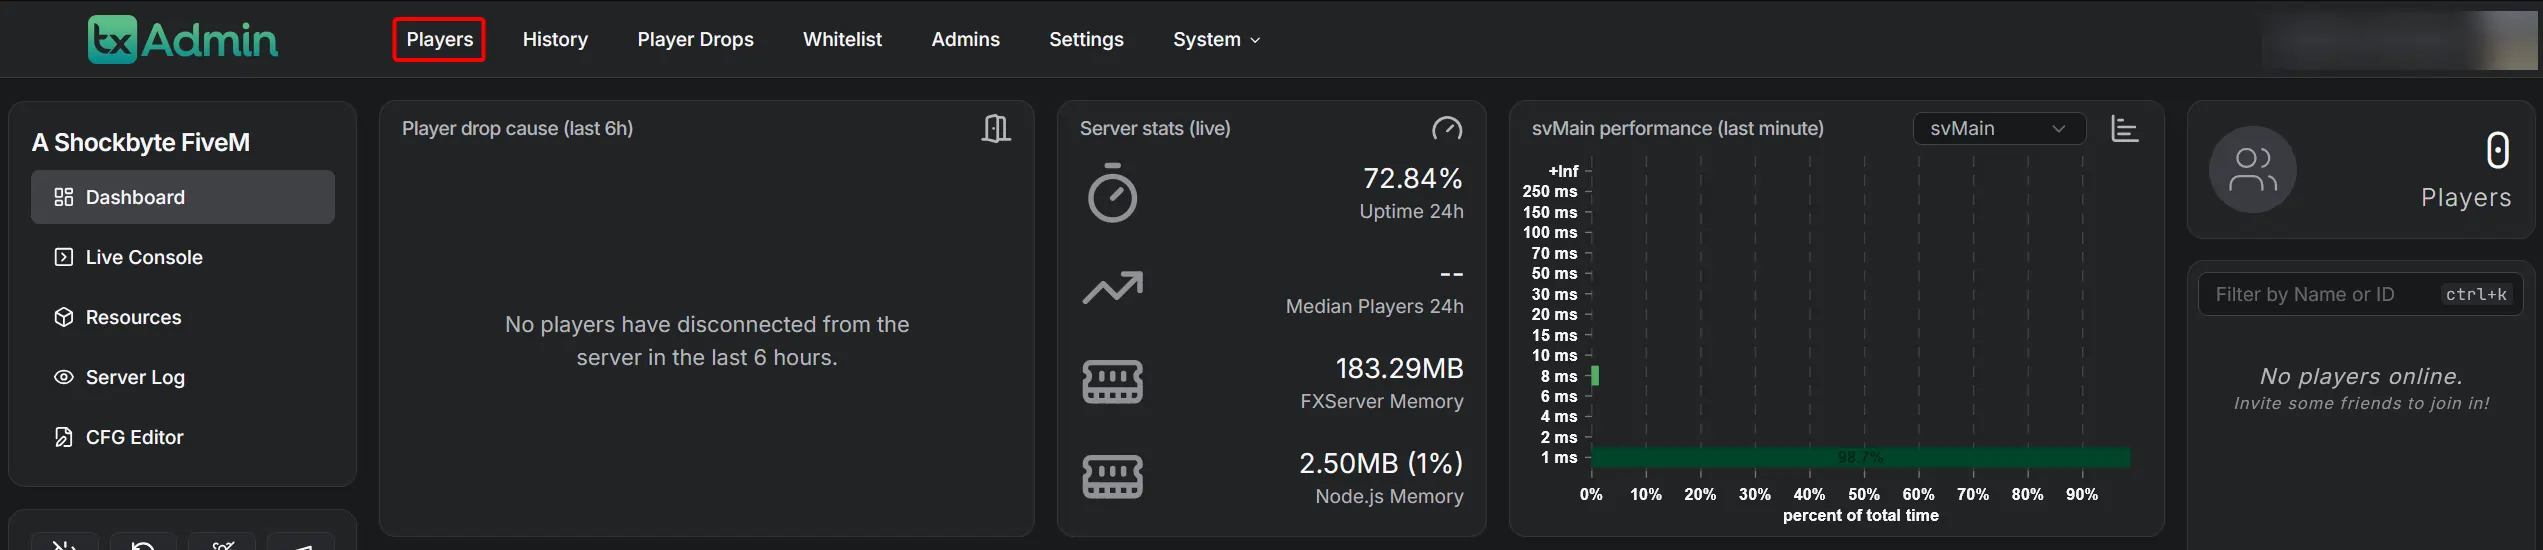
Launch txAdmin.
-
Navigate to the Player tab.
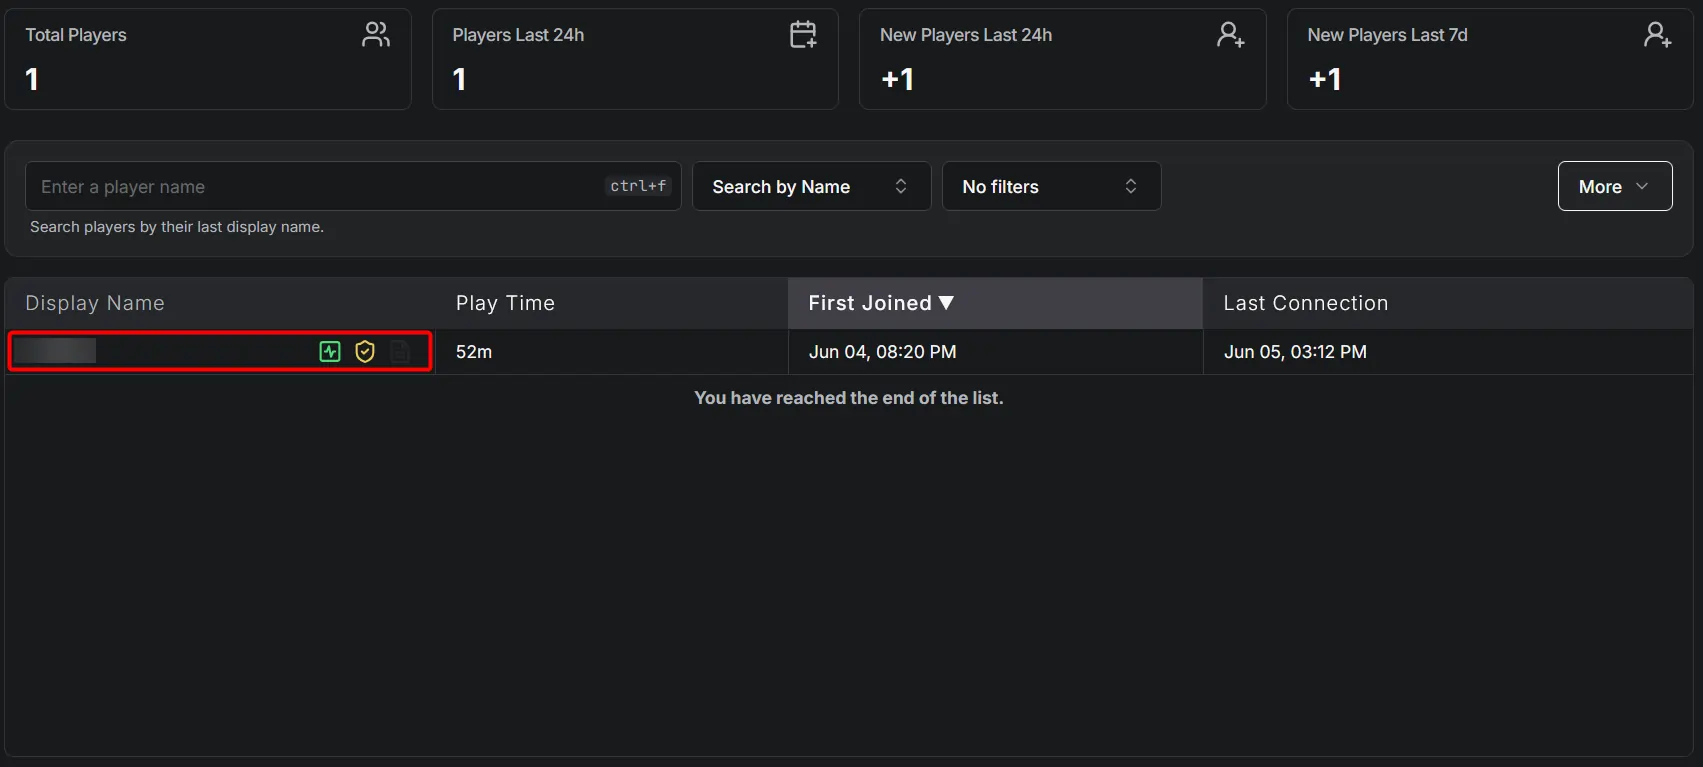
-
Select the player whose access you wish to revoke.
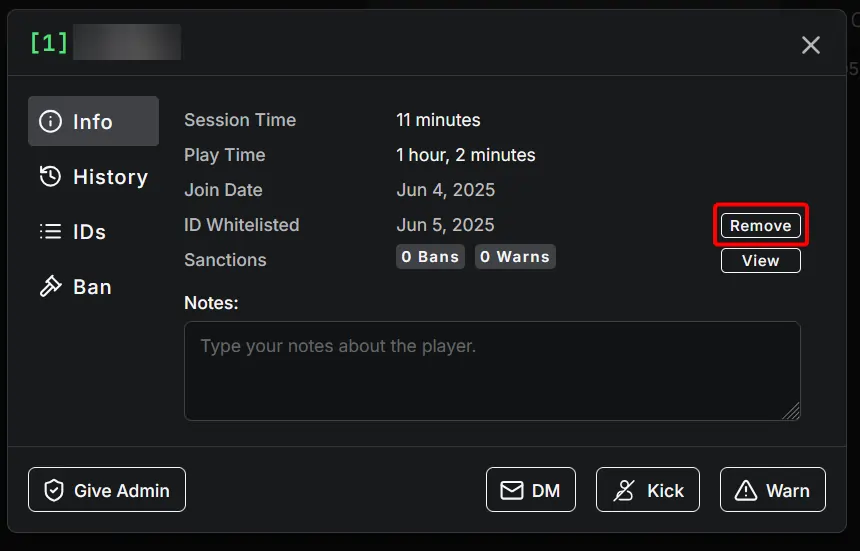
-
Click Remove.
To learn more about RedM server hosting, you can browse our library of Knowledgebase articles here.