Managing Your Server

Managing Your Server
41 ArticlesHow to Install a Custom JAR (Custom Server Type)
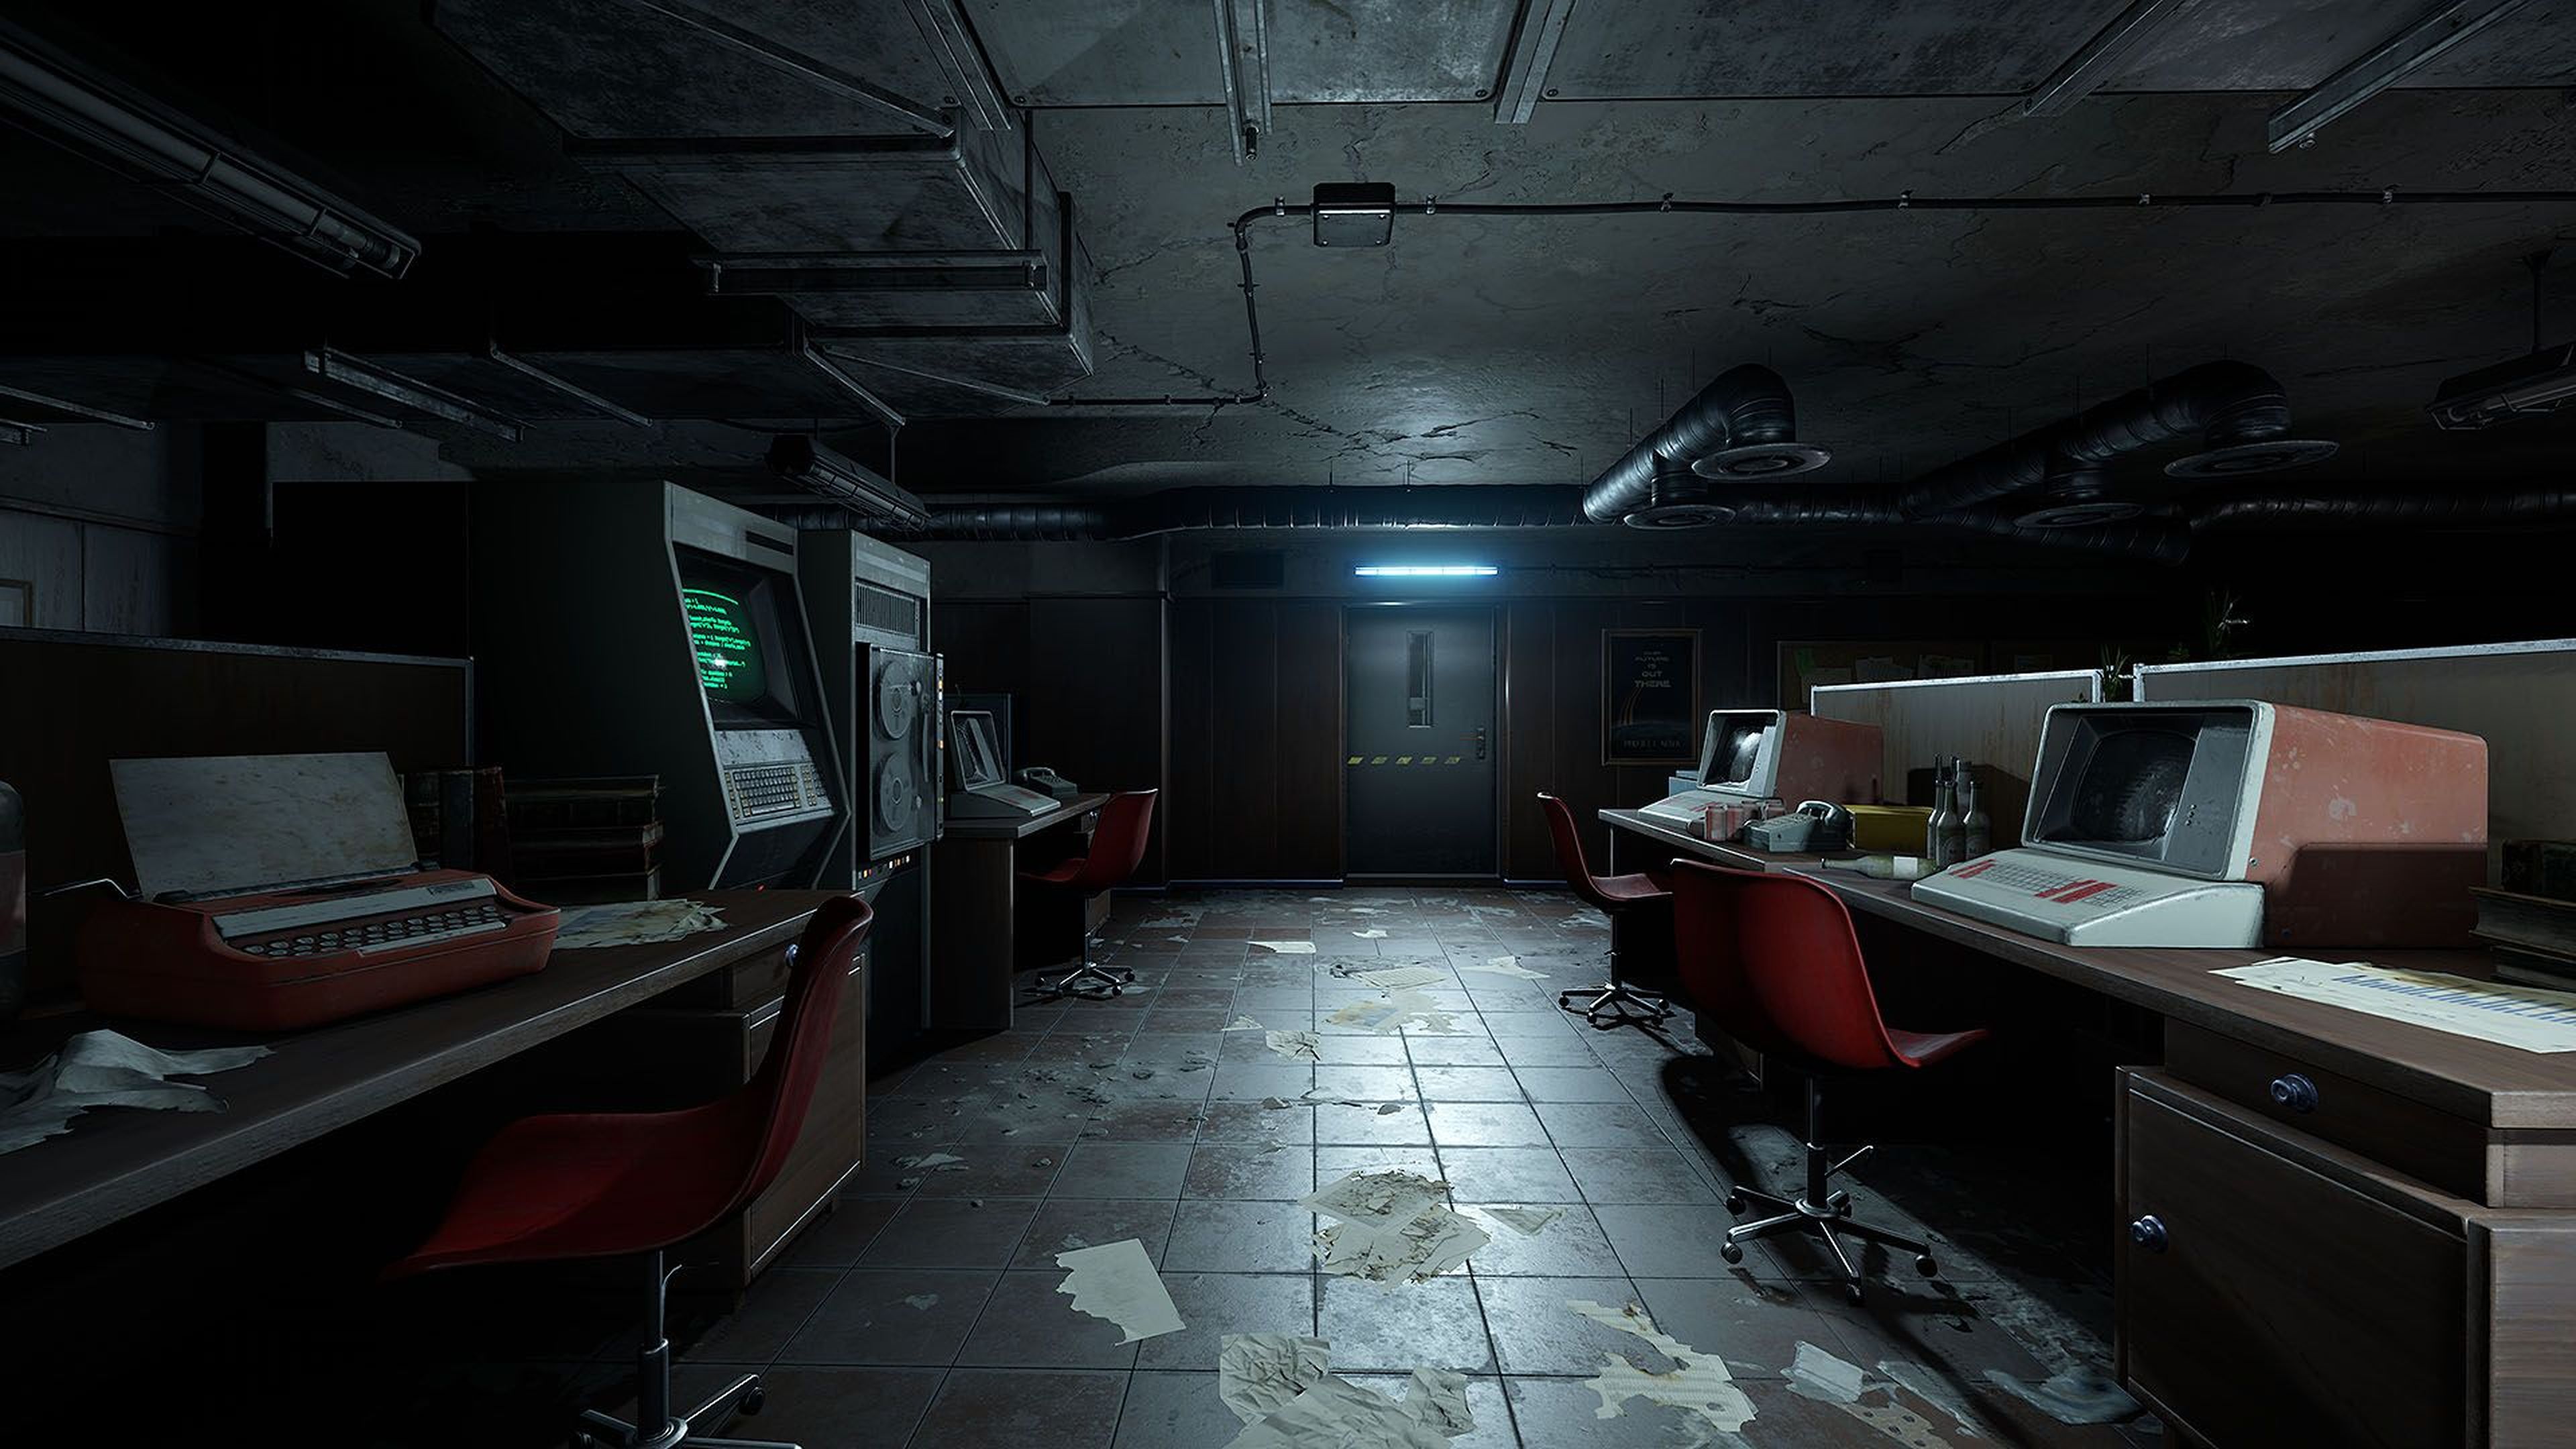
A server type allows you to select the JAR file that your server will run on startup; for example, PaperSpigot, Bukkit, and Forge are all different types of JARs/server types. Although we offer built-in support for many different server types using our server type selector, it is possible to install any server type or modpack on your Shockbyte server. To do this, you will need to install it as a custom JAR by following the steps provided in this article. ::ProseNote{title="Important" description="Forge versions 1.17.1 and newer can only be installed using our server type selector, a custom jar will not work. Contact our support team if one of these versions are unavailable." appearance="default"} :: Installing a Custom JAR To install a custom JAR file, you must select the appropriate server type, upload your custom JAR file, and rename the file to . 1. Access your control panel and Stop your server. 2. Navigate to the Choose a Server Type window at the top of the control panel. If you want to create a new instance for your server type, you can find a guide for this here. 3. Click on Custom Jar and then click Next Step. 4. Select the correct Java version for the Custom Jar depending on which Minecraft version you wish to use and click on Next Step. | Minecraft Version | Recommended Java Version | |-------------------|---------------------------| | 1.8 to 1.11 | Java 8 | | 1.12 to 1.16.4 | Java 11 | | 1.16.5 | Java 16 | | 1.17 - 1.20.4 | Java 17 | | 1.20.5+ | Java 21 | Note: Minecraft versions between 1.17 - 1.20.4 may run on Java 18, but it is not officially recommended. For stability and compatibility, Java 17 should be used for these versions. 5. Once you have chosen the Custom Jar you wish to use, click on Save Changes. 6. Navigate to your server Files. 7. Upload your desired server JAR to the base directory of your server files. 8. Rename the server type to . Make sure that it is in lowercase; otherwise, it will not load properly. 9. If you're installing a server type that requires extra files (usually additional libraries) such as Forge, SpongeForge or any modpack, you will also need to upload these. These are generally generated by running the installer for a server type on your own computer, and then uploading the files it downloads onto your computer. That's all! Once you restart your server, it will begin loading your custom server JAR.
How to Use NBTExplorer to Edit Minecraft World Data
NBTExplorer is a powerful, easy-to-use editor that allows you to view and edit any attribute of your Minecraft world, including player inventories, enabling and disabling hardcore mode, and much more! It’s used for editing any file that uses the NBT file format, which is what Minecraft uses for most of its world data. --- How to Download NBTExplorer NBTExplorer is a downloadable program available for Windows, Mac, and Linux. You can find the download link for NBTExplorer here. Once there, you can download the relevant files for your operating system and start the setup wizard. --- How to Use NBTExplorer to Modify Your Server World Now that you’ve downloaded NBTExplorer and completed the setup process, you’re ready to modify any value you’d like in your world, such as changing your world to hardcore mode, which this guide will cover! You can do this by following these instructions. 1. Access your Control Panel and Shut Down your server. 2. Backup your world before making any changes. You can manually back up your Minecraft server by following our guide here. 3. Navigate to the Files tab, and open your server's World folder. 4. Select the file, and click Download. 5. In NBTExplorer, open the that you downloaded. 6. Make any of your desired changes, then click Save All Modified Tags. 7. Navigate back to your Control Panel's Files tab, and inside your world folder, re-upload the file. Allow it to replace the existing file. 8. Start your server. More on NBT Editing Now that you understand the basics, you may be interested in what else can be modified. With NBTExplorer, you can add or modify existing entity data inside specific regions in your world. It’s recommended to modify an existing single-player world as practice or to create a copy of your server before making any changes. If you’re interested in using a web-based NBT tool instead of installing one, you can find a popular alternative here. To learn more about the types of values you can modify and edit, check out Minecraft Wiki’s page on the NBT Format.
How to Use Game Rules in Minecraft
Game rules allow you to alter or modify the gameplay of your Minecraft server without using any mods or plugins. Game rules are an extended set of configuration options available by default and can be used both in single-player and multiplayer. Some examples of functions you can change with game rules include freezing the weather or time cycles, mobs dropping items when they die, players keeping the items in their inventory when they die, preventing creepers and endermen from griefing, and more. ::ProseNote{title="Operator Permissions" description="You must be a server operator (OP) to be able to use the /gamerule command. If you are not yet an operator, check out our tutorial here: Giving Operator (OP) to a Player" appearance="danger"} :: Using the command will display a list of game rules you can modify. Check out some of the useful game rules listed below, what they do, and the commands to enable or disable them. For a full list of all available Java Minecraft game rules, check out the wiki page on the subject here. | Game Rule | Description | Command | | ----- | ----- | ----- | | announceAdvancements | Enable or disable announcement of player achievements in-game. | | | doDaylightCycle | Enable or disable the day and night cycle, and moon phases. | | | doMobSpawning | Enable or disable the spawning of mobs in the worlds. | | | doWeatherCycle | Enable or disable the weather cycle and changes in Minecraft. | | | keepInventory | Enable or disable keeping of items in players' inventories when they die. | | | mobGriefing | Enable or disable the ability of mobs to change the world and pick up items. | | | pvp | Enable or disable the ability of players to fight against or hit other players. | | | showDeathMessages | Enable or disable death messages from being shown on the chat. This also affects messages shown to a player when their pet dies. | | | tntexplodes | Enable or disable TNT explosions. | |
How to Use a MySQL Database on Your Minecraft Server
MySQL Databases are one of the many ways to store server data, commonly available for plugins. Your Shockbyte server comes with a free MySQL database that can be used to store new or existing data. If you do not have one yet, you can create a MySQL Database by following this tutorial: Creating a Database for Your Server. Once you've created a MySQL database, to use it, you simply need to provide your database information in the configuration file of a plugin that supports storing data in a MySQL database. Generally, the information required is the host, username, password, and the name of the database. ::ProseNote{title="Note" description="The example below assumes your server is running Spigot or Paper. The steps may be different when used in other server types." appearance="default"} :: --- Using a MySQL Database As an example, let's configure the plugin LuckPerms to store permissions data into your newly created MySQL database. This is a very popular plugin for managing player permissions. 1. Navigate to the Files Tab. 2. Head into the plugins folder, and then the LuckPerms folder. 3. Click the file to edit it. 4. Locate the Storage Method option and change it to . 5. Under the data section, change the values to your MySQL database information. ::ProseNote{title="Note" description="For this tutorial, we will be using sample information as an example, which you can find on your panel under Databases and then clicking on your desired database." appearance="default"} :: If you have successfully set up LuckPerms to use a MySQL database, it should begin storing all plugin data into the database. Each plugin that supports MySQL database storage will have similar steps to configure the plugin to use your database. If not, feel free to let our support team know, and we can help you out.
How to Use a Custom World Seed for Your Minecraft Server
A seed or world seed is a combination of letters and numbers used to specify how terrain is generated when creating a new world in Minecraft. Since a seed is the basis for how a world is generated, using the same seed will generate the same terrain. You can use the command /seed to display your current world seed. Do note that this may not work for servers for which you do not have permission to use commands. --- Important Notes - Generated worlds using the same seed on different versions of Minecraft may not be identical, especially with versions that feature new biomes or a different world generation, just like Minecraft 1.13 (Update Aquatic). - World seeds are a feature on all editions/platforms for Minecraft (Java, Bedrock/MCPE, etc.). However, a seed can only be used on the same platform it was from. When used on a different platform or edition of Minecraft, the terrain will not be identical. A seed for a Minecraft Java Edition world will not yield the same one when used in Minecraft Bedrock/Pocket Edition. - Seeds can be used in both single-player and multiplayer (servers). Using a custom seed allows you to customize the generation of your world. You can get a seed from a friend, or you can get a seed online from forums like MinecraftForum.net and other websites for sharing world seeds. --- How to Use a Custom Seed on Your Server You can easily use a custom seed for your server's world generation by simply changing an option in your server settings file. 1. Access your Control Panel and Shut Down your server. 2. Navigate to the Files Tab 3. Open up . 4. Locate the Level Seed option and enter the seed you would like to use. 5. Save your changes at the bottom of the page and start your server. ::ProseNote{title="Existing World" description="If you have an existing world, you will need to reset/delete this before starting your server (How to Reset your Minecraft World) for a new world to be generated using your custom seed." appearance="default"} :: After that, that's it! You have successfully used a custom seed for your server's world generation.
How to Trim your World Using MCA Selector
If you have a large Minecraft world, there may come a point when you wish to trim your world. Trimming your world will allow new chunks to be generated in the affected area. This helps trim the world size if it's too big. Also, this is a great way to remove corrupted chunks. Regardless of the reason why you want to trim your world, the MCA Selector tool is a great way to accomplish world trimming. --- Installing the MCA Selector Tool 1. Navigate to the MCA Selector GitHub page 2. Click the Download Version X.X (Windows Installer) link 3. Once the installer finishes downloading, right-click it and click Run as Administrator 4. Click Run Anyway, then follow the setup steps from the installation wizard --- Trimming a World Using the MCA Selector Before you load your world into the tool and start trimming, we highly recommend you generate a backup of your world first! 1. Navigate to the File tab and click Open World, then locate and select your desired world folder 2. Hold left-click to drag and select the chunks you would like to keep in your world 3. Navigate to the Selection tab, then click Invert 4. Go back to the Selection tab, then click Delete Selected Chunks This will delete all the chunks highlighted in orange. After it processes, you have successfully trimmed your world. Next time you load into this world, it will start regenerating the affected chunks using the MCA world generator version of the world.
How to Trim your Minecraft World (using WorldBorder Plugin)
Using the WorldBorder plugin for Spigot or Paper, you can trim out chunks of your Minecraft server world that are outside of your configured border using commands. If you don’t already have WorldBorder installed on your server, you’ll need to install it in order to follow the steps in this tutorial. You can download the WorldBorder plugin from the SpigotMC website, then follow our tutorial on installing Minecraft plugins. --- Trimming your World As an operator (OP), you can use commands to trim your world. The command to trim a world is: . You can replace with the name of the world you want to trim. If you don’t specify a world name, the current world you are in will be used. Replace with the number of chunks per second WorldBorder will try to check for and trim off. For optimal performance, set this number to 20 or lower. A lower number will take longer, but will reduce lag on your server. Replace with a number representing the buffer to add beyond your border. The default is 208 and is suitable for most servers. You can use the command to generate missing chunks of your world that are within the border. To learn more, check out our article on pre-generating your world using WorldBorder.