Still have questions?
Nuno Paiva
Game Integration Specialist @ Shockbyte

How To Install Workshop Mods On Your DayZ Server
How to Install Workshop Mods on Your DayZ Server
DayZ supports a large number of mods from the vanilla game. You can easily get these up and running on your server!
Important
If you haven't installed any mods on your client yet, check out our guide on how to install Workshop mods for your DayZ client.
#Finding Steam Workshop Mods
- You can browse the Steam Workshop and find mods you’d like to install here: https://steamcommunity.com/app/221100/workshop/
- Once you’ve found a mod, copy its Workshop ID from the end of the mod’s URL.
Example URL:
https://steamcommunity.com/sharedfiles/filedetails/?id=1559212036
In this example, the Workshop ID is 1559212036.
#Adding Steam Workshop Mods to Your DayZ Server
You can install mods directly through the Config tab in your Shockbyte server panel.
- Access your control panel and Stop your server.
- Navigate to the Config tab and open DayZ Mod Settings.
- In the Steam Workshop Mod IDs field, enter the Workshop IDs of the mods you want to install, separated by commas.

Note
Avoid adding spaces between mod IDs and commas to prevent issues.
-
Click Save, then Start your server. The mods will download automatically, and new folders like
@ModNamewill appear under the Files tab. -
To enable mods, return to the Config tab and enter the folder names (e.g.,
@ModName) in the Mods or Server Mods fields:- Mods: Require installation on both client and server (maps, items, gameplay).
- Server Mods: Only needed on the server (admin tools, logging).
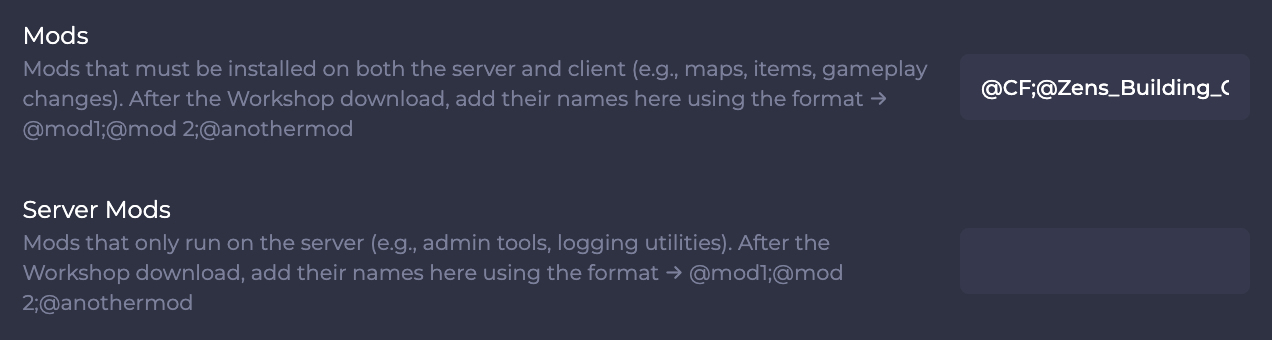
Separate multiple mods with a semicolon (;).
- Save again and Restart your server to apply changes.
You’ve successfully installed and enabled Steam Workshop mods on your DayZ server! Enjoy the new content, improved features, and enhanced gameplay that mods bring to your experience.