Table Of Contents
Changing the CPU PriorityStill have questions?
Come chat with us and we will get back to you as soon as possible!
Contact SupportJay Miller
Game Engineer

How to Change the CPU Priority of Your Rust Server
Rust
·Oct 27, 2024
·2 min read
Operating systems share processor resources between all running processes based upon their priority level. If a process (application) has a higher priority level, it gets more processor resources for better performance compared to a process having lower priority. This guide will show you how to change the CPU priority of your server.
#Changing the CPU Priority
Following these steps will upgrade your server, resulting in a higher renewal cost and an invoice to pay upon completion of these steps.
-
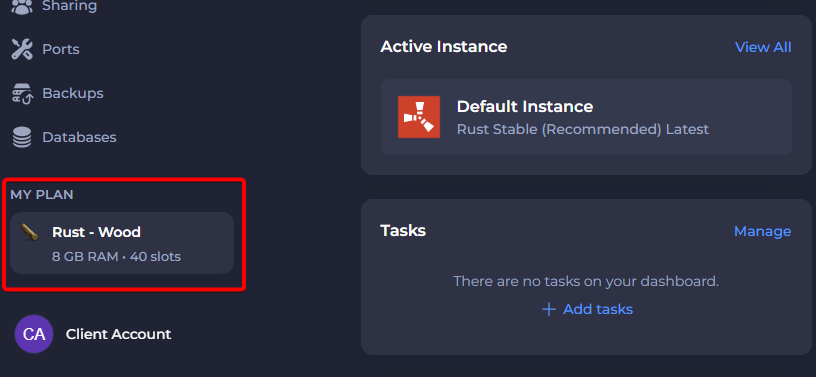
Navigate to your Control Panel.
-
Select My Plan from the menu located at the bottom left of the screen.
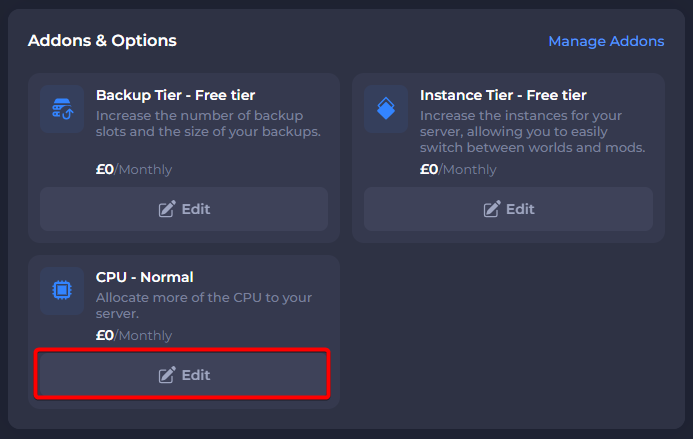
- In the Addons & Options section, click on Edit under the CPU addon.
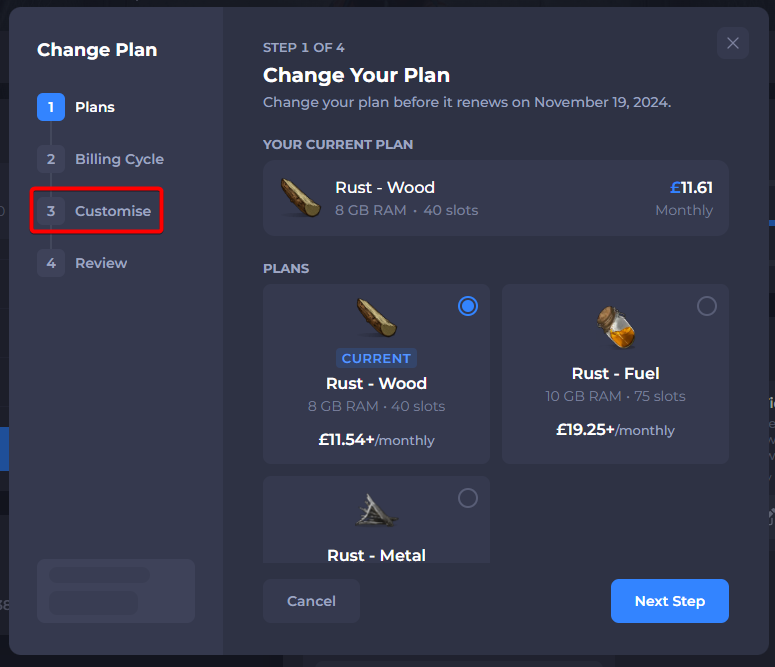
- Click on Customise under Change Plan.
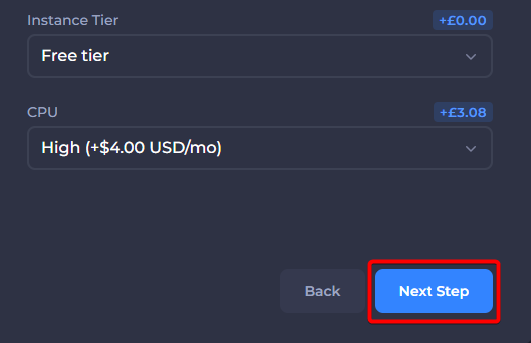
- Select the CPU Priority you wish to upgrade to.
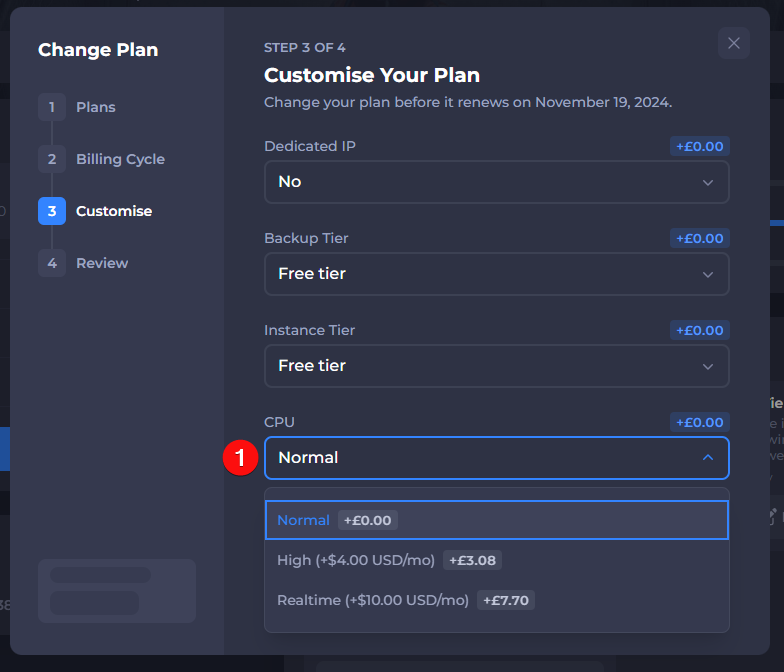
- Click on Next Step once a CPU Priority is selected.
- Confirm the changes and click on Change Plan.
Your server should now be upgraded to your selected CPU priority. Make sure that any outstanding invoices are paid here.