Still have questions?
Jay Miller
Game Engineer

How To Upload An Existing World To Your Palworld Server
If you had hosted a local world or single-player Palworld session before purchasing a dedicated server, you can transfer your existing world data over to your new server.
Host player
The host player will lose their character progress when the save is transferred. This is because the dedicated server itself will assume the role of the host character. We recommend that the host place as many items or Pals into storage as possible before transferring the world.
#Finding Local World Files
You can directly access your save files from the open folder button found in-game.
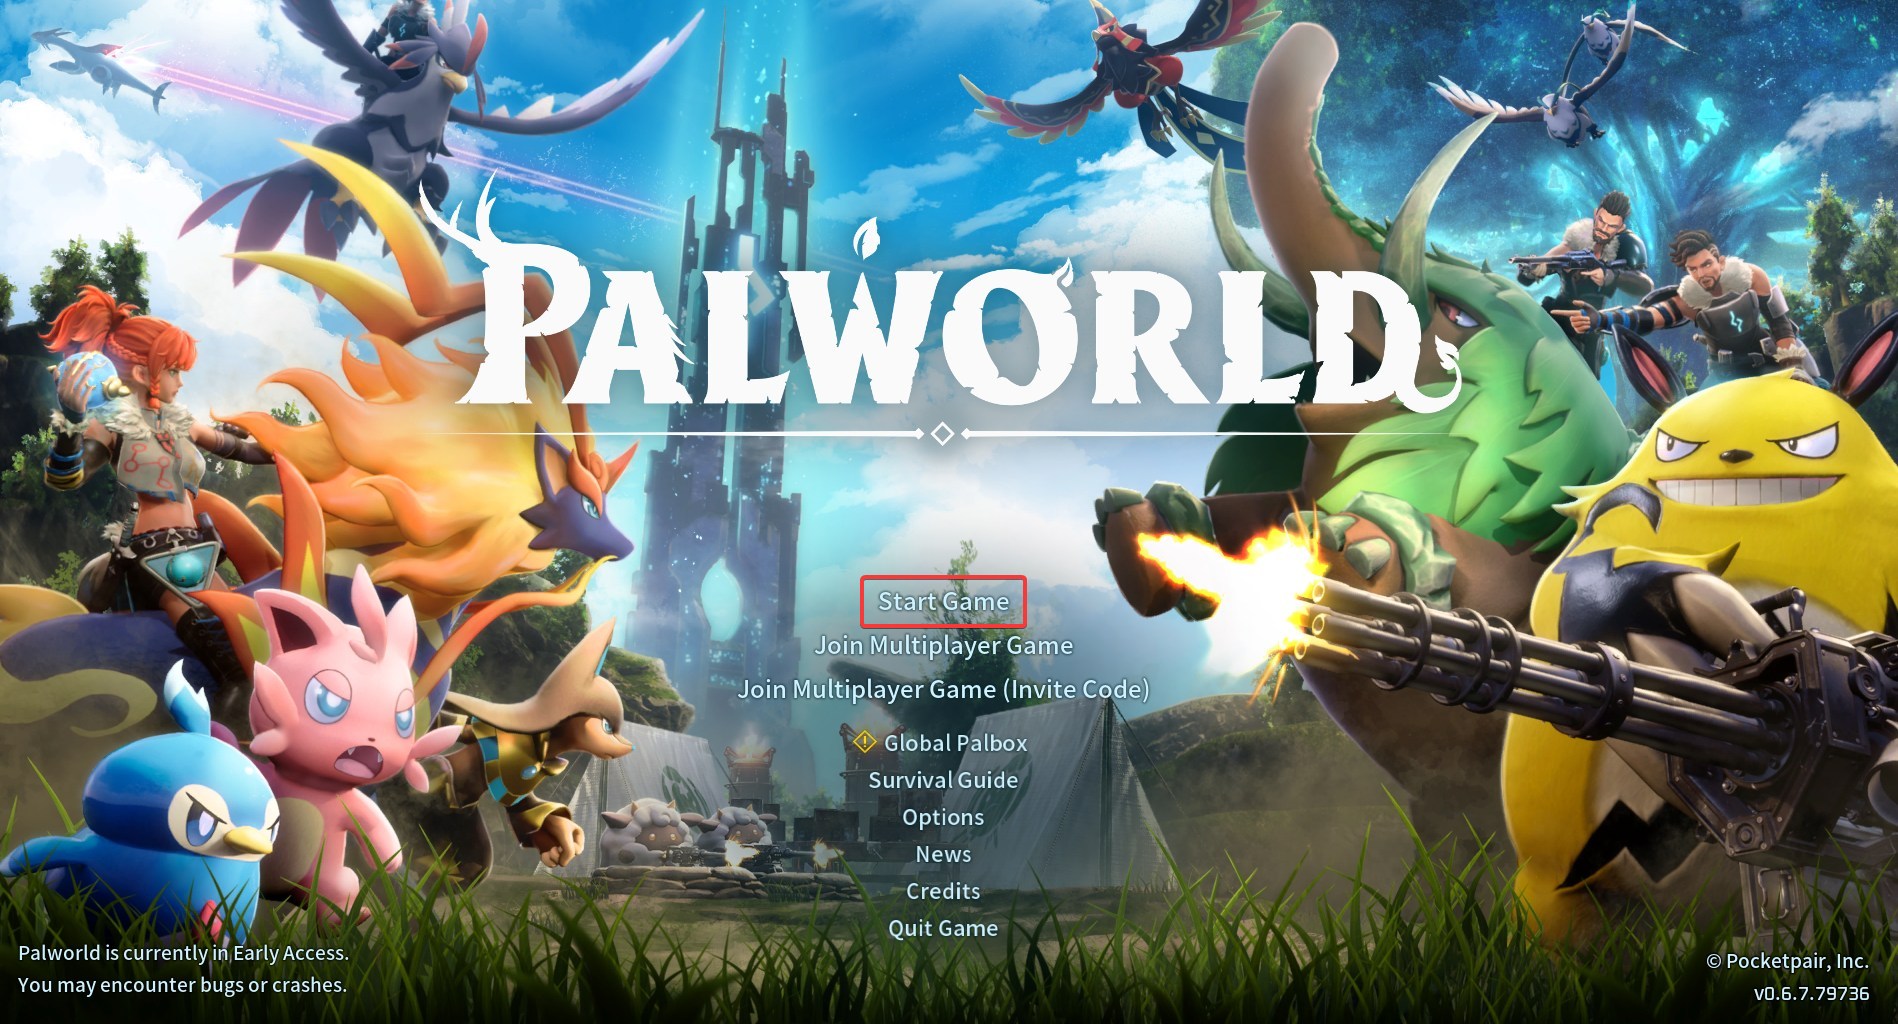
- Open Palworld, and click Start Game to view your world list.
- Select your desired world, then click the folder icon in the bottom left.
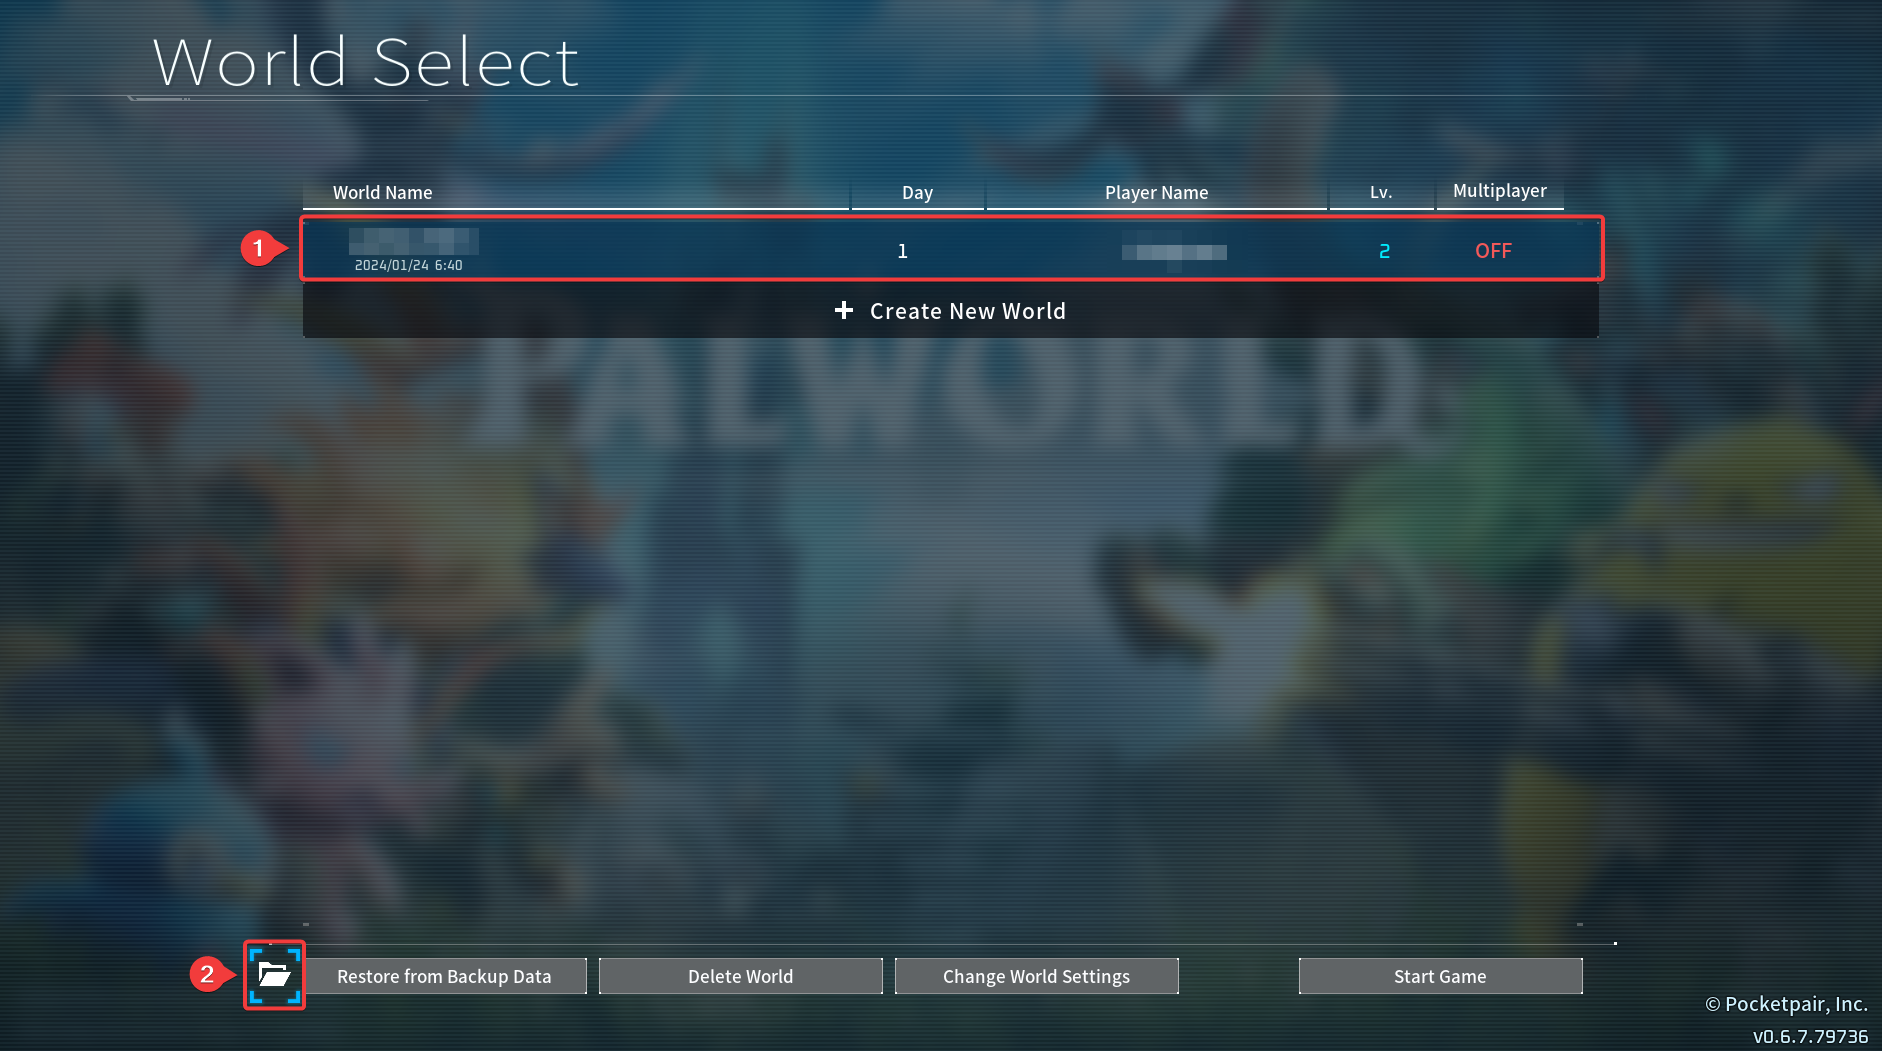
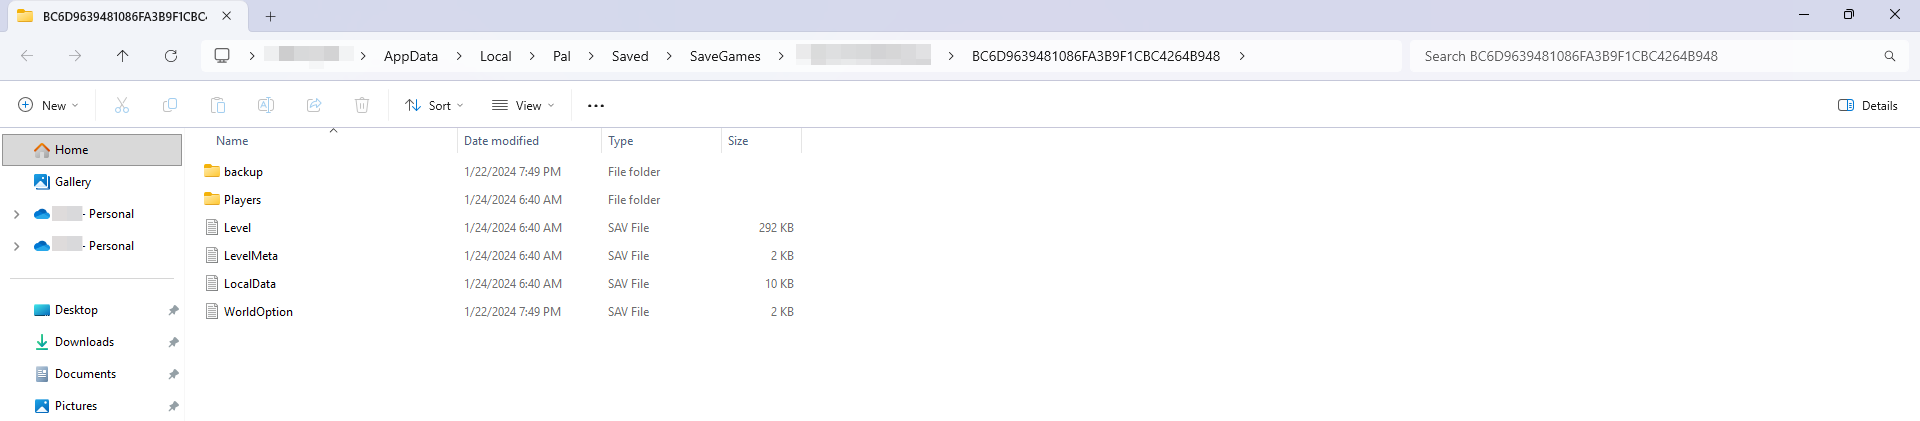
- You should now see your world files; keep them open.
#Uploading an Existing World
Once you have located your existing Palworld world files, you can replace your server's existing world files with them.
-
Access your Control Panel and Stop your server.
-
Navigate to the Files tab on your server.
-
Navigate to
/Pal/Saved/SaveGames/0, then open the last folder, which will usually be named a random string of characters.
- Delete all the files within this folder; they will be replaced by your existing world files.
If you'd like to save these files for future use, you can create a backup before deleting them.
- Upload your existing world files to the same directory. Do not include the WorldOption.sav file.
If you upload the WorldOption.sav file, it will override the server's configuration, and you will not be able to make edits with the Palworld Server Settings file.
- Start your server.