Shockbyte Panel

Shockbyte Panel
23 Articles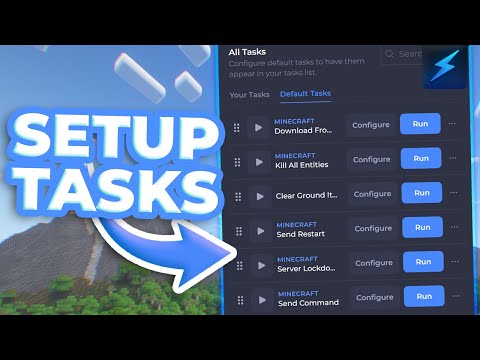
Creating Scheduled Tasks With The Shockbyte Panel
There are certain tasks or functions that you may want to occur periodically on your server. In order to avoid forgetting to do these tasks yourself, it may be helpful if they automatically happened for you. This is where scheduled tasks come in to play. You can schedule tasks to automatically run on your Minecraft server using the control panel. Such tasks could include backing up your server, restarting your server, or anything else you could imagine. Almost any command can be programmed to run automatically, either once or at a specified interval. --- How to Configure a Task You will be able to configure a task within the Tasks tab on the control panel. 1. Login to your server on the control panel. 2. In the left menu under Server Settings, go to Tasks. 3. Under All Tasks, select the task you wish to configure and then click on Configure. 4. In the Configure your task window, fill in the required fields and then click on Save. 5. Your task will then be saved in the Your Tasks section. How To Run a Task You will be able to run a task from the Tasks page on your control panel. 1. On the Tasks page, locate the task that you wish to run. 2. To Run the task, click on Run. Please note that your server will need to be online for most tasks or you will be unable to run the task. How To Schedule a Task You will be able to schedule a task from the Tasks page on your control panel. 1. On the Tasks page, locate the task that you wish to schedule. 2. Drag and Drop the task into the Scheduled Tasks section. 3. On the Schedule Task window, click on Next Step. 4. Then fill in the necessary information such as Name, Date and set intervals if required. 5. Once the information has been added, click on Schedule. 6. The Scheduled task will then appear in the Scheduled Tasks section. To edit or remove the scheduled task, simply click on the 3 dots next to the task. How to Pin a Task You can pin a task by dragging it into the Pinned Tasks section. 1. On the Tasks page, navigate to the task you wish to pin. 2. Drag and drop the task into the Pinned Tasks section. Now you can set up, plan, and run a task easily after following the above guide.
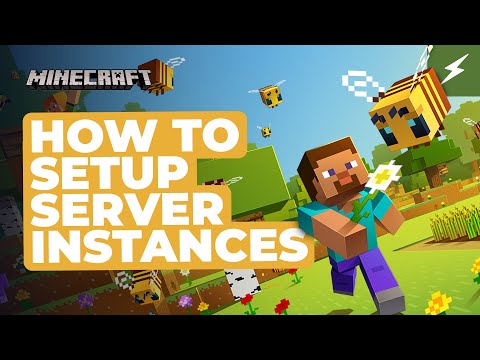
How To Create & Switch Instances On Your Server Panel
One of the great new features of the Shockbyte Panel are Server Instances. Each instance stores a separate set of server files, allowing server owners to keep up to three different server setups with ease. Server admins can also easily switch between instances by hitting the “Switch” button which takes a few minutes to complete. --- Creating a New Server Instance Each Shockbyte server you rent can store up to three separate server instances. Quickly and easily configure your new server instance by following these steps. 1. Navigate to the Shockbyte Panel and open your server panel. 2. Click the Instances tab on the left-hand sidebar. 3. Click the Create New Instance button. 4. Configure your desired Server Type and Version settings. 5. Give your new Server Instance a Name and Short Description. 6. Review your new Server Instance, then click Finish. --- Changing your Server Instance After creating your new server instance, you can quickly swap to it by following these steps. 1. Click the Instances tab on the left-hand sidebar. 2. Click the Switch button next to your desired Server Instance to begin the transition. 3. Confirm the switch over to the new Server Instance, then wait for the process to complete.
How To Backup Your Server Files
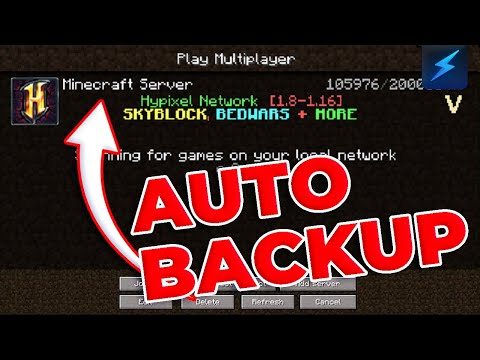
Backing up your server files regularly is highly recommended for all server owners to do. Backing up your files ensures that even if your server files become corrupted for any reason, you can still revert to the recent backup to restore your data. --- Automatically Backup Server Files Setting up an automated backup schedule is the recommended way to backup your server files. By doing this, your server will automatically generate a backup of your files in the interval you configure; it's just like auto-saving in a game! 1. Navigate to the Shockbyte Panel and open your server panel. 2. On the left-hand sidebar, click the Backups tab 3. Click Instance, then select the server instance you would like to schedule backups on. 4. Click Set Interval, then configure how often you would like a new backup to generate. An interval of 24 hours is recommended. If you would like, you can also change the name of your schedule, though is not required. 5. Click Start Backup to generate the first backup and begin the scheduled interval. If you would like the first backup to generate later, you can click the Schedule Backup button and configure the time the first backup should generate. --- Creating a Backup Manually If for whatever reason you do not want to set up an automatic backup schedule, you can still quickly generate a manual backup at any time. 1. Navigate to the Shockbyte Panel and open your server panel. 2. On the left-hand sidebar, click the Backups tab 3. Click Instance, then select the server instance you would like to schedule backups on. 4. Click Start Backup to begin generating the backup.
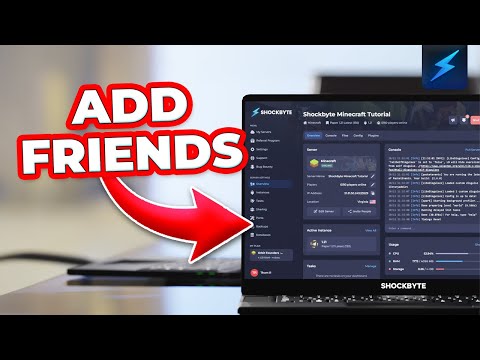
How To Add Friends To Your Shockbyte Panel
An exceptional feature of the Shockbyte Panel is the ability to share your server with other users. Adding a user to your server can allow them to see your console, edits the files, and much more. With the ability to assign roles, you can edit permissions of a user as you desire. Sharing is great for servers that are owned by friends, or that require constant attention by administrators. As it can be quite a lot of work to run a server by yourself, there may be times where you would want assistance in making changes! --- How to Add a User You can add a user by inviting their email from within the Shockbyte Panel. 1. Open your control panel, and navigate to Access Control. 2. Under Invite User, enter the e-mail of the new user, then set their Role. 3. Click Send Invite. --- Once invited, you will see the persons email under the Pending Invites section. Once the invite is accepted, they will appear under the Members section with their assigned role. To create & assign custom roles to members, you can click here to learn how to do so.