Arma Reforger
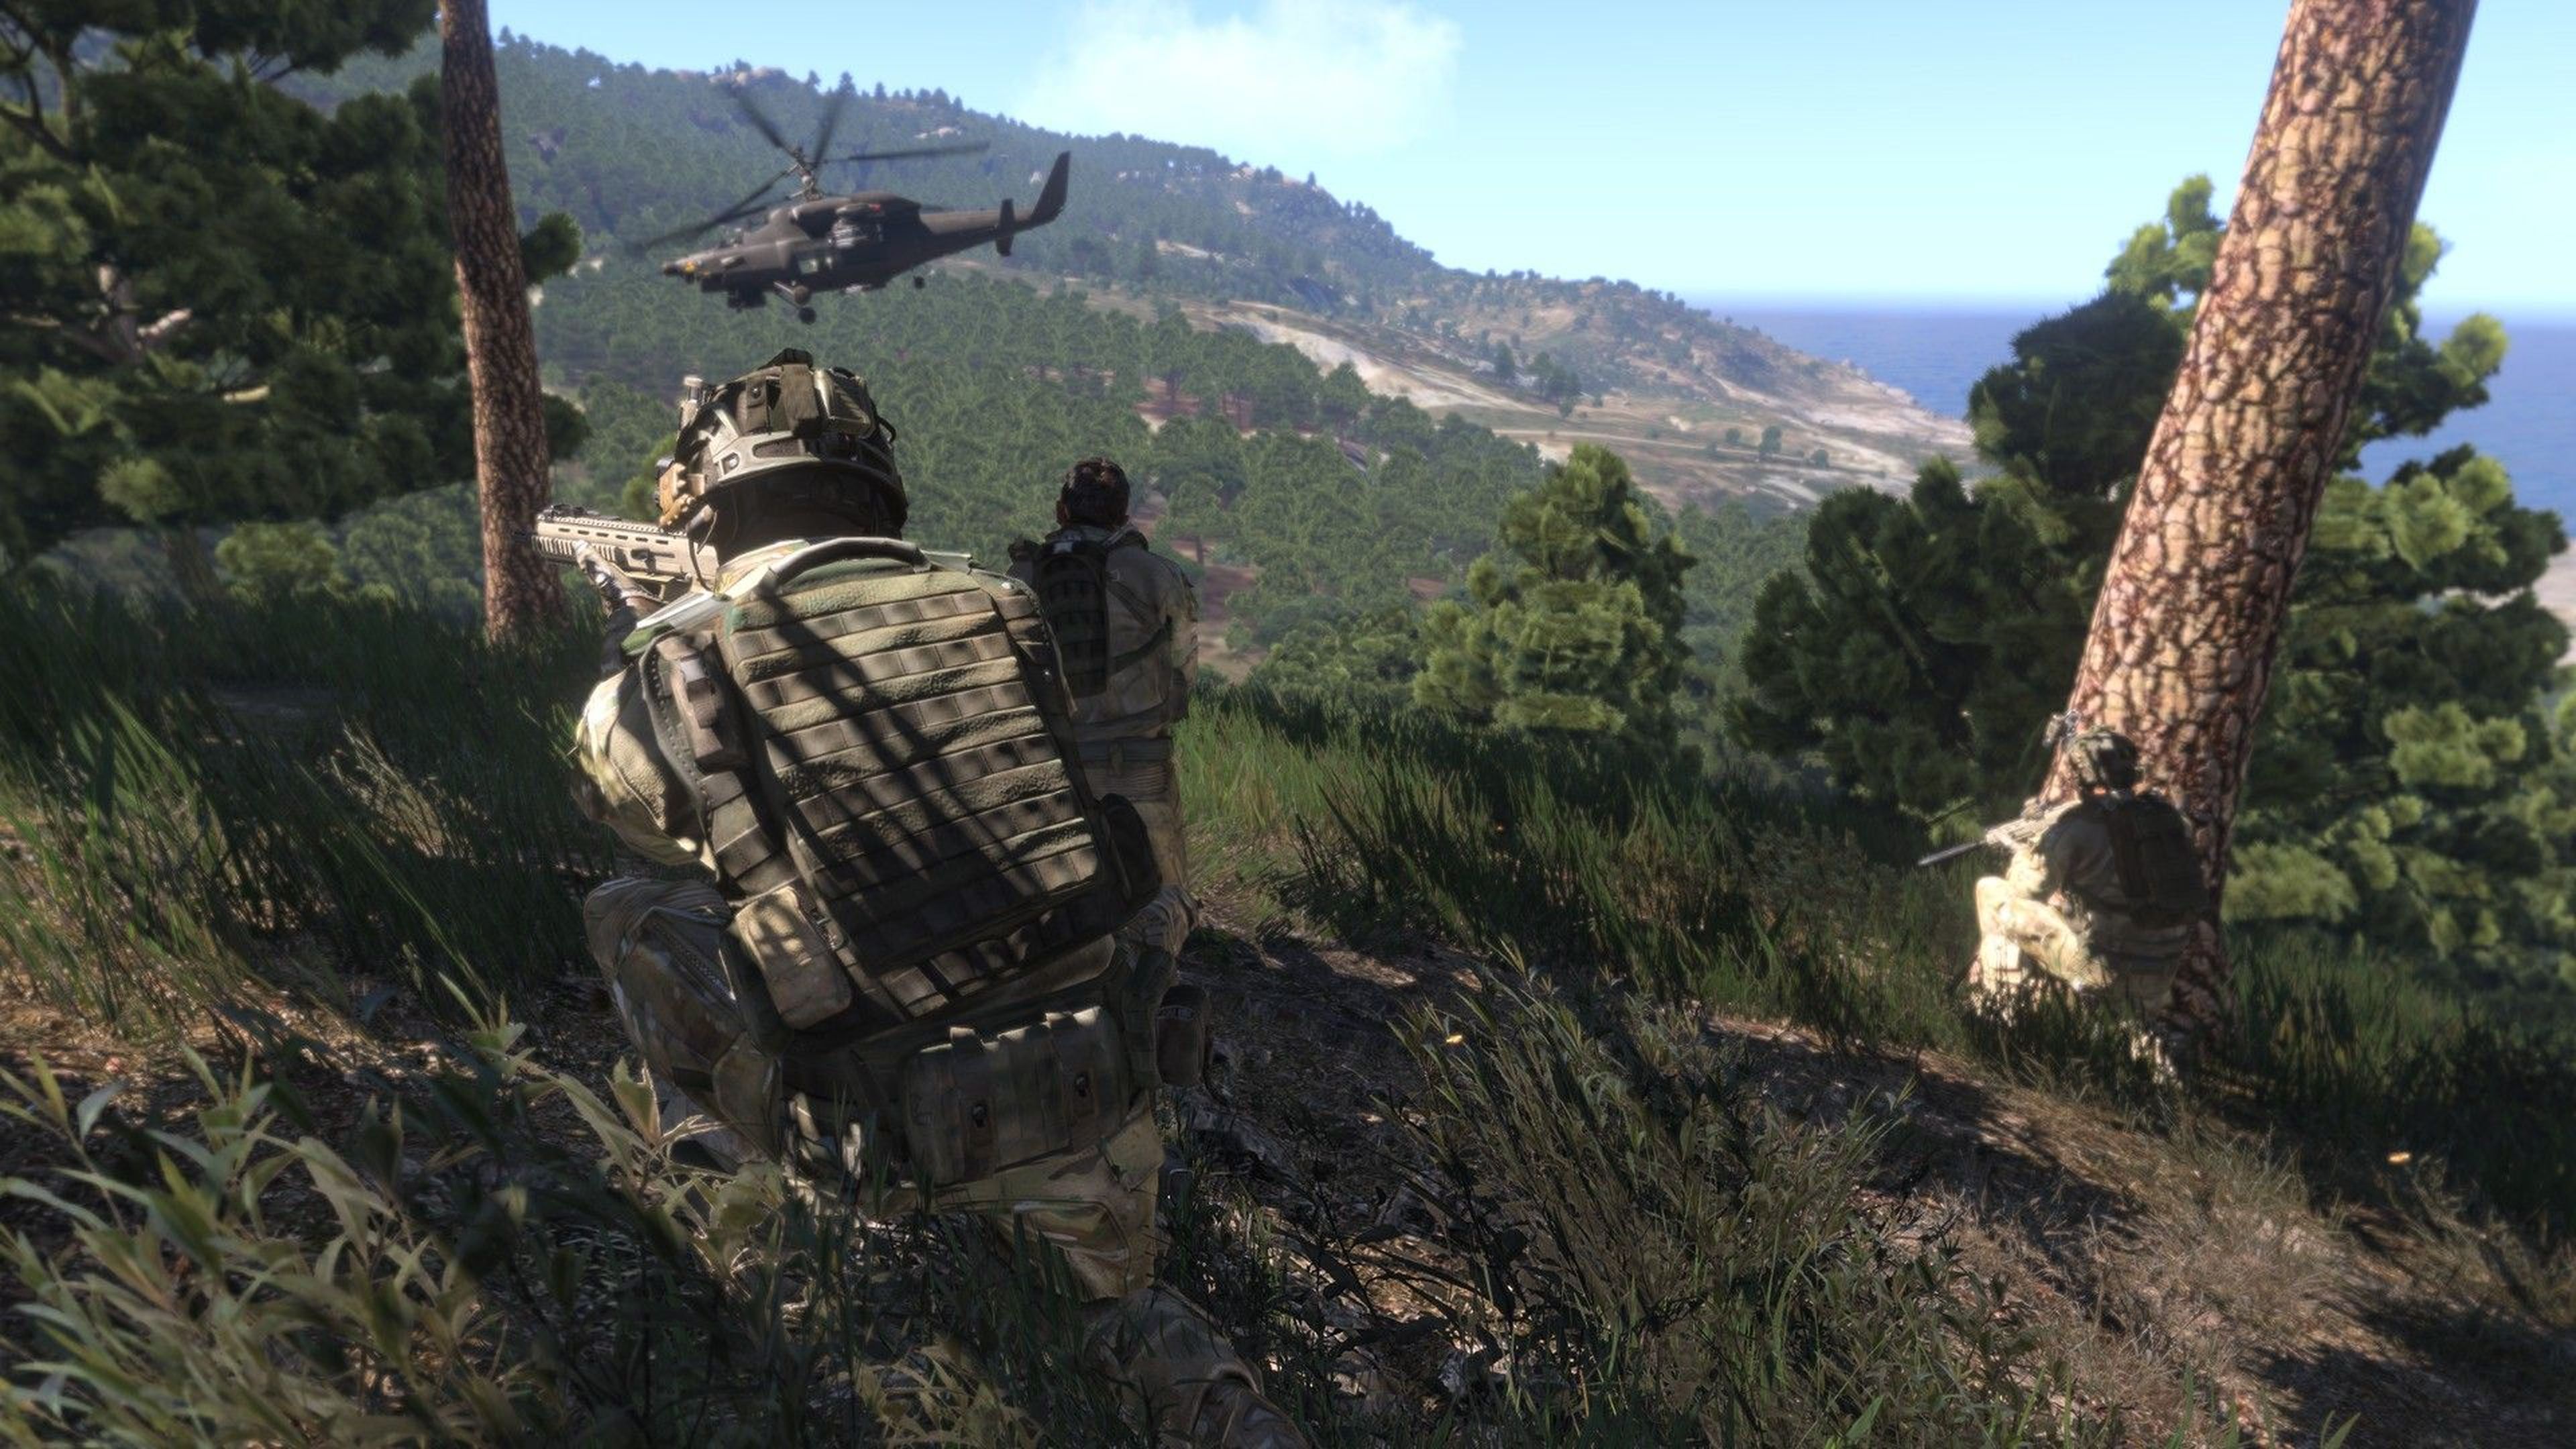

Arma Reforger
7 ArticlesWelcome to the Arma Reforger Knowledgebase for Game Server Hosting, your go-to resource for everything Arma Reforger! Whether you're setting up a server or diving into multiplayer adventures, find all the tips, tricks, and insights you need to host and play with ease.
How to Add Mods to Your Arma Reforger Server
Mods let you add new weapons, vehicles, maps, game modes and custom scenarios to your ARMA Reforger server. Reforger mods come from the Arma Workshop, which Bohemia Interactive runs. You won't find them on the Steam Workshop, even if you own the Steam version of the game. You add mods by listing them in your server's serverconfig.json file. Your server downloads every mod on the list when it starts, so your players get the same mods when they join. --- Finding a Mod's ID, Name and Version Each mod you add needs three details: its ID, its name and its version. 1. Open the Arma Workshop in your browser. 2. Search for the mod you want and open its page. 3. Copy the mod's ID, Name and Version from the mod page. Reforger mod IDs are 16 characters long, for example 591AF5BDA9F7CE8B. If the ID you have is a long number, it probably came from the Steam Workshop and won't work. ::ProseNote{title="Note" description="When getting your mod Name, this will show up in All Caps on the mod page, but copying the name will still copy the correct capitalisation needed for your config." appearance="note"} :: --- Adding Mods to Your Server 1. Navigate to the Shockbyte Control Panel and open your ARMA Reforger server. 2. Click Stop to shut down your server and open the Settings tab. 3. Under Server, select ARMA Reforger Server Settings. 4. Click Text editor in the top right. 5. Find the "mods" line inside the "game" section. On a new server, it reads with nothing between the brackets. 6. Add an entry for each mod between the brackets, with its ID, name and version, like this: 7. Save your changes and Start Server. Your server downloads the mods as it starts, which can take a few minutes for large mods. ::ProseNote{title="Important" description="Put a comma between each mod entry, but not after the last one. A missing or extra comma stops your server from reading the file, and the server won't start." appearance="danger"} :: --- Using a Custom Scenario From a Mod Custom scenarios live inside mods. To run one, you need to add its mod to the mods list and set the scenario in the "scenarioId" field. 1. Open the scenario's page on the Arma Workshop and note which mod it belongs to. 2. Add that mod to your mods list using the steps above. 3. In the config, replace the value of the "scenarioId" line with the scenario's ID. You can also paste it into the Scenario ID field in Simple view. 4. Save your changes and click Start Server. ::ProseNote{title="Important" description="Check that the scenarioId has no spaces before or after it, inside the quote marks. A stray space makes your server restart in a loop." appearance="danger"} :: --- Console Players and Mods PC, Xbox and PlayStation players can all join a modded Reforger server, but each platform supports a different range of mods. PC players can use nearly any mod. Xbox supports most mods, though players may disconnect more often on heavily modded servers. PlayStation has the most limits, and some mods stop PlayStation players from joining at all. Mod authors decide which platforms their mods support, and support can change with game updates. If console players are part of your community, test new mods with them before you rely on them. --- Troubleshooting - My server keeps crashing while it downloads mods. The Arma Workshop can slow down or time out, especially after a big game update, and your server keeps retrying the failed download. Click the dropdown arrow next to the Stop button and select Kill to force your server to stop, then click Start Server. - My server restarts in a loop after I set a custom scenario. Check the scenarioId for spaces before or after the value, and make sure the mod that contains the scenario is in your mods list. - Console players can't join, but PC players can. One of your mods is likely incompatible with their platform, most often PlayStation. Remove your mods one at a time, restarting your server and testing with a console player each time, until you find the mod causing it. - A mod won't download even after a restart. Check that the mod ID came from the Arma Workshop and not Steam. If the ID is correct, the author may have removed the mod or made it private. - My mods stopped working after a game update. Mod authors often need to update their mods after a major game update. Check the mod's Workshop page for a new version, and update the version number in your mods list when one comes out. - I see errors about missing prefabs or duplicate entities in the console. If your server runs and players can join, these errors come from the mod itself and won't stop your server. --- If you still need help, contact our support team and we'll take a look for you.
How To Configure AI On Your Arma Reforger Server
All ARMA Reforger servers come pre-installed with AI enabled for all compatible scenarios. While this adds a strategic element to each scenario, you may wish to turn off (or configure) the AI for your community. --- Disabling Server AI You can disable AI on your Arma Reforger server in the config area of your Panel. 1. Navigate to the Panel. 2. Click Config. 3. Locate the Disable AI field and toggle on the setting. 4. Click Save & Restart. Configure AI Count You can set the number of AI players on your Arma Reforger server in the config area of your Panel. 1. Navigate to the Panel. 2. Click Config. 3. Locate the AI Limit field and set the desired amount. Use \-1 to disable the limit. 4. Click Save & Restart. Interested in purchasing an Arma Reforger servers with instant activation, easy customisation, and great & extensive Knowledgebase articles? Click here to purchase one! To learn more about Arma Reforger Server Hosting, you can browse our Knowledgebase article library here.
How To Set Max Queue Size For Your Arma Reforger Server
If your server is consistently reaching it's player cap you may want to set the maximum queue size on your Arma Reforger server to help manage player wait times. --- Setting a Max Queue Size A maximum queue size can easily be set in the config area of the panel. 1. Navigate to the Panel. 2. Click Config. 3. Locate Max Queue Size field and enter your desired queue size. 4. Click Save & Restart. Interested in purchasing an Arma Reforger servers with instant activation, easy customisation, and great & extensive Knowledgebase articles? Click here to purchase one! To learn more about Arma Reforger Server Hosting, you can browse our Knowledgebase article library here.
How To Join Your Arma Reforger Server
Once you have your server fully setup you're ready to join. Follow the steps below to join your server using the in-game server browser. ::ProseNote{title="Note" description="To ensure your server is easy to find you should set a custom server name." appearance="default"} :: Joining your Arma Reforger Server You can easily join your server using the in-game browser. 1. Click Multiplayer. 2. Ensure that either the All or Community tab is selected. 3. Enter your server name in the Search field. 4. Select your server. 5. Click Join or press Enter. Interested in purchasing an Arma Reforger servers with instant activation, easy customisation, and great & extensive Knowledgebase articles? Click here to purchase one! To learn more about Arma Reforger Server Hosting, you can browse our Knowledgebase article library here.
How To Change The Name Of Your Arma Reforger Server
Changing your server's name in Arma Reforger helps make it easily identifiable in the server browser. A unique and memorable server name allows players to find and join your server quickly. --- Changing your Server Name You can update the name of your Arma Reforger server in the config area of your Panel. 1. Navigate to the Panel. 2. Click Config. 3. Locate the Server Name field and enter your desired name. 4. Click Save & Restart. Interested in purchasing an Arma Reforger servers with instant activation, easy customisation, and great & extensive Knowledgebase articles? Click here to purchase one! To learn more about Arma Reforger Server Hosting, you can browse our Knowledgebase article library here.
How To Become An Admin On Your Arma Reforger Server
Becoming an admin on your Arma Reforger server gives you the ability to manage players, control gameplay settings, and maintain the server environment. Follow the steps below to configure admin permissions. ::ProseNote{title="Note" description="To follow this article you will need to know your Steam64 ID." appearance="default"} :: Becoming an Admin Admins can easily be assigned for your server by adding their Steam64 IDs 1. Navigate to the Panel. 2. Click Config. 3. Locate the Admin IDs option and enter the Steam64 ID of the player you wish to make an admin. 4. Click Save & Restart. Interested in purchasing an Arma Reforger servers with instant activation, easy customisation, and great & extensive Knowledgebase articles? Click here to purchase one! To learn more about Arma Reforger Server Hosting, you can browse our Knowledgebase article library here.
How To Make Your Arma Reforger Server Private
Making your Arma Reforger server private ensures that only authorized players can join. This is ideal for hosting private matches, role-playing servers, or exclusive gaming communities. Follow the steps below to set up a password or remove your server from the in-game browser. --- Setting a Server Password A password can easily be added to your server using the Shockbyte Panel. 1. Navigate to the Panel. 2. Click Config. 3. Locate the Server Password field and enter your desired password. 4. Click Save & Restart. Hiding your Server from The Browser Another option to make your server private is hiding it from the in-game server browser. 1. Navigate to the Panel. 2. Click Config. 3. Locate the Server List Visibility option and disable it. 4. Click Save & Restart. Interested in purchasing an Arma Reforger servers with instant activation, easy customisation, and great & extensive Knowledgebase articles? Click here to purchase one! To learn more about Arma Reforger Server Hosting, you can browse our Knowledgebase article library here.