Arma Reforger
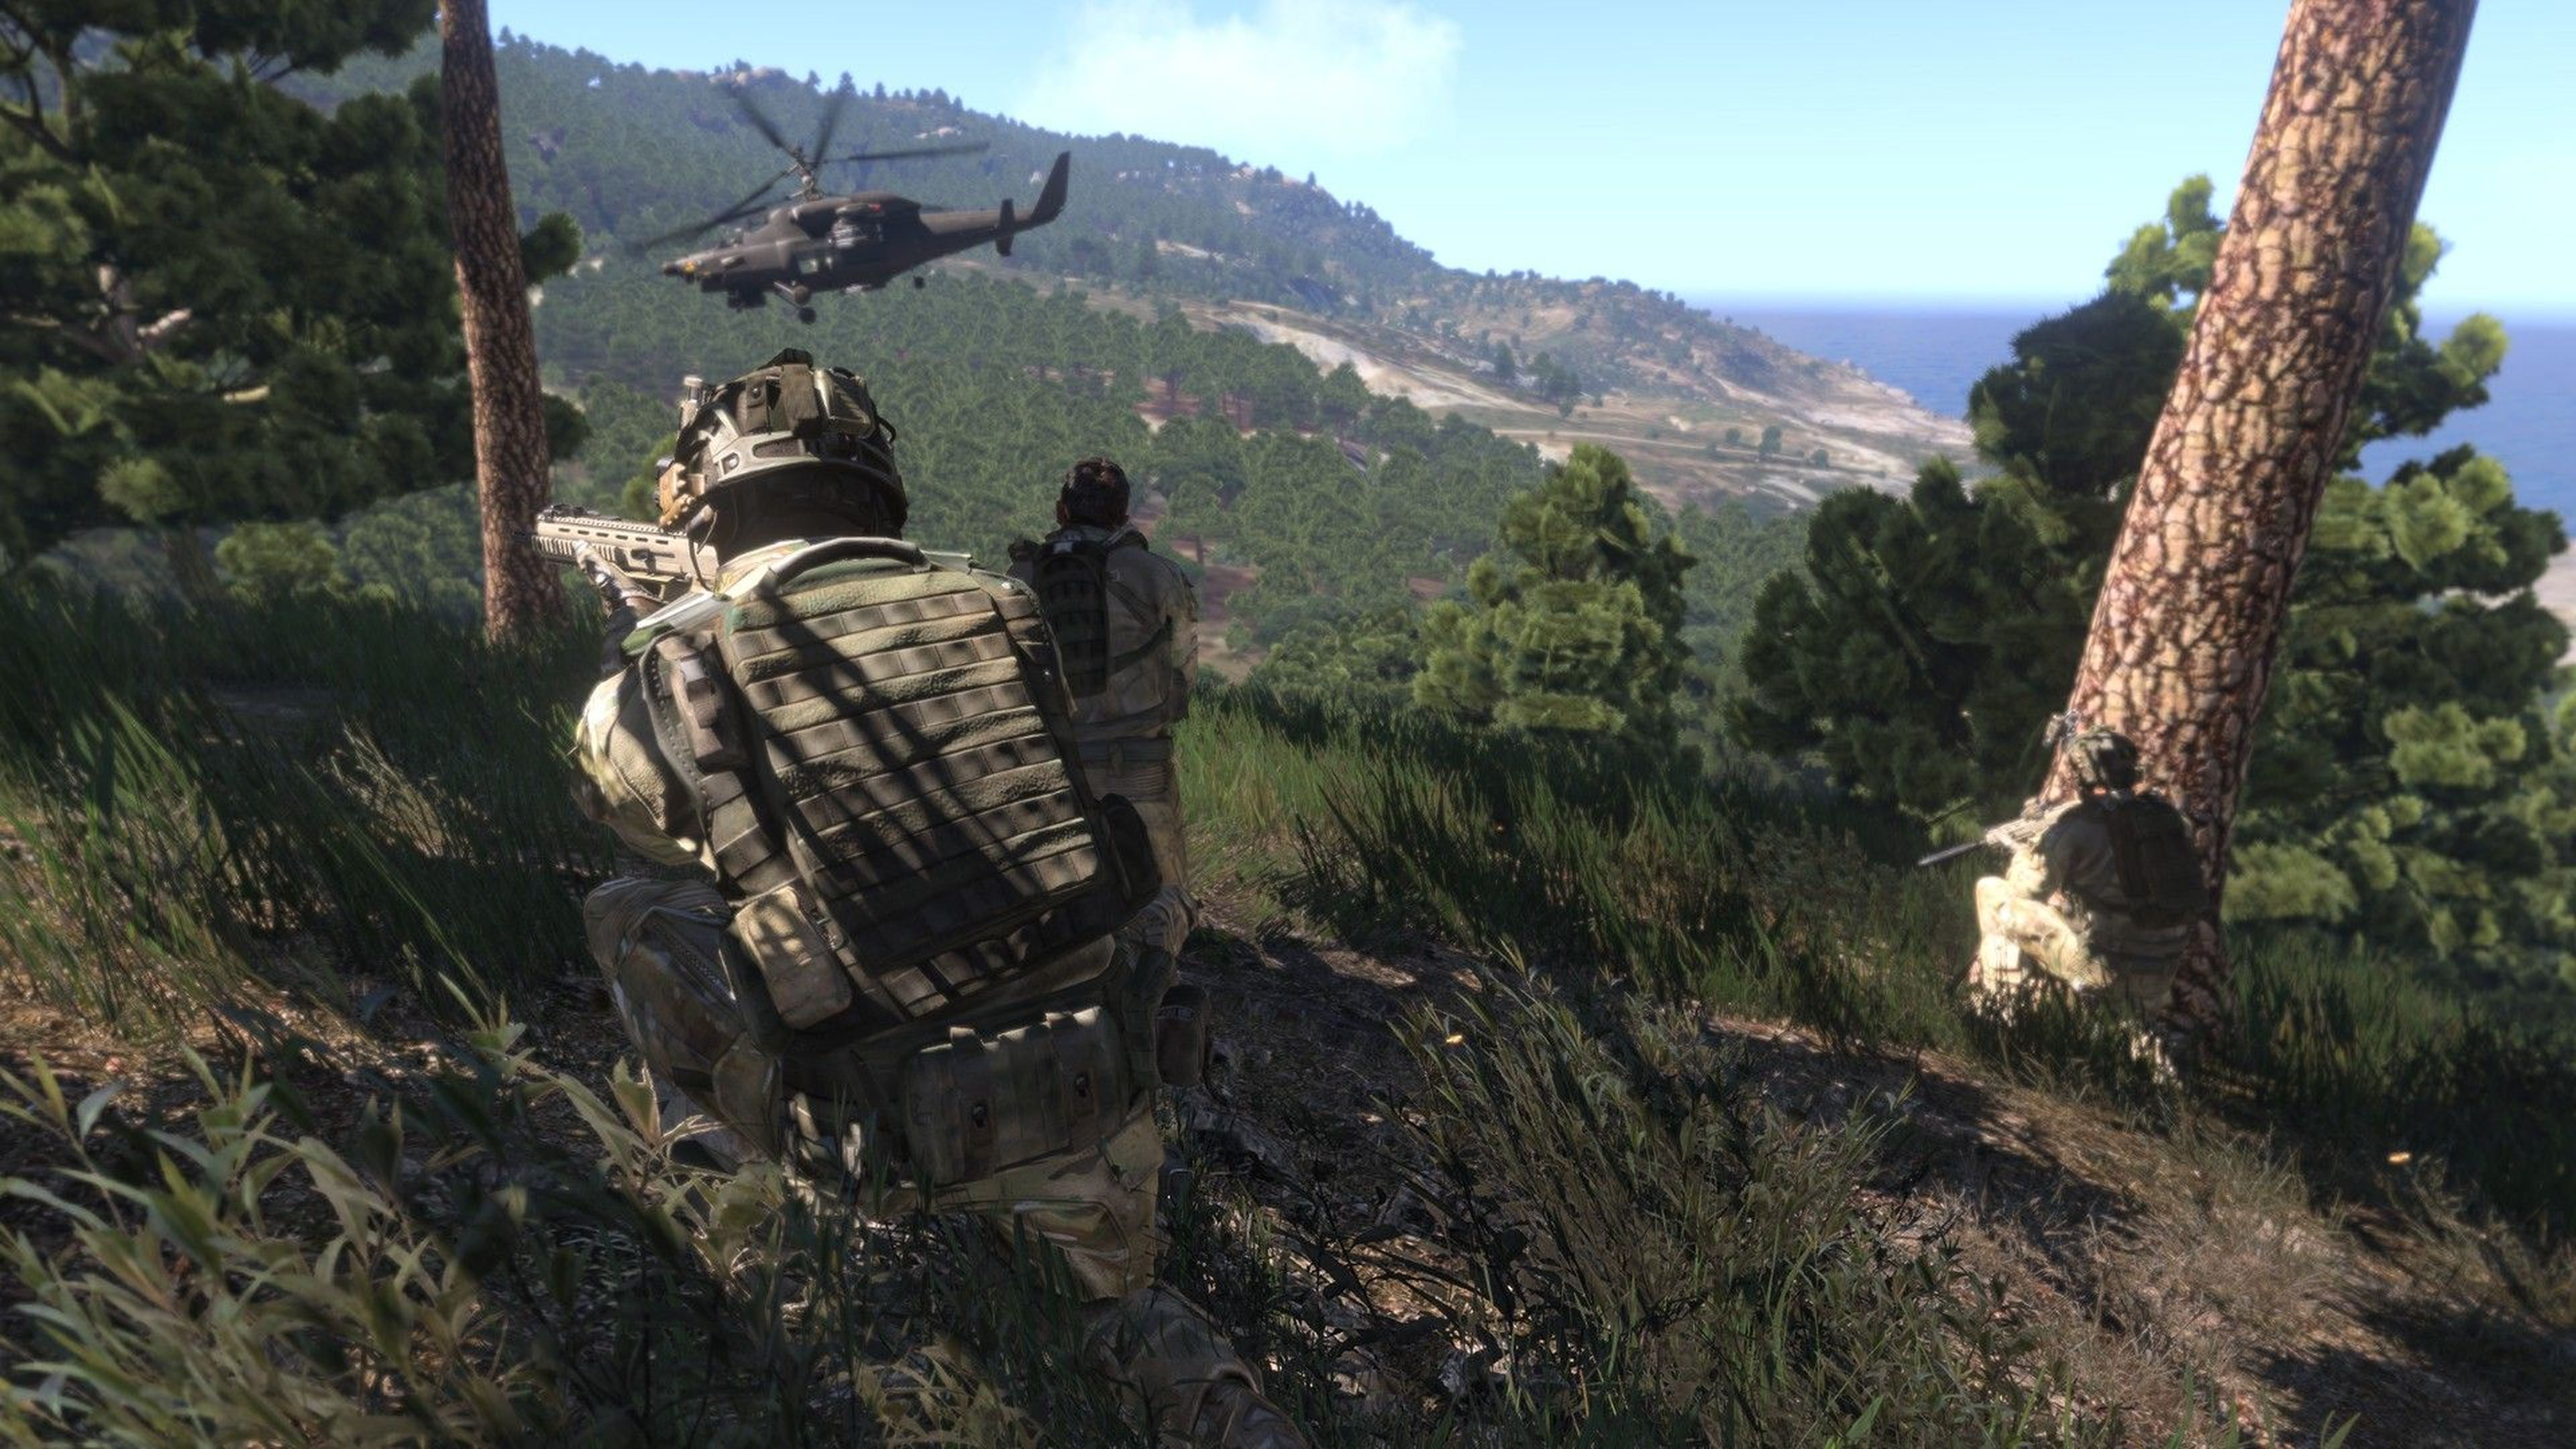

Arma Reforger
6 ArticlesHow To Configure AI On Your Arma Reforger Server
All ARMA Reforger servers come pre-installed with AI enabled for all compatible scenarios. While this adds a strategic element to each scenario, you may wish to turn off (or configure) the AI for your community. --- Disabling Server AI You can disable AI on your Arma Reforger server in the config area of your Panel. 1. Navigate to the Panel. 2. Click Config. 3. Locate the Disable AI field and toggle on the setting. 4. Click Save & Restart. Configure AI Count You can set the number of AI players on your Arma Reforger server in the config area of your Panel. 1. Navigate to the Panel. 2. Click Config. 3. Locate the AI Limit field and set the desired amount. Use \-1 to disable the limit. 4. Click Save & Restart. Interested in purchasing an Arma Reforger servers with instant activation, easy customisation, and great & extensive Knowledgebase articles? Click here to purchase one! To learn more about Arma Reforger Server Hosting, you can browse our Knowledgebase article library here.
How To Set Max Queue Size For Your Arma Reforger Server
If your server is consistently reaching it's player cap you may want to set the maximum queue size on your Arma Reforger server to help manage player wait times. --- Setting a Max Queue Size A maximum queue size can easily be set in the config area of the panel. 1. Navigate to the Panel. 2. Click Config. 3. Locate Max Queue Size field and enter your desired queue size. 4. Click Save & Restart. Interested in purchasing an Arma Reforger servers with instant activation, easy customisation, and great & extensive Knowledgebase articles? Click here to purchase one! To learn more about Arma Reforger Server Hosting, you can browse our Knowledgebase article library here.
How To Join Your Arma Reforger Server
Once you have your server fully setup you're ready to join. Follow the steps below to join your server using the in-game server browser. ::ProseNote{title="Note" description="To ensure your server is easy to find you should set a custom server name." appearance="default"} :: Joining your Arma Reforger Server You can easily join your server using the in-game browser. 1. Click Multiplayer. 2. Ensure that either the All or Community tab is selected. 3. Enter your server name in the Search field. 4. Select your server. 5. Click Join or press Enter. Interested in purchasing an Arma Reforger servers with instant activation, easy customisation, and great & extensive Knowledgebase articles? Click here to purchase one! To learn more about Arma Reforger Server Hosting, you can browse our Knowledgebase article library here.
How To Change The Name Of Your Arma Reforger Server
Changing your server's name in Arma Reforger helps make it easily identifiable in the server browser. A unique and memorable server name allows players to find and join your server quickly. --- Changing your Server Name You can update the name of your Arma Reforger server in the config area of your Panel. 1. Navigate to the Panel. 2. Click Config. 3. Locate the Server Name field and enter your desired name. 4. Click Save & Restart. Interested in purchasing an Arma Reforger servers with instant activation, easy customisation, and great & extensive Knowledgebase articles? Click here to purchase one! To learn more about Arma Reforger Server Hosting, you can browse our Knowledgebase article library here.
How To Become An Admin On Your Arma Reforger Server
Becoming an admin on your Arma Reforger server gives you the ability to manage players, control gameplay settings, and maintain the server environment. Follow the steps below to configure admin permissions. ::ProseNote{title="Note" description="To follow this article you will need to know your Steam64 ID." appearance="default"} :: Becoming an Admin Admins can easily be assigned for your server by adding their Steam64 IDs 1. Navigate to the Panel. 2. Click Config. 3. Locate the Admin IDs option and enter the Steam64 ID of the player you wish to make an admin. 4. Click Save & Restart. Interested in purchasing an Arma Reforger servers with instant activation, easy customisation, and great & extensive Knowledgebase articles? Click here to purchase one! To learn more about Arma Reforger Server Hosting, you can browse our Knowledgebase article library here.
How To Make Your Arma Reforger Server Private
Making your Arma Reforger server private ensures that only authorized players can join. This is ideal for hosting private matches, role-playing servers, or exclusive gaming communities. Follow the steps below to set up a password or remove your server from the in-game browser. --- Setting a Server Password A password can easily be added to your server using the Shockbyte Panel. 1. Navigate to the Panel. 2. Click Config. 3. Locate the Server Password field and enter your desired password. 4. Click Save & Restart. Hiding your Server from The Browser Another option to make your server private is hiding it from the in-game server browser. 1. Navigate to the Panel. 2. Click Config. 3. Locate the Server List Visibility option and disable it. 4. Click Save & Restart. Interested in purchasing an Arma Reforger servers with instant activation, easy customisation, and great & extensive Knowledgebase articles? Click here to purchase one! To learn more about Arma Reforger Server Hosting, you can browse our Knowledgebase article library here.