How to Setup Simple Voice Chat for Spigot & Paper on Your Minecraft Server
Still have questions?
Zach Lowery
Game Experience Engineer

How to Setup Simple Voice Chat for Spigot & Paper on Your Minecraft Server
Simple Voice Chat is a Minecraft mod that allows voice chatting in-game without the use of external software. One feature of the mod is proximity chat, which allows you to hear the voice of nearby players and be able to tell the direction that the sound is coming from. The mod is available for both modded and Spigot servers.
#Installing Simple Voice Chat on Your Spigot/Paper Server
To install Simple Voice Chat on a Spigot/Paper server, you will need to upload the plugin's jar file to your plugins folder and restart your server.
-
Ensure your server is running a Server Type that supports plugins.
-
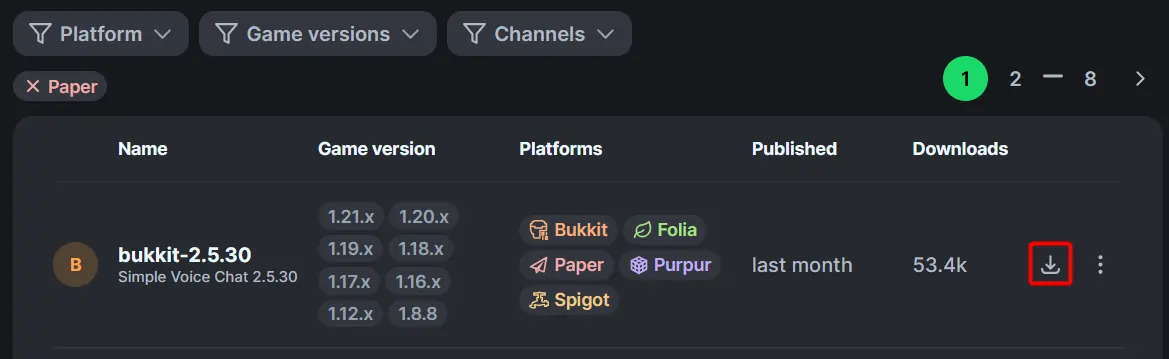
Download Simple Voice Chat from its Modrinth page.
- Open the Shockbyte Panel and navigate to the Files tab.

- Select the plugins folder to open it

-
Upload Simple Voice Chat's plugin jar file into the folder.
-
Restart your server.
#Configuring Simple Voice Chat on Spigot/Paper
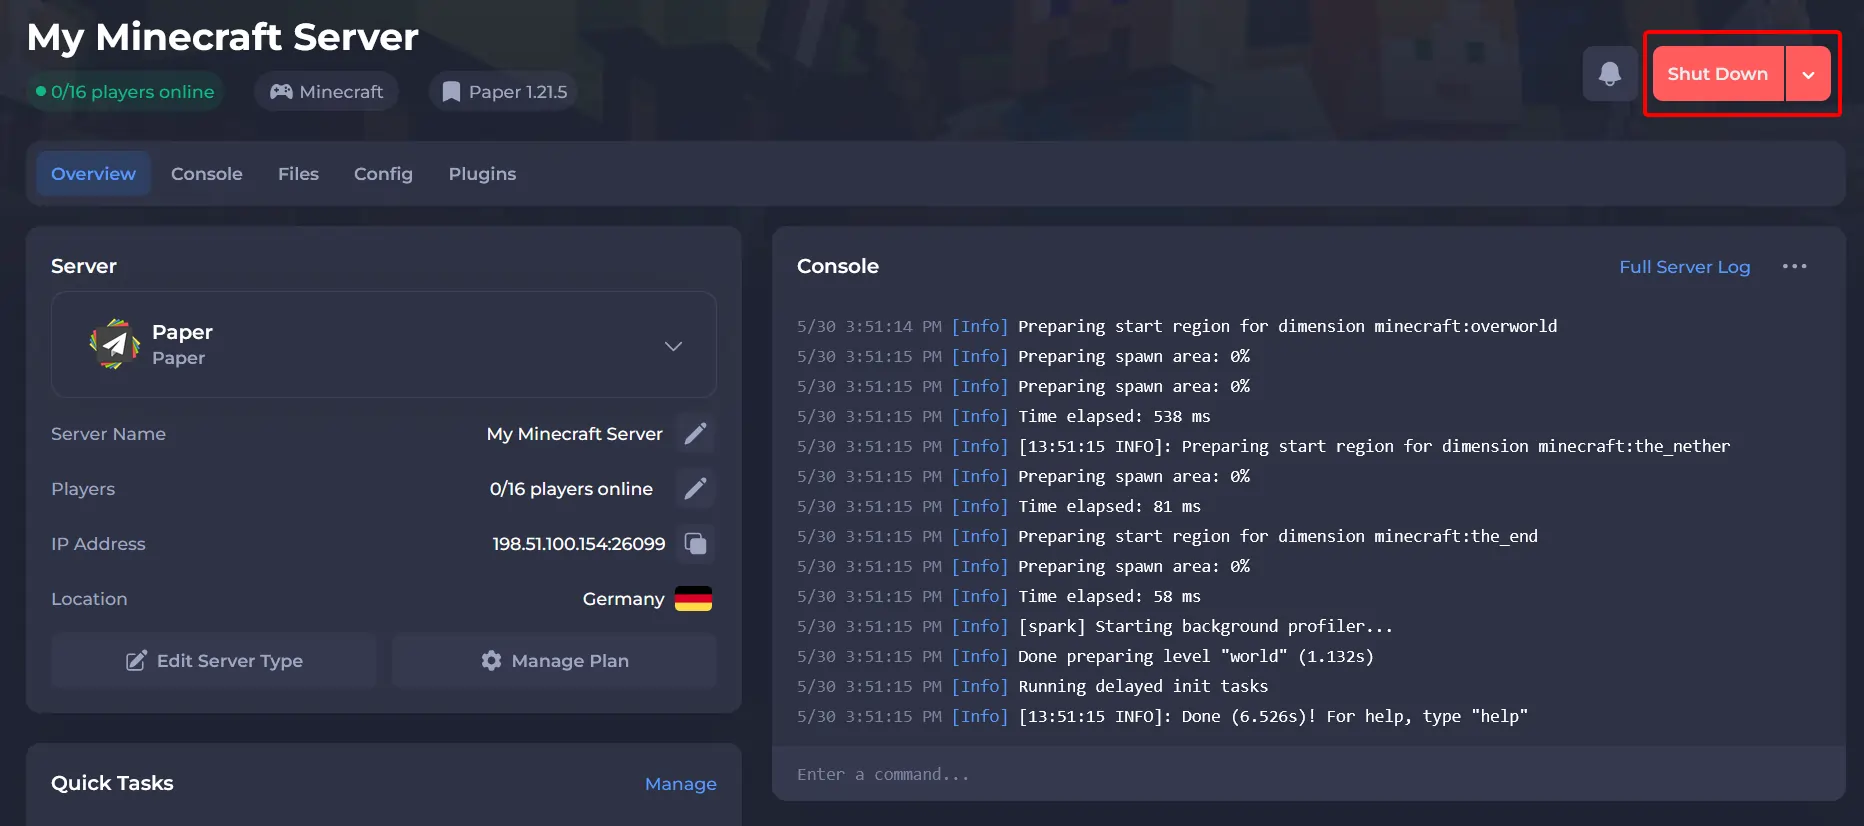
- Access your control panel and Shut Down your server.
-
Create an Additional Port for your server by following this guide.
-
Click on the Files tab.
-
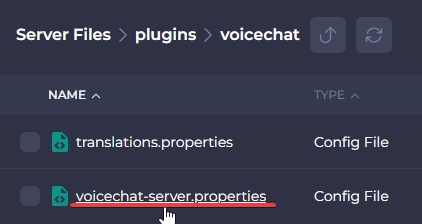
Navigate to
/plugins/voicechat. -
Click on the
voicechat-server.propertiesfile to edit it.
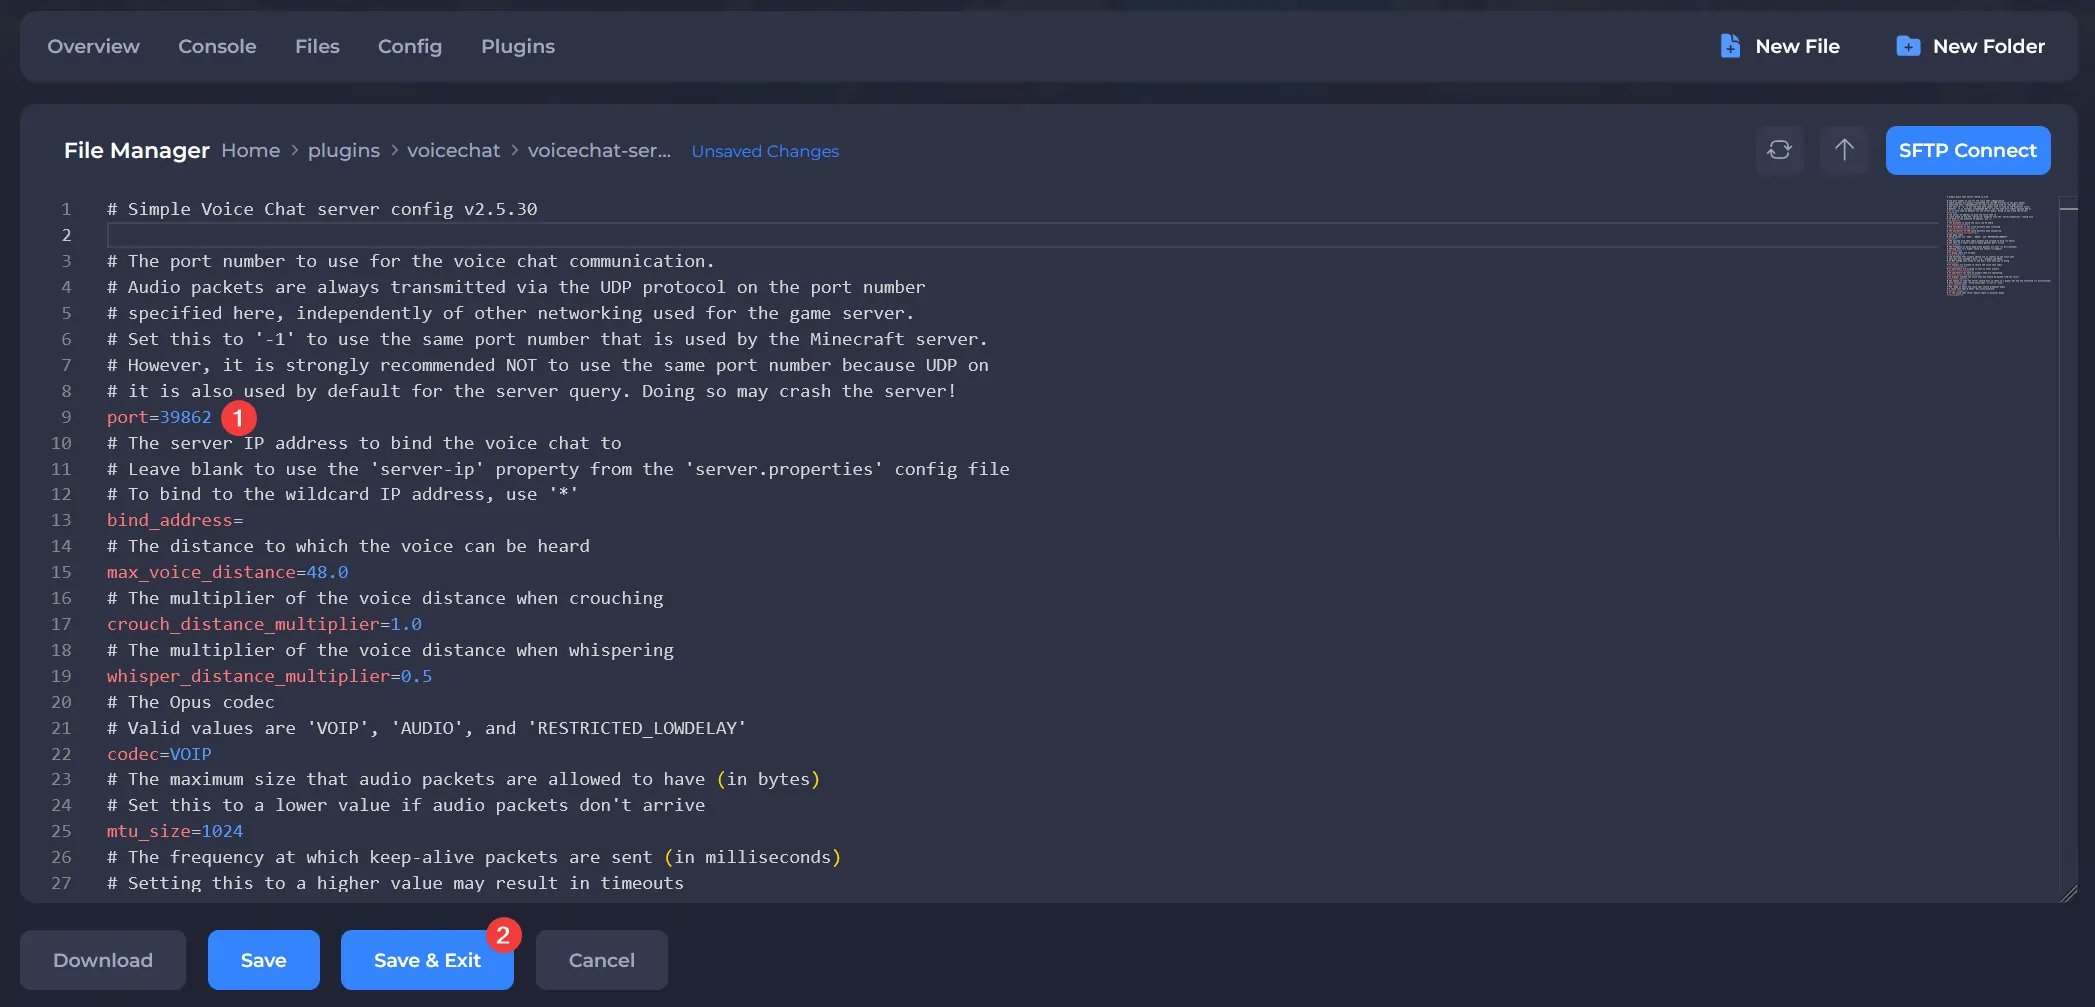
- Set the port field to the port you created in Step 2 and save your changes.
- Restart your server.
That's it! You've now set up Simple Voice Chat for your Spigot/Paper server. After the server boots up, you will be able to use it in-game.