Still have questions?
Kobe Plane
Game Experience Engineer
How to Setup DiscordSRV on a Minecraft Server
DiscordSRV is a powerful plugin that can sync your in-game Minecraft chat with a channel on your Discord server, in addition to a wealth of other features such as username syncing between Minecraft and Discord, voice proximity chat, or even using your server console remotely through Discord.
This guide will only cover the very basics, like how to link your chats together; however, once you have completed this guide, you can configure the additional features using their official installation guide.
#Creating a Discord Bot
To link your Discord server to your Minecraft server, you will first need to create a free Discord bot to handle the communication between the two.
- Go to the Discord Developer Portal, click New Application, and set the name of your bot

- Click the Bot tab, then enable the bot privileges: "Server Members Intent" and "Message Content Intent", then save
You can also configure your Bot's display name or profile picture on this page, feel free to edit them as well.

- Click the Reset Token button, then copy and set aside the generated token. You'll need this later

- Return to the General Information tab and copy the Application ID

- Visit the Scarsz Discord Both-Auth page and paste in your Application ID

- Select the server you'd like to add the bot to, then click Authorize

#Configuring DiscordSRV
After installing DiscordSRV onto your server, you can use your bot's Token ID and your desired Discord channel ID to set up the basic chat linking feature of DiscordSRV.
-
Download and install the DiscordSRV plugin by following this guide
-
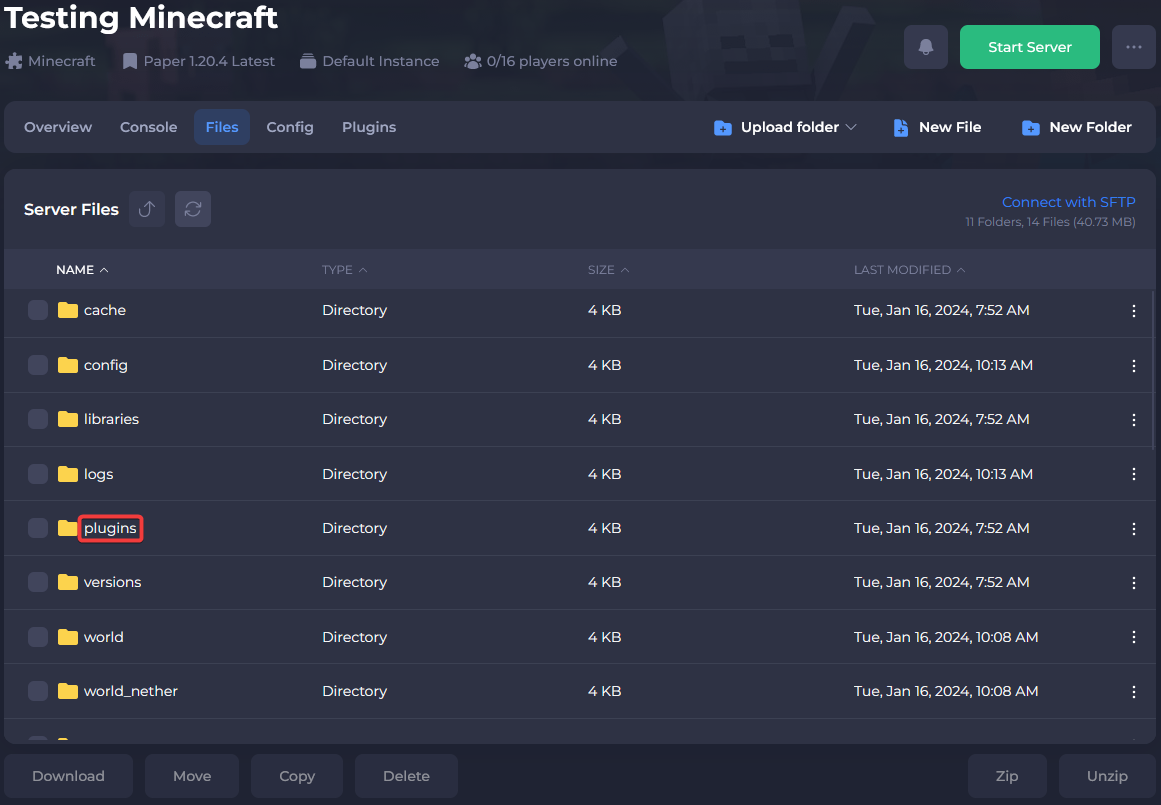
Access your server's control panel and navigate to the Files tab.
-
Select the plugins folder to open it
- Open the DiscordSRV folder

- Click the
config.ymlfile to open and edit it

- Set the Bot-Token field to the token you copied earlier

- Copy the channel ID of your desired Discord channel

- Replace the 0's between the quotation marks in the Channels field with your channel's ID

- Start or Restart your server if it is already running

That's it! When the server boots up, DiscordSRV will start communicating your in-game chat through your Discord bot.