Still have questions?
Zach Lowery
Game Experience Engineer

How to Make and Share a Custom Modpack Profile Using CurseForge
CurseForge is a program that allows you to manage mods and addons for a variety of games. One of its strongest features is the ability for anyone to create modpacks, which will quickly and automatically install a list of mods/addons. These can then easily be shared with your other players, getting everyone on and playing quicker! For some example modpacks, you can check out our recommended list: Best Minecraft Modpacks
#Making the Modpack Profile
Download and launch the CurseForge installer from the CurseForge website.
If this is your first time using CurseForge, then you will need to click on Minecraft on the “Choose a Game” page to install the required files. After it detects the pathway to where your Minecraft files are stored, click on continue.
-
Open the CurseForge Launcher.
-
Navigate to the Minecraft tab, then click Create Custom Profile in the top right corner.

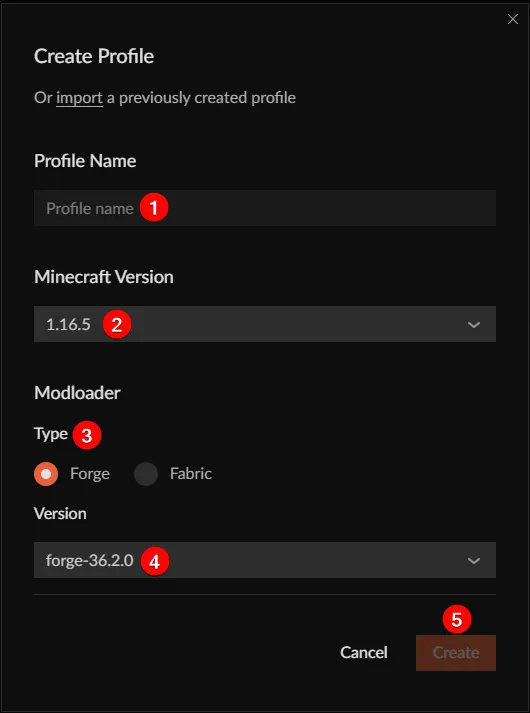
- Choose a version, fill out the profile info, then click Create.
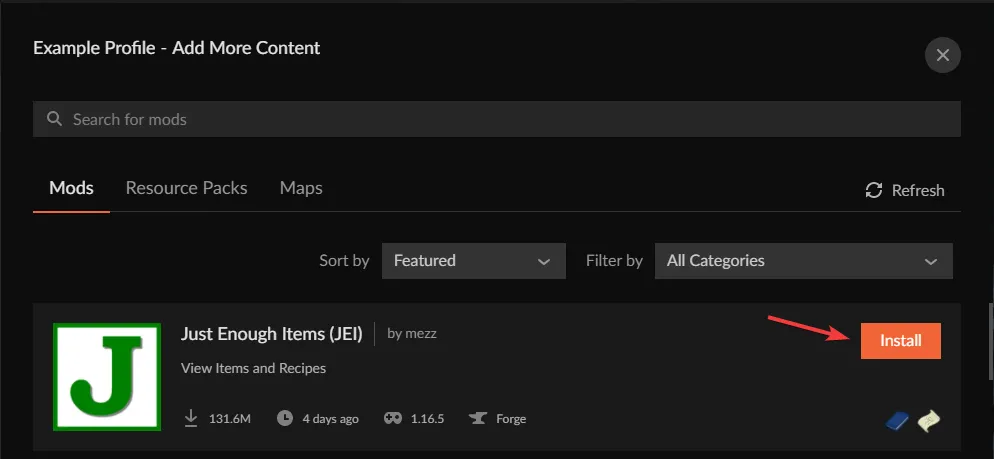
- Click on your newly created Modpack profile, then Add More Content. This is where you will install mods/resources to your profile.

- Under the Mods tab, locate and install your desired mods.
#Exporting the Modpack Profile
-
Navigate to your custom modpack profile.
-
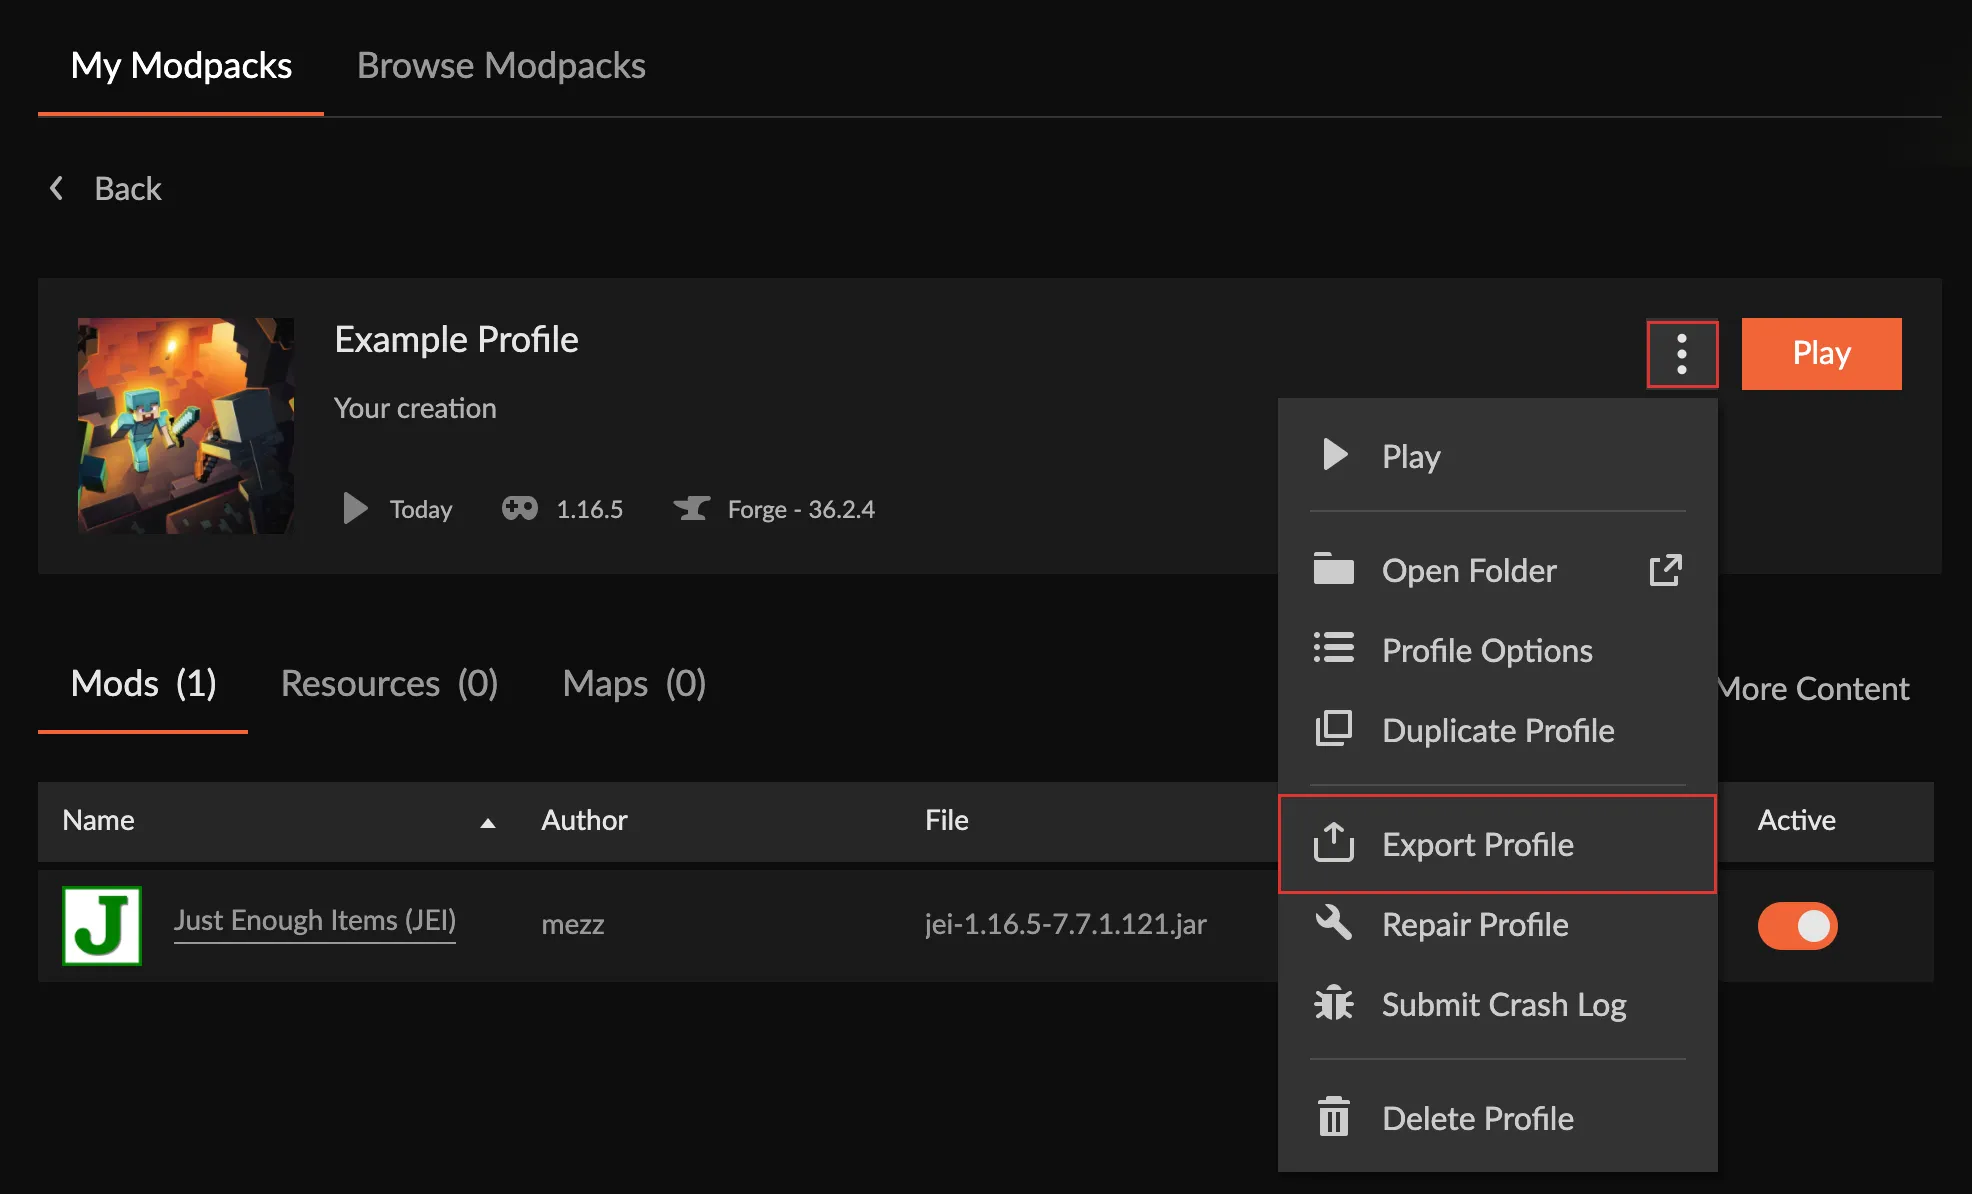
Click on the ⋮ next to the play button and select Export Profile.
- Ensure that mods and configs are selected from the new window and click the export button to download the profile to your computer.
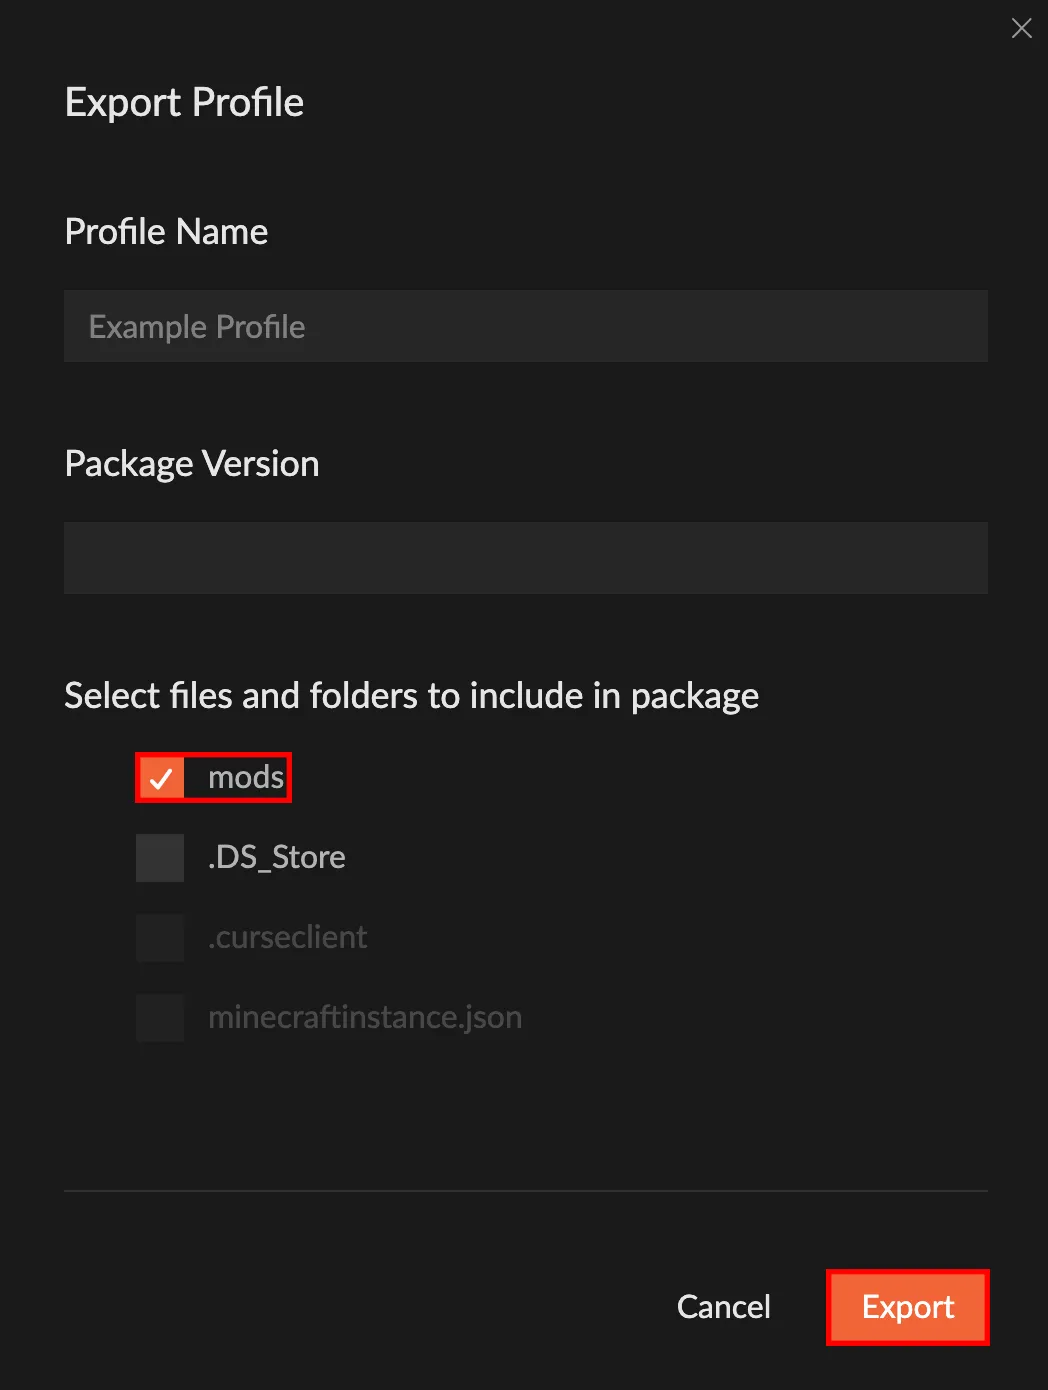
This .zip file can now be sent to your friends and family so that they can join your modded server!
#Importing the Modpack Profile
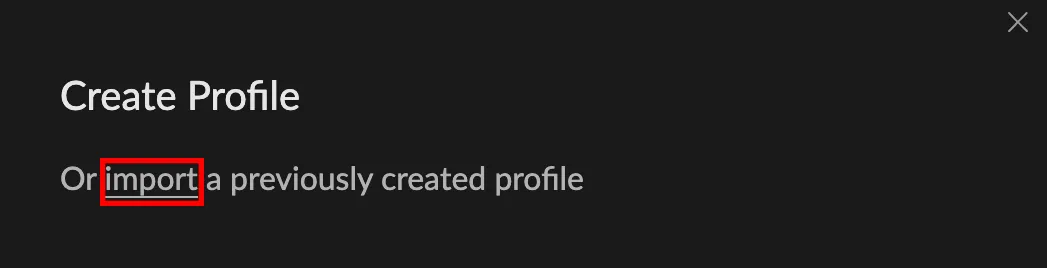
- Navigate to the Minecraft tab and click on Create Custom Profile in the top right corner.

- Click on the import button at the top of the window.
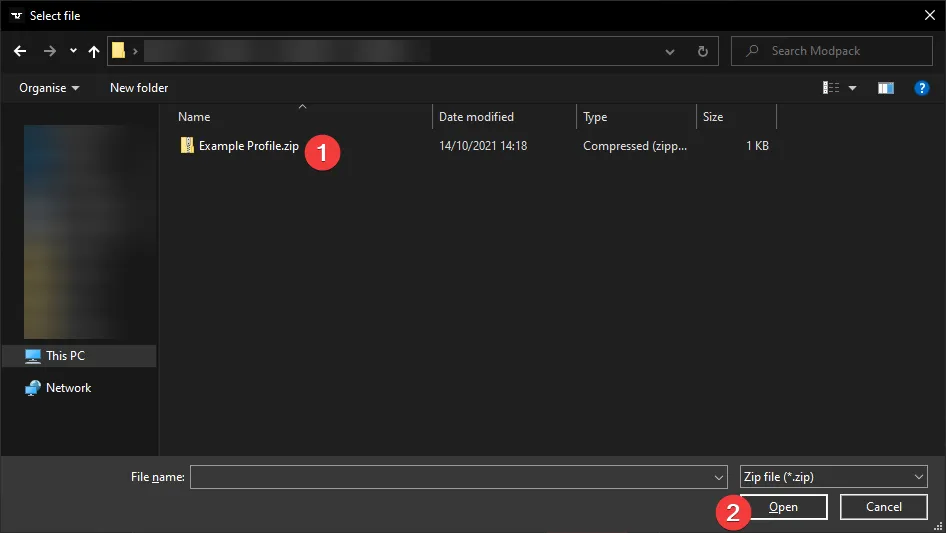
- Now select the .zip file for your modpack profile. Click OK, and then the profile will be automatically installed.
- You can now launch the custom modpack by hitting the play button!
That's all! You've now learned how to create, share, and import a custom CurseForge profile.