Table Of Contents
Changing the Name & DescriptionStill have questions?
Come chat with us and we will get back to you as soon as possible!
Contact SupportShockbyte
Support Team
How to Change the Name and Description of your Schedule 1 Server
Schedule 1
·Jun 22, 2026
·2 min read
Personalizing your Schedule I server is quick and easy! To change your server's name and description, head to your server panel and navigate to the Config area, then open the Schedule I Server Settings file. From there, you'll be able to update the server name and description to whatever suits your operation best.
#Changing the Name & Description
-
Access your Control Panel and navigate to the Config tab. Select the Schedule 1 Server Settings file.
-
Locate the
Server NameandServer Descriptionsettings. Add your desired values to these fields.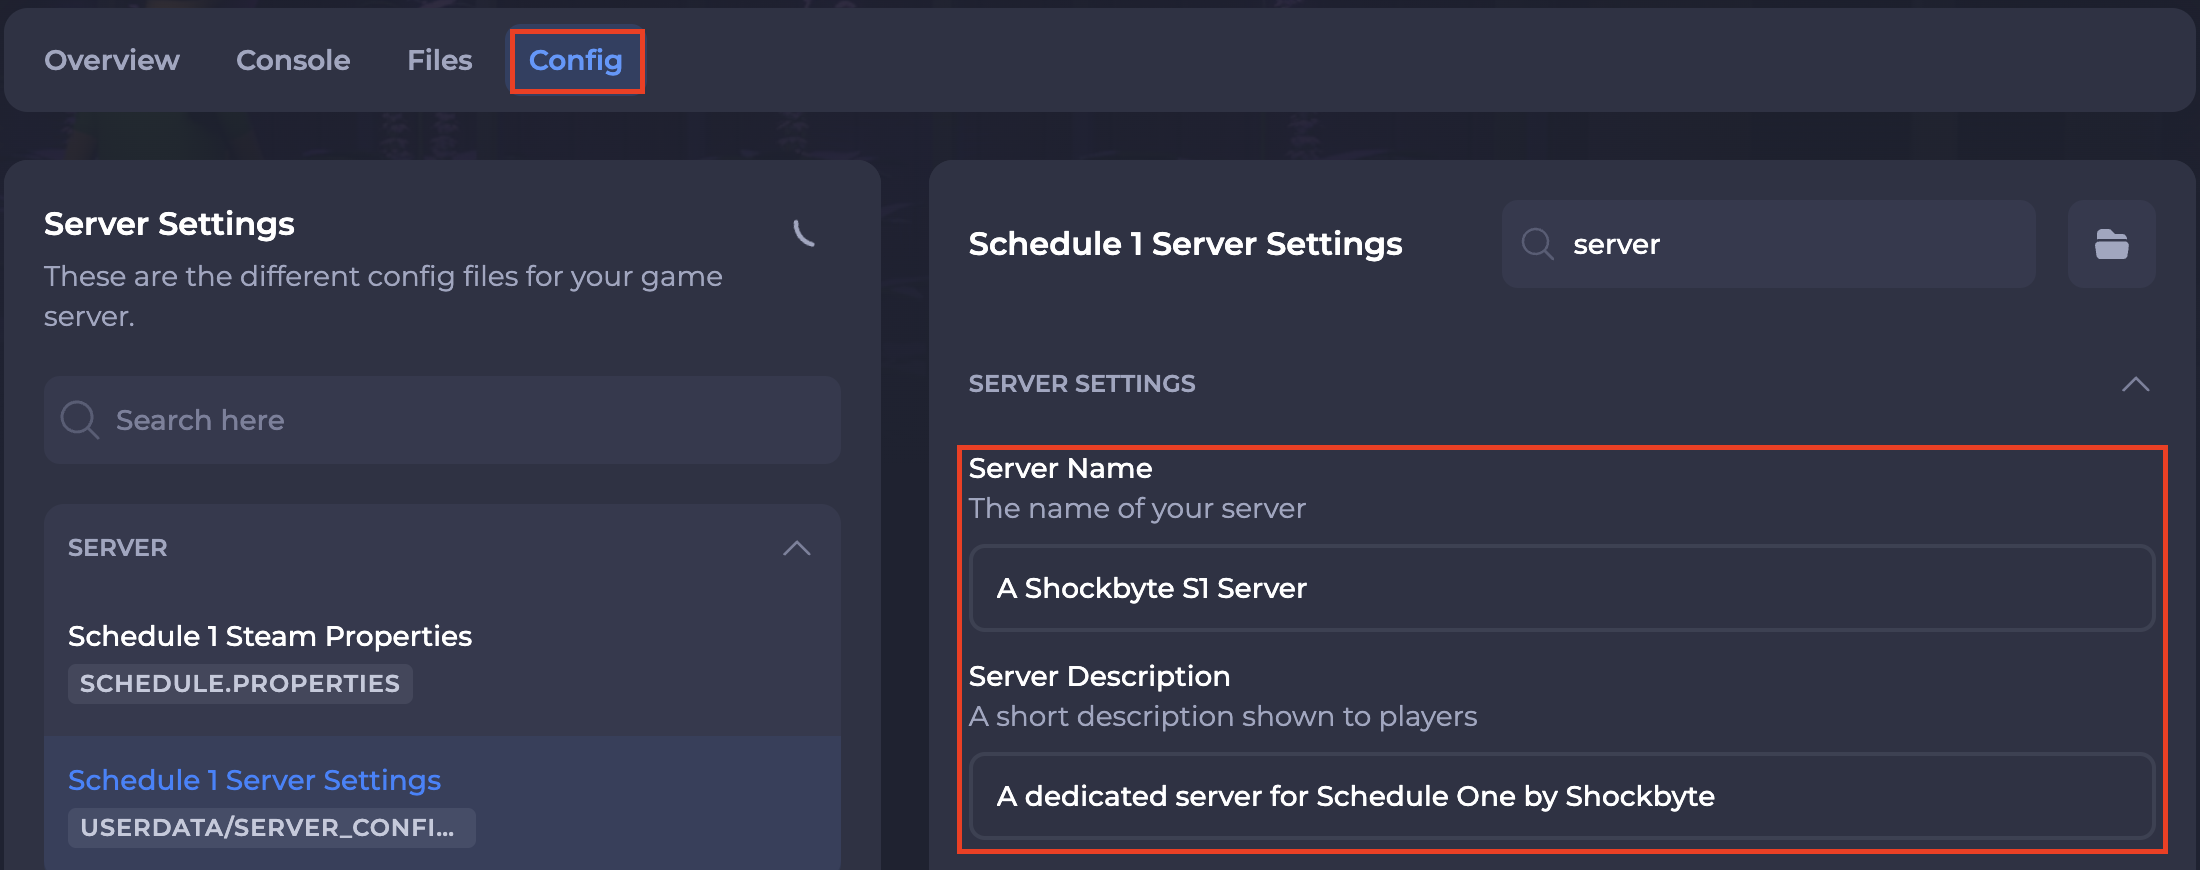
-
Save and restart your server to ensure the new changes apply.
If you require any further assistance, please contact our support at: https://shockbyte.com/billing/submitticket.php