How to Install ViveCraft for Virtual Reality Minecraft on your Minecraft Client
Table Of Contents
Installing ViveCraft on your ClientStill have questions?
Kobe Plane
Game Experience Engineer

How to Install ViveCraft for Virtual Reality Minecraft on your Minecraft Client
ViveCraft is a mod that turns Minecraft into an exceptional VR experience in room-scale or seated play. Currently, ViveCraft is available for Minecraft Java Edition only.
ViveCraft has both a Spigot plugin version and a Forge mod version, so if your server is modded or vanilla-like, you can use ViveCraft on your server!
#Installing ViveCraft on your Client
To use ViveCraft features on a Minecraft server, you must first have ViveCraft installed on your game client.
- Run the version of vanilla Minecraft you intend to use if you haven't already
If you haven't run the version of Minecraft you'd like to mod before, you will need to do so. This is to ensure that all the vanilla Minecraft files associated with that version are downloaded and available. Without them, the ViveCraft mod will not be able to install correctly, if at all!
-
Close the game after it fully installs and boots
-
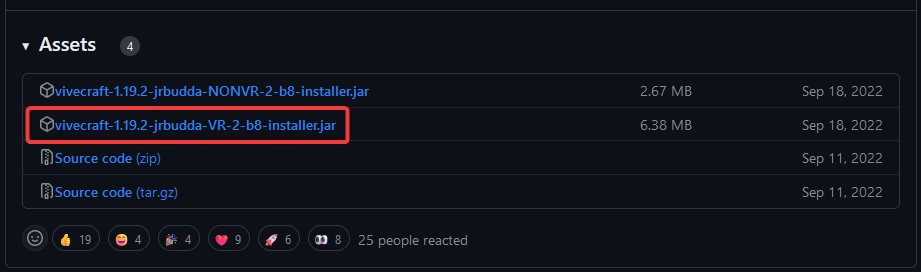
Download the ViveCraft installer for your desired Minecraft Version from this page
If there is not a standalone client version of ViveCraft available for your desired version of Minecraft, you can install the Forge mod version as a client mod using your preferred Forge launcher.

- Download the VR installer.jar file
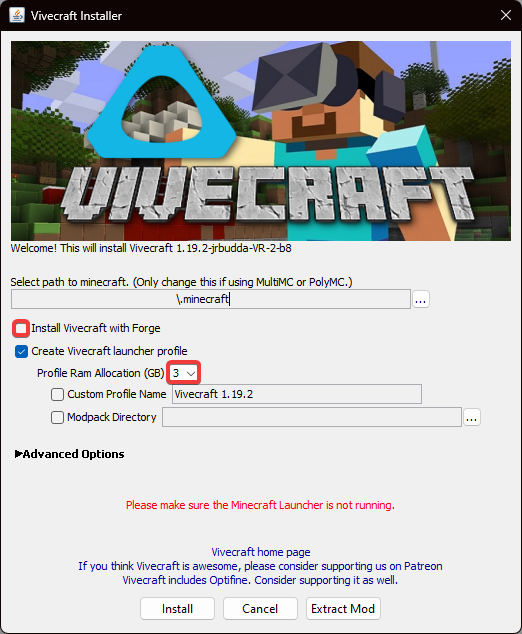
- Run the ViveCraft installer and customize your installation options
Feel free to customize your ViveCraft installation options. If you plan on using Forge mods alongside ViveCraft, you should enable the "Install Vivecraft with Forge" option. Additionally, you should consider allocating more RAM to your game if you have it to spare.
-
Click the Install button at the bottom
-
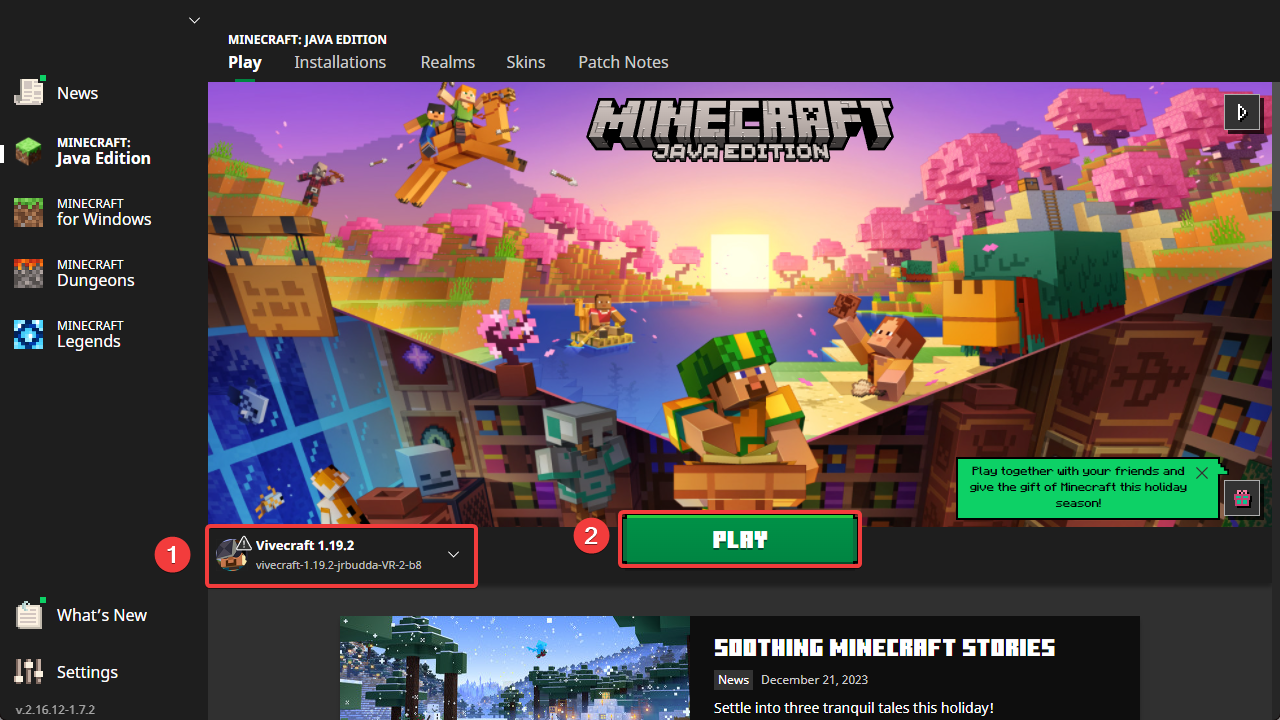
Open your Minecraft Launcher, make sure your Vivecraft profile is selected, then click Play
When the game boots up, you will be able to use your VR headset to play the game.