Still have questions?
Ruben B
Partnership Manager

How To Upgrade Or Downgrade Your Service
It is possible to upgrade or downgrade your service at any time. This process takes just a few easy steps and will automatically upgrade your server once the steps are completed. There won't be any file loss or IP changes when upgrading your service - your server will simply be adjusted to the new plan you select.
-
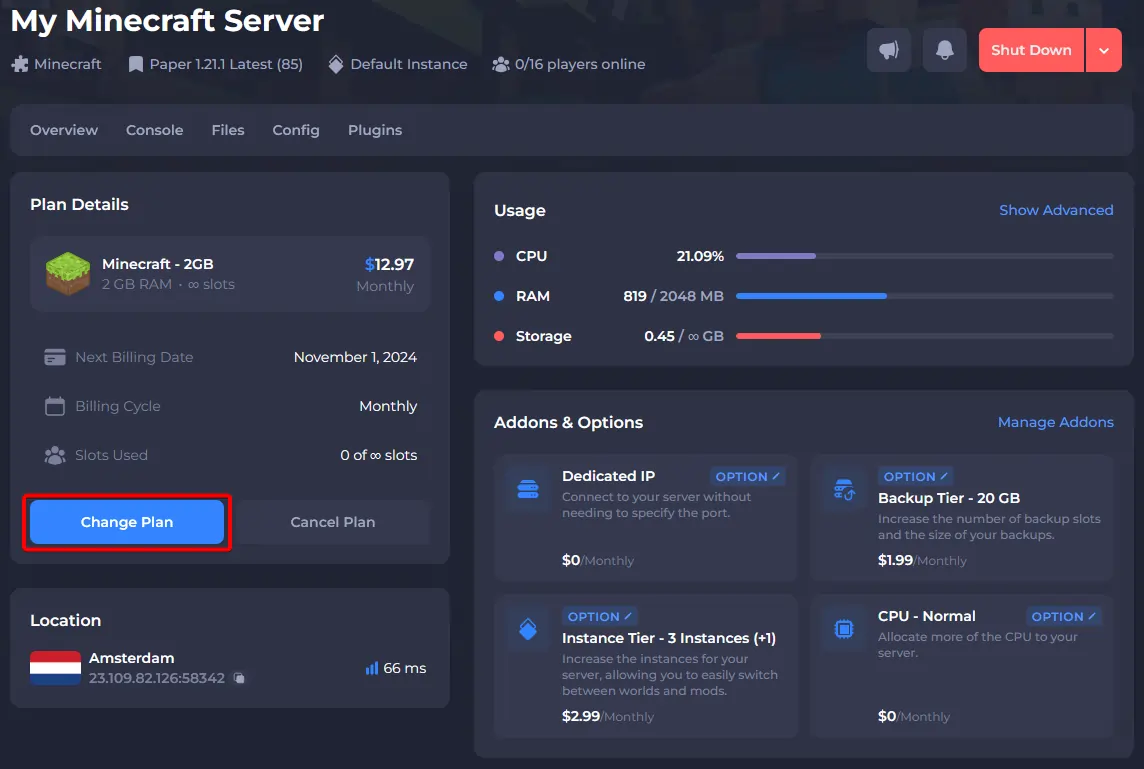
Open your server's control panel.
-
On the left-hand sidebar, click 'My Plan'.

- Under Plan Details, select Change Plan.
- Select the plan you would like to Upgrade or Downgrade to, and click Next Step.

- Choose your preferred billing cycle, and click Next Step.

Note
You cannot change any product customisations when you are already changing your plan or billing cycle. Please finish your current upgrade and then return to this page to customise your plan.
- Select any extra product customisations you would like for your server, and click Next Step.

- Review the changes with your upgrade, and select Upgrade to confirm.

- You will be automatically redirected to the invoice generated under your account. Your server will be upgraded immediately after your payment is received.
If your next renewal invoice has already been generated, you will need to pay this before making any changes to your server package. This doesn't mean you will be paying any extra - our system will only require you to pay the prorated amount when upgrading and you can receive a prorated credit refund of the extra amount you've paid if downgrading by submitting a ticket to our Billing Department.