Still have questions?
Shockbyte
Support Team

How to Change the Difficulty of your Necesse Server
Necesse offers 5 different difficulties that range from Casual to Brutal. Each difficulty level will change the amount of damage a player receives in addition to the amount of knockback that is given after an attack. Difficulty can be changed at any time during a Necesse playthrough.
#Difficulty Options
| Difficulty | Damage Taken | Raider Damage | Knockback Given | Enemy Spawn Rate |
|---|---|---|---|---|
| Casual | -60% | -40% | No effects | -40% |
| Adventure | -30% | -20% | No effects | -15% |
| Classic (Default) | No effects | No effects | No effects | No effects |
| Hard | +20% | +20% | -25% | +20% |
| Brutal | +60% | +40% | -60% | +40% |
#Persistent Difficulty Changes via Config
Once you've decided which option to use, the server difficulty can be adjusted. Changing the server difficulty via the configuration file will persist after server restarts unlike via command.
-
Open your Server Control Panel.
-
Navigate to Config and open Necesse Server Settings.
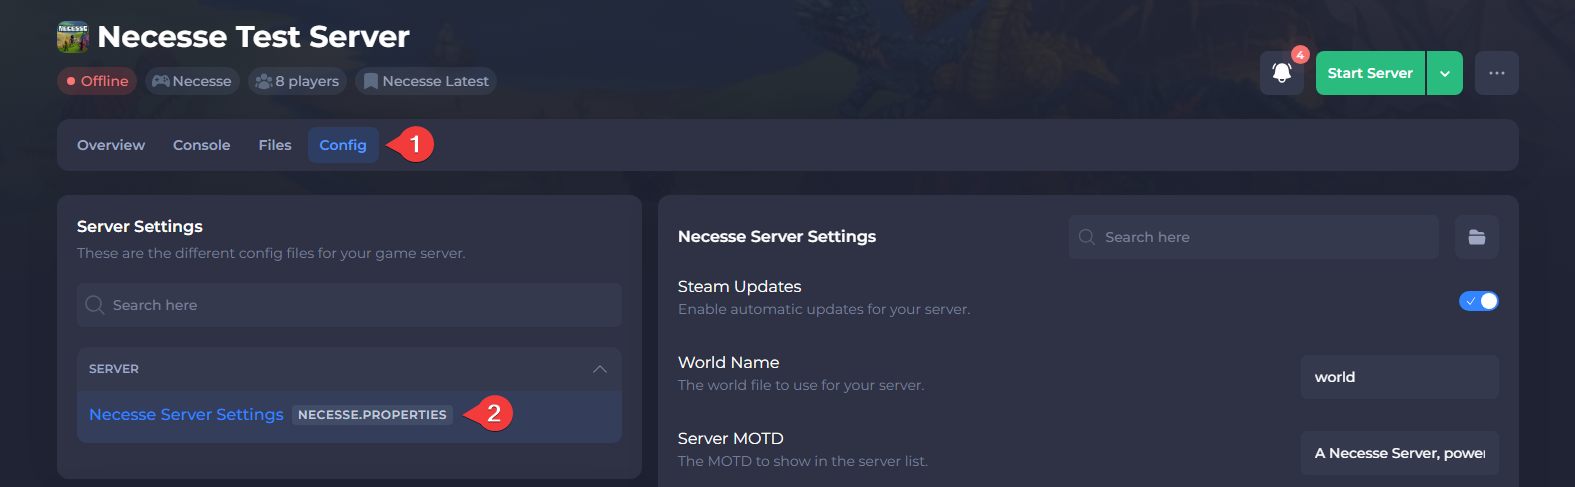
- Locate Difficulty and set the desired value using the dropdown menu.
- Save the file and Restart your server.
#Temporary Difficulty Changes via Command
Admins can run the /difficulty command in-game to change the difficulty temporarily. Those with access to the control panel can run the command in the console without needing to join the server.
Important
Difficulty changes done this way will be overridden by the configuration file upon the next server restart. Refer to the configuration file method above for persistent difficulty changes.
Changing Difficulty In-Game
-
Press ENTER to open chat and use the /difficulty command.
Changing Difficulty via Console
-
Open your Server Control Panel.
-
Start your server and wait for it to go Online.
-
Open the Console and use the /difficulty command.
To learn more about Necesse server hosting, you can browse our library of Knowledgebase articles here.