Table Of Contents
Updating your ServerStill have questions?
Kobe Plane
Game Experience Engineer
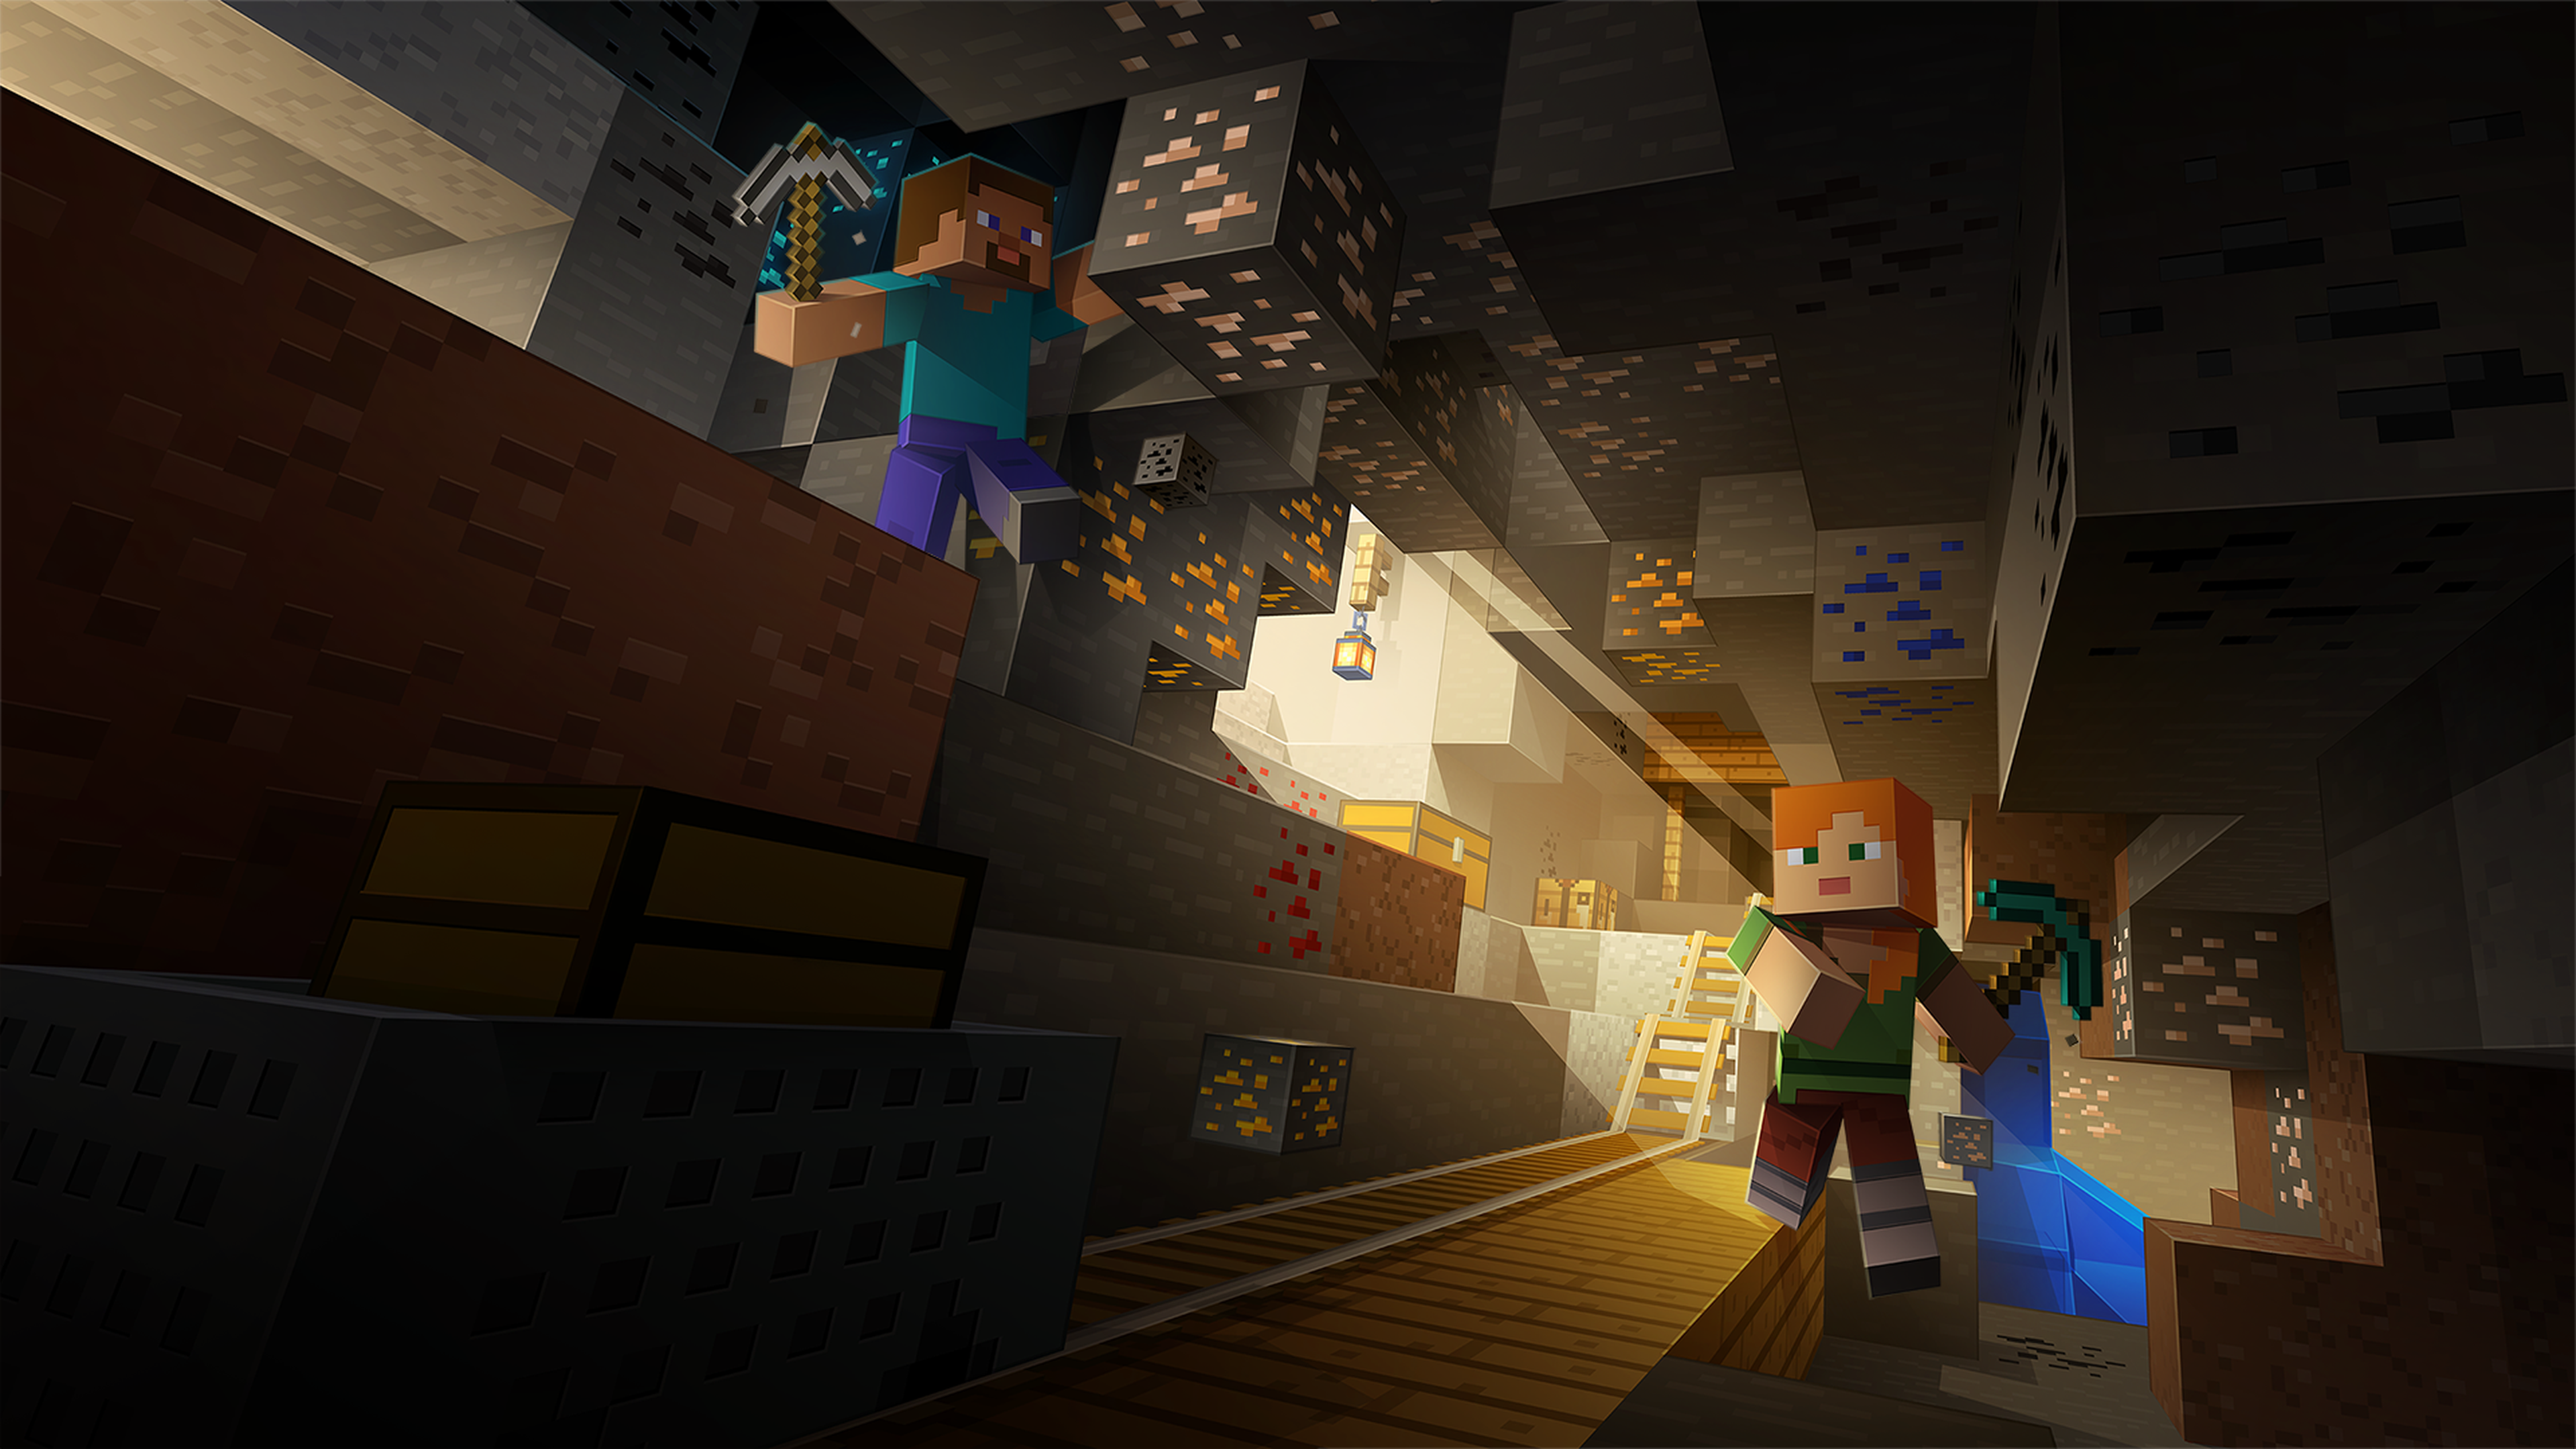
How to Update a Minecraft Server
When new Minecraft content is released, you will need to update your server to the latest version if you want to try out the new features.
Backup
We strongly recommend generating a backup of your server before following the steps in this guide. Please refer to this article for more information.
#Updating your Server
To update your Minecraft server to a newer version, you can either edit your current server instance or create a brand new server instance. In this guide, we will be simply updating our current server instance so that we can retain our old world, plugins, and plugin data if present.
It's also a good idea to reset your world dimensions when you update your server, especially if there are new biomes or structures in the version you are updating to. If you would like to reset your worlds when updating, feel free to follow the following guides:
-
Access your Control Panel and Stop your server.
-
Click the Edit Server button on your server overview.
-
Select your current server type, then click Next Step.
We recommend keeping the same server type as you had before, as changing it could have unintended consequences. If you would like to use a different server type entirely, you should consider making a new server instance.
-
Select the newer version you'd like to use, then click Next Step.
-
Click Save Changes to save and apply your changes.
After your server finishes the instance modification and boots back up, your server will be running on the new version of Minecraft you selected!