Changing your Minecraft skin is a fun way to breathe a little life into your Minecraft experience and give your character a personal touch, and it's super easy to do. There are many websites you can use to find already made skins (such as Skindex), or you can make your own.
Changing Your Skin Through the Minecraft Launcher
Uploading a Minecraft skin using the launcher is the easiest method, as you can upload multiple skins at once and browse between them.
- Locate a skin you wish to use and download the image to your PC.
- Open the Minecraft Launcher and navigate to the Skins tab.
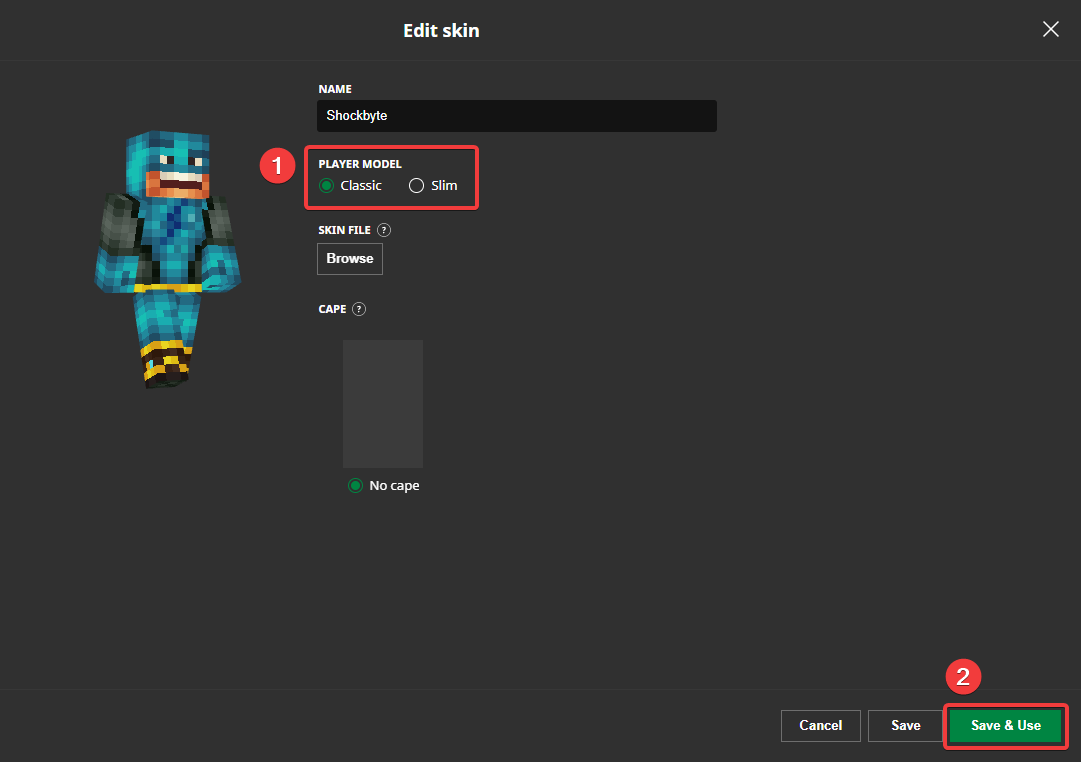
- Click New Skin and upload the image file.

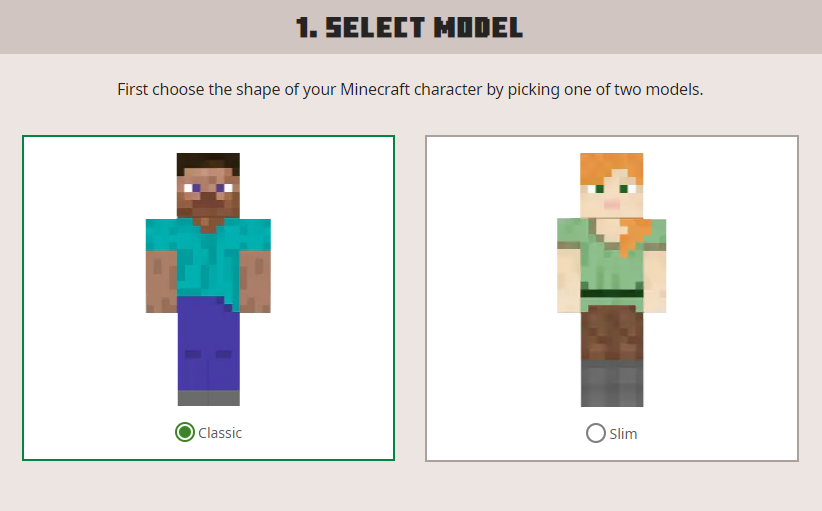
- Select the Classic or Slim model size.
- Click Save and Use.
You have now changed your skin using the Minecraft launcher!
Changing Your Skin Through the Minecraft Website
You can easily upload a skin through the Minecraft website, but it is not the best method. It only changes the skin you are currently using, and does not allow you to browse your previous skins.
- Log in to your Minecraft account here.
- Under Minecraft: Java Edition, click Change Skin.

- Select the Classic or Slim character model.
- Upload the image file of the skin you wish to use.
- Click the Upload button at the bottom.

And that’s it! You will now be using your newly uploaded skin when you play Minecraft next.
Are you still looking for a Minecraft skin that suits you? Check out our list of the best skins around, with over 150 awesome Minecraft skins to choose from!
If you require any further assistance, please contact our support at: https://shockbyte.com/billing/submitticket.php