The Deathmatch plugin allows server owners to create a more polished Deathmatch game mode on community servers.
Installing the Deathmatch Plugin
To install the Deathmatch plugin on your CS:GO server, you must download, unzip, and upload the contents of the CSGO Deathmatch Plugin from GitHub.
You can also optionally set your server's game mode to the official deathmatch mode inside your CSGO Server Settings config file.
You can learn more about configuring the Deathmath plugin on its GitHub page, here.
- Navigate to the CSGO Deathmatch plugin GitHub releases page here.
- Select the latest release then left-click the deathmatch.zip.

- Extract the downloaded deathmatch.zip file.
- Access your server files via FTP, we recommend using Filezilla.
- Navigate to the
/csgo/addons/sourcemoddirectory.
- Upload the contents of the recently extracted deathmatch folder.
- Access your control panel and Restart your server.
Accessing your Deathmatch Plugin Settings
Your deathmatch plugin configuration files can be found within the FTP Access tab on your control panel.
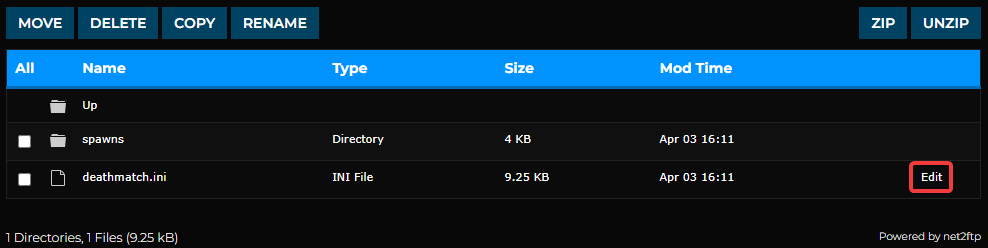
Descriptions of configuration options are listed in the deathmatch.ini file.
- Access your control panel.
- Navigate to Files > FTP File Access and login.

- Navigate to
/csgo/cfg/sourcemod/deathmatch.
- Click Edit next to deathmatch.ini.
To learn more about CS:GO server hosting, you can browse our library of Knowledgebase articles here.
If you require any further assistance, please contact our support at: https://shockbyte.com/billing/submitticket.php