Customizing your map cycle is a great way for you to have more control over your TF2 server. You can also use custom map cycles specifically for a single gamemode. This guide will cover creating custom map cycles and swapping between them.
CREATING A CUSTOM MAP CYCLE
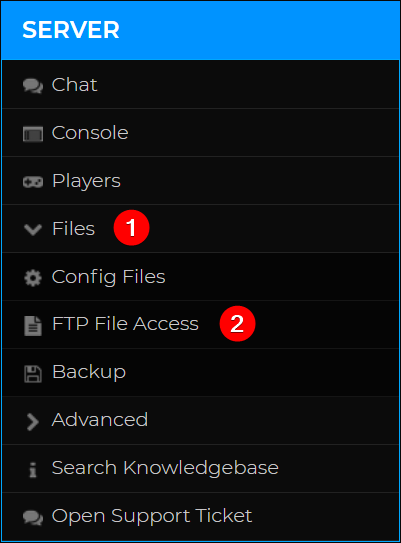
- Access your control panel and open Files > FTP File access.

- Navigate to
/tf/cfg - Create a new file called
mapcycle.txt - In your new text file, paste the map names you’d like to use.
- You can view the maps available on your server by navigating to
tf/maps

- You can view the maps available on your server by navigating to
- Press Save and restart your server.
You have now set up your custom map cycle!
SWAPPING BETWEEN CUSTOM MAP CYCLES
Some players may want to swap between different map cycles. This is particularly useful if you wish to use different map cycles for specific game modes.
- Create a new map file by using the previous steps. You can name this file anything, but it must end in .txt
- Return to
/tf/cfgand Edit thetf2.propertiesfile.
- Add the following line to the properties file and click Save.

- Press Save and restart your server.
You have now swapped between map cycles!
If you require any further assistance, please contact our support at: https://shockbyte.com/billing/submitticket.php
