After installing some mods you might decide that you want to change the way that they are configured. This article will walk you through the process of creating a mod config file and then uploading that config file to your Don't Starve Together Server.
Note: Any mods configured using this guide will need to be installed on your server. You can find our Knowledgebase article on how to install mods on your Don't Starve Together Server here.
Configuring Your Mods
The easiest way to create the modoverrides.lua file is to create and edit it in-game and then upload it to your server.
- Open Don't Starve Together and click on Host Game.
- Select a server play style which will take you to the Settings page automatically.
- On the Settings tab, enter all your preferred settings. These are just placeholders so the config file can be saved and won't be applied to your server.
- Click on the Mods tab, select the mod that you wish to configure then click the Configure Mod button.

- Make the necessary changes to the mod's configuration and then click the apply button.
- Repeat this process for any mods that you want to configure.
- Once you're happy with the configuration click the Generate World button.
Locating The Config File
Now that you've created the modoverrides.lua file you'll need to locate it on your local machine before uploading it.
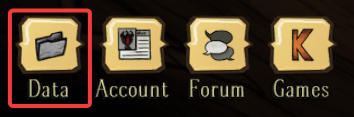
- On the main menu click the Data icon at the bottom left of the screen.
- Open the cluster folder of your mod config. In this example, it's
Cluster_1.
- Navigate to
/Cluster_1/Master/and locate themodoverrides.luafile.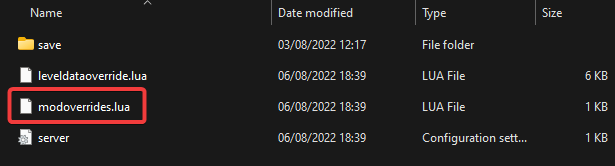
Uploading The Config File To Your Server
Once you've created and located the modoverrides.lua file the final step is uploading it to your server.
- Access your control panel and Stop your server.
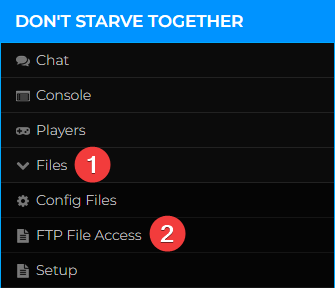
- Navigate to Files > FTP File Access, log in with your Multicraft password.
- Navigate to
/config/<cluster-name>/Master/and then upload yourmodoverrides.luafile - Start your server.
If you need any more assistance getting started with your Don't Starve Together server you can find a list of our other Knowledgebase articles here.
If you require any further assistance, please contact our support at: https://shockbyte.com/billing/submitticket.php