Forge is Minecraft’s most popular mod loader, featuring thousands of mods that add content to the game for each version of Minecraft. If you wish to use Forge mods on your server, you will need to install the same version of Forge on your server and your client.
Before installing Forge on your server, you will need to know which Forge version you need. This will depend on the Minecraft version your mods or modpack uses. Thankfully, we have Knowledgebase Articles to walk you through multiple options for installing Forge on your client:
- Using the CurseForge Launcher (Installs Forge and Mods/Modpacks)
- Using the Technic Launcher (Installs Forge and Mods/Modpacks)
- Using the FTB App
- Using the MultiMC Launcher
- Using the Minecraft Launcher
To join your Minecraft Forge server, you must also be running Minecraft Forge on your PC. See our guide here for steps on how to install it.
Automatic Forge Installations
Almost all of the latest Forge builds for every Minecraft version are available as a server type from your control panel. If we don’t have a Forge server type for the version of Minecraft you need, please create a ticket so we can add it.
- Stop your server.

- Set your Server Type to your preferred Forge version, which is determined by your mods’ Minecraft version and minimum Forge version. However, the latest version of Forge for the required Minecraft version will usually work.

- Restart your server to install the latest Forge version.
Restarting your server with Forge properly installed will cause a mods folder to generate. At this point, you can install mods on your server.
Manually Installing Forge
- Go to Forge’s download page and select your intended Minecraft version from the left sidebar. Download the Installer from the latest Forge version.
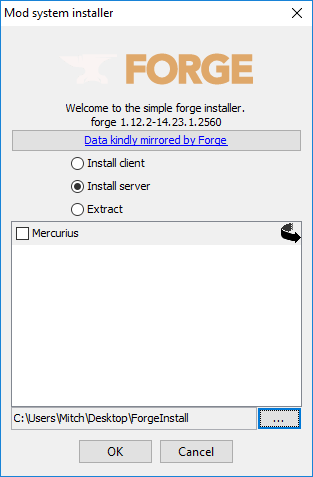
- Run the installer and select Install Server.

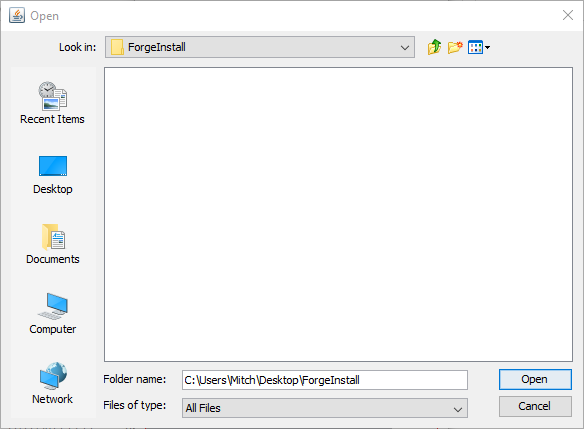
- Select a location to install Forge. We recommend creating a temporary folder on your Desktop.

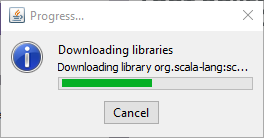
- Click OK and the installer will begin downloading the Forge files into the folder you selected. Wait until all files download before proceeding to the next step.

- Rename the Forge Universal JAR file to
custom-javaX.jar. In here,Xshould be replaced with the Java version relative to the Minecraft version you are running:
Java 8: Forge 1.6.4 - Forge 1.12.2
Java 11: Forge 1.13 - Forge 1.16.5
Java 16: Forge 1.17 - 1.17.2
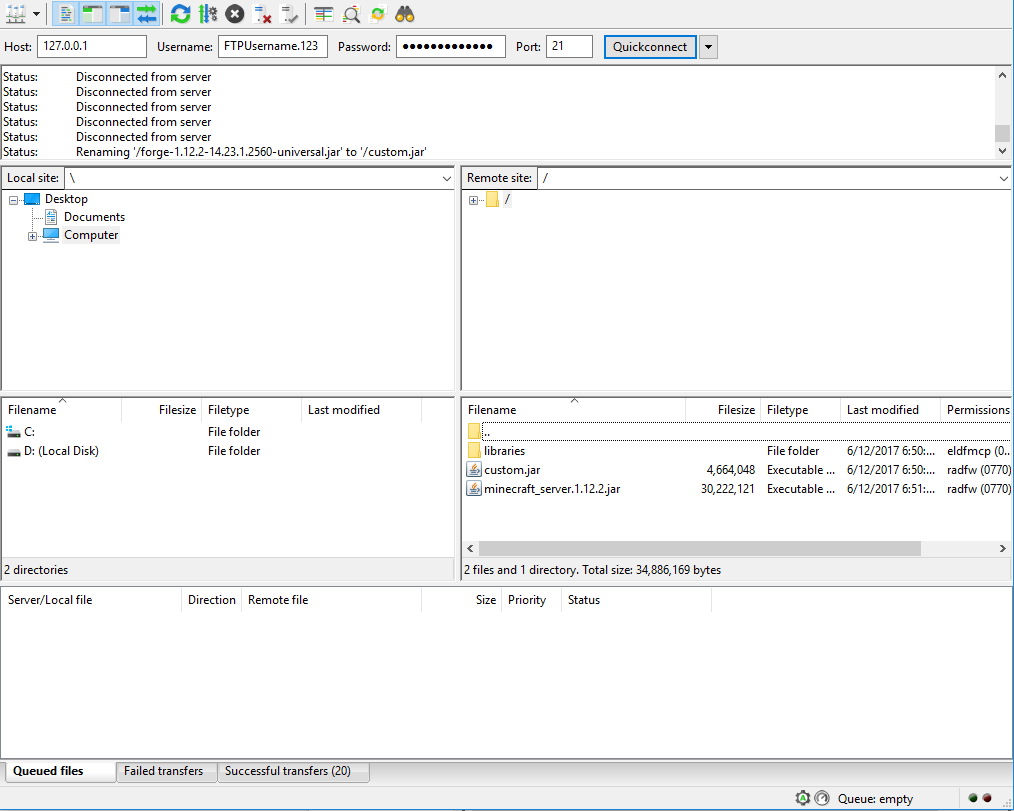
The filename will look similar toforge-1.12.2-14.23.1.2560-universal.jarby default. However, its numbers will vary slightly. The correct file can be seen highlighted in the screenshot below, but remember the numbers will differ slightly to our example:
- Upload the generated files to your server using an FTP client, such as FileZilla.
Only upload the files that you generated - not the directory you created. Simply select the multiple files that were generated and upload them to the base directory of your FTP.
- On the control panel, set your Server Type to the Custom JAR option consistent with the Java version you specified in Step 5:

- Restart your server.
You can now install Mods using our guide on How to Install Forge Mods on Your Minecraft Server.
If you require any further assistance, please contact our support at: https://shockbyte.com/billing/submitticket.php
