While it is recommended that you use FileZilla as an FTP client, you can also try using Windows’ built-in FTP. It’s quick to set up, doesn’t require any additional software, and securely saves your FTP login credentials for easy access in the future.
How to Connect to Your Server using Windows FTP
- Navigate to your server's control panel.
- On the left sidebar, click Files > FTP File Access.
- Navigate to This PC. You can find this using the search feature in the start menu.
- Right click in the empty space of this window, and select Add a Network Location.

- This will cause the Add Network Location Wizard will open. Click Next > Choose a custom network location > Next.
- In the Internet or network address box, enter your server’s IP Address, adding
ftp://before it. This is your Server Address, found on your control panel. Then click Next.
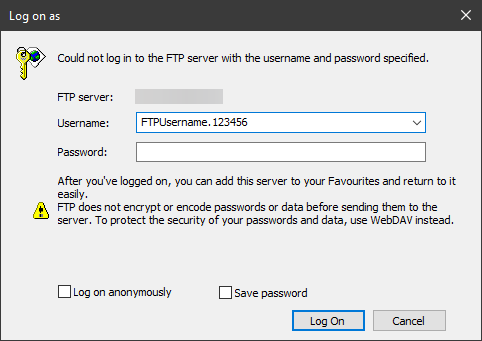
- Un-check Log on anonymously and enter your FTP username, which can be found on the FTP File Access login page of your control panel, and click Next.
- On the next page, you can enter a name for your server to be saved as, which can be set as anything. We recommend using something easy for you to recognize.
- Click Next and Finish.
You will now be able to access your server's FTP by navigating to This PC through Windows File Explorer at any time.


