Granting a user Admin access on your Project Zomboid server allows the user to execute Admin commands in-game, such as ban, mute or kick players.
A full list of commands is available on Project Zomboid Wiki.
Joining with the Admin Account
Before assigning roles to other players, you will need to login to the server with the admin user character.
- Login to your server’s Control Panel.
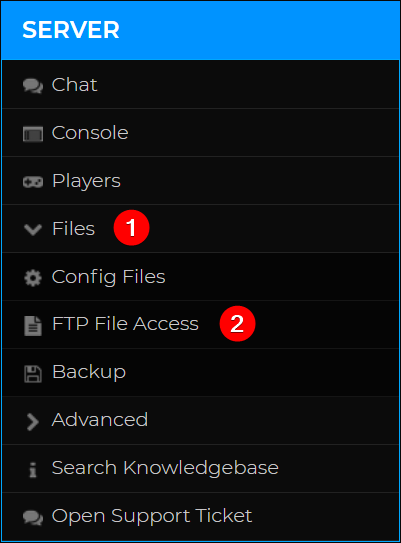
- On the left-hand side, navigate to Files > FTP File Access.

- Locate
ProjectZomboid.propertiesand click Edit on the file. - Find and copy the
admin_password.
- Save the server to Favorites with
adminas the Account Name and the copied password as the Account Password. If you are unsure how this works, check out our article on How to join your Project Zomboid server.
After joining, you will have admin rights on your server!
Available Admin Levels for Project Zomboid
Below are all the admin levels for a dedicated Project Zomboid server, which you can assign to other players. Each level comes with its own set of commands, with Admin having the fullest access to the server.
- admin
- moderator
- overseer
- gm
- observer
Adding an Admin Using the Console
If you need to give another player admin access, these are the steps to do so.
- Navigate to the Console on your server’s Control Panel.
- Enter the command
SetAccessLevel <username> <level>. To remove any access level, usenoneas the level. - Press Enter or click the Send button. You will receive a confirmation message in your console indicating that the player has been given the chosen admin level.

You have now assembled an admin team for your Project Zomboid server! If you are looking to customize your server, check out our article on How to adjust your Project Zomboid server settings.
If you require any further assistance, please contact our support at: https://shockbyte.com/billing/submitticket.php
